After spending a few hours fixing up a few blown out panels on the greenhouse, I decided to put it to good use and add some veggie beds. The greenhouse is now four years old, and has been a little neglected over the last year. It gets up to 55°C (131°F) during the summer, so it doesn’t get used for half of the year. It makes a great solar dryer though, and works wonders for drying herbs and bay leaves!
It was filled with seedling growing racks, and not that practical for use in winter.
I wanted to grow some summer veg during the winter, so decided to add in some growing beds. As I am not getting any younger, I decided to look for a growing bed that was about waist height and easy to reach without having to bend over.
Enter the VegTrug!
I wanted a garden bed that was easy to put together, that was made of FSC wood, and that was about 1 metre (3 feet 3⅜ inches) long. I figured that I had just enough space to put two of this sized beds along one wall and half of the back of the greenhouse.
I found the garden bed that I was hoping existed in my local hardware warehouse.

VegTrug in box
The price was what I kind of expected ($120), and it was much cheaper than metal based, on-ground garden beds of the same size.
I was pleased that the wood was from FSC managed sources (that is all I buy), and that it was just the right size.
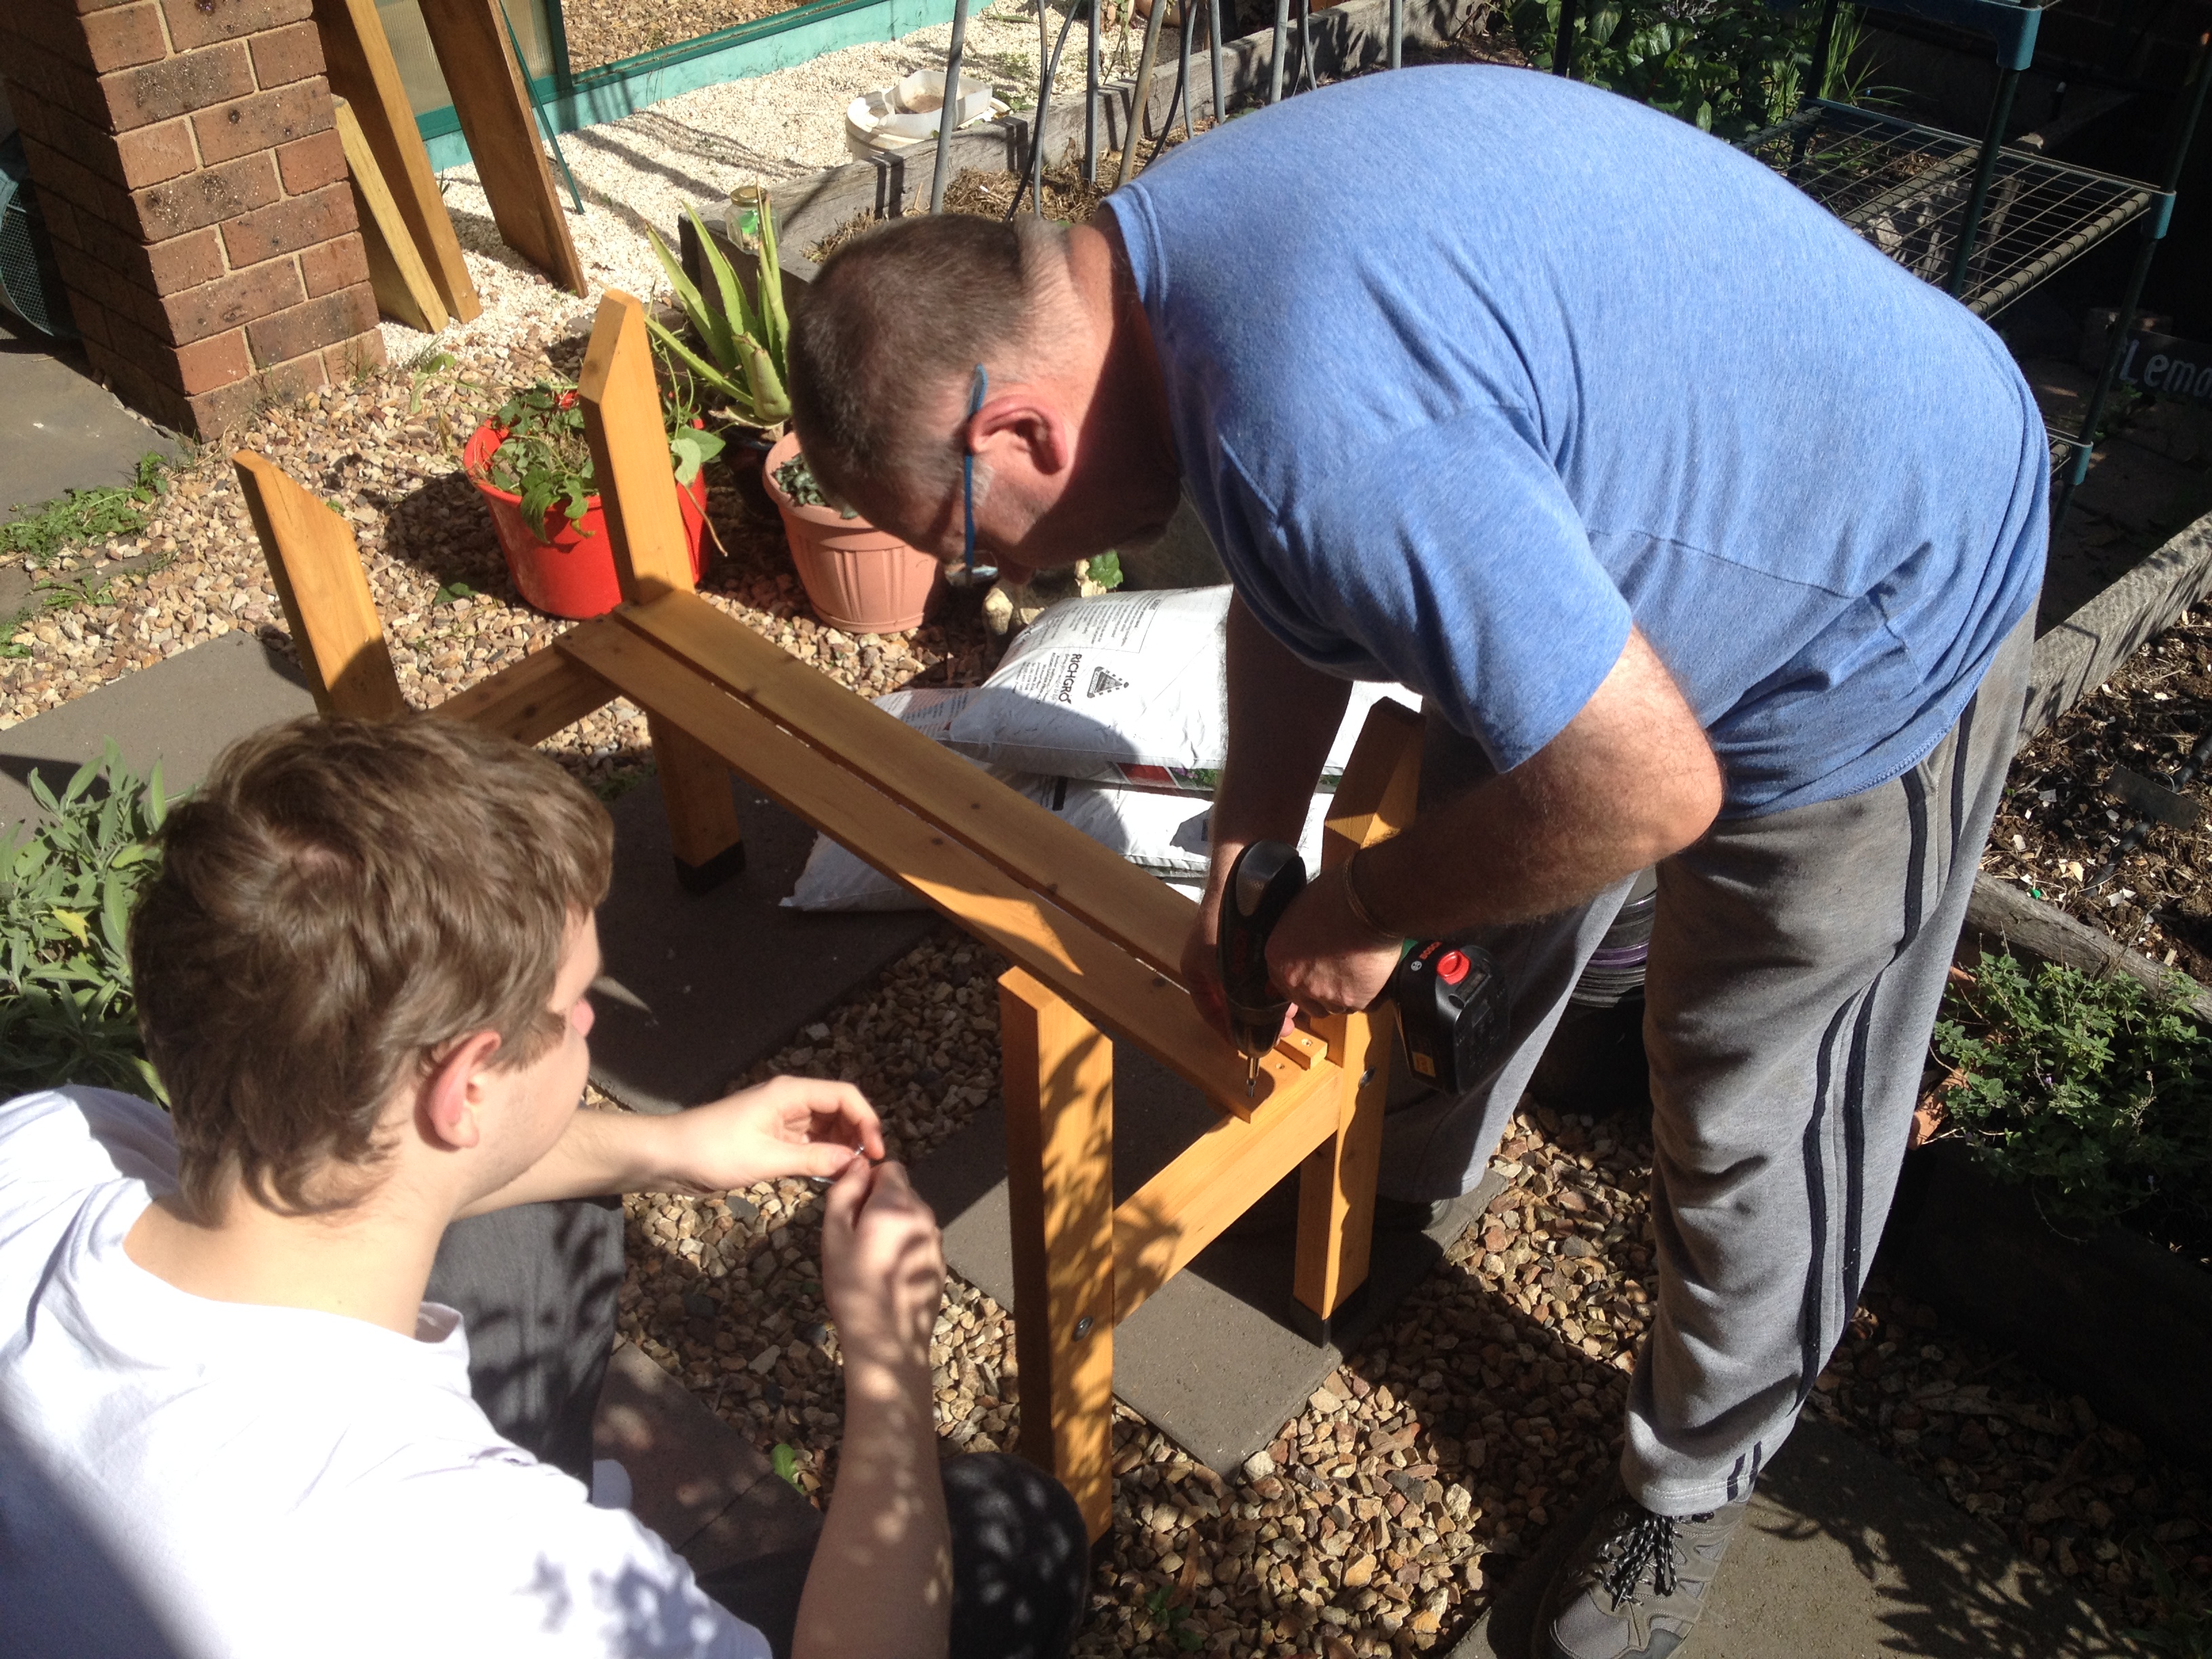
So it was construction time. I had two helpers, one willing (Kim) and one not-so-willing (Ben). Pam (Kim’s Mum) watched the fun and games as they ensued.

Ben tightening nuts on the VegTrug
It was easy to put together, and we managed to complete on in 30 minutes. The cordless drill/screwdriver certainly helped to speed up the process.
The model that I purchased was the Wall Hugger Small. There is a medium-sized model that was 2 metres (6.5 ft), but that wouldn’t have fit in the greenhouse.

As I mentioned, it was not hard to put together. You just have to get your helpers to pass you the right sized screws (there were only two sizes, so it shouldn’t have been that difficult)!
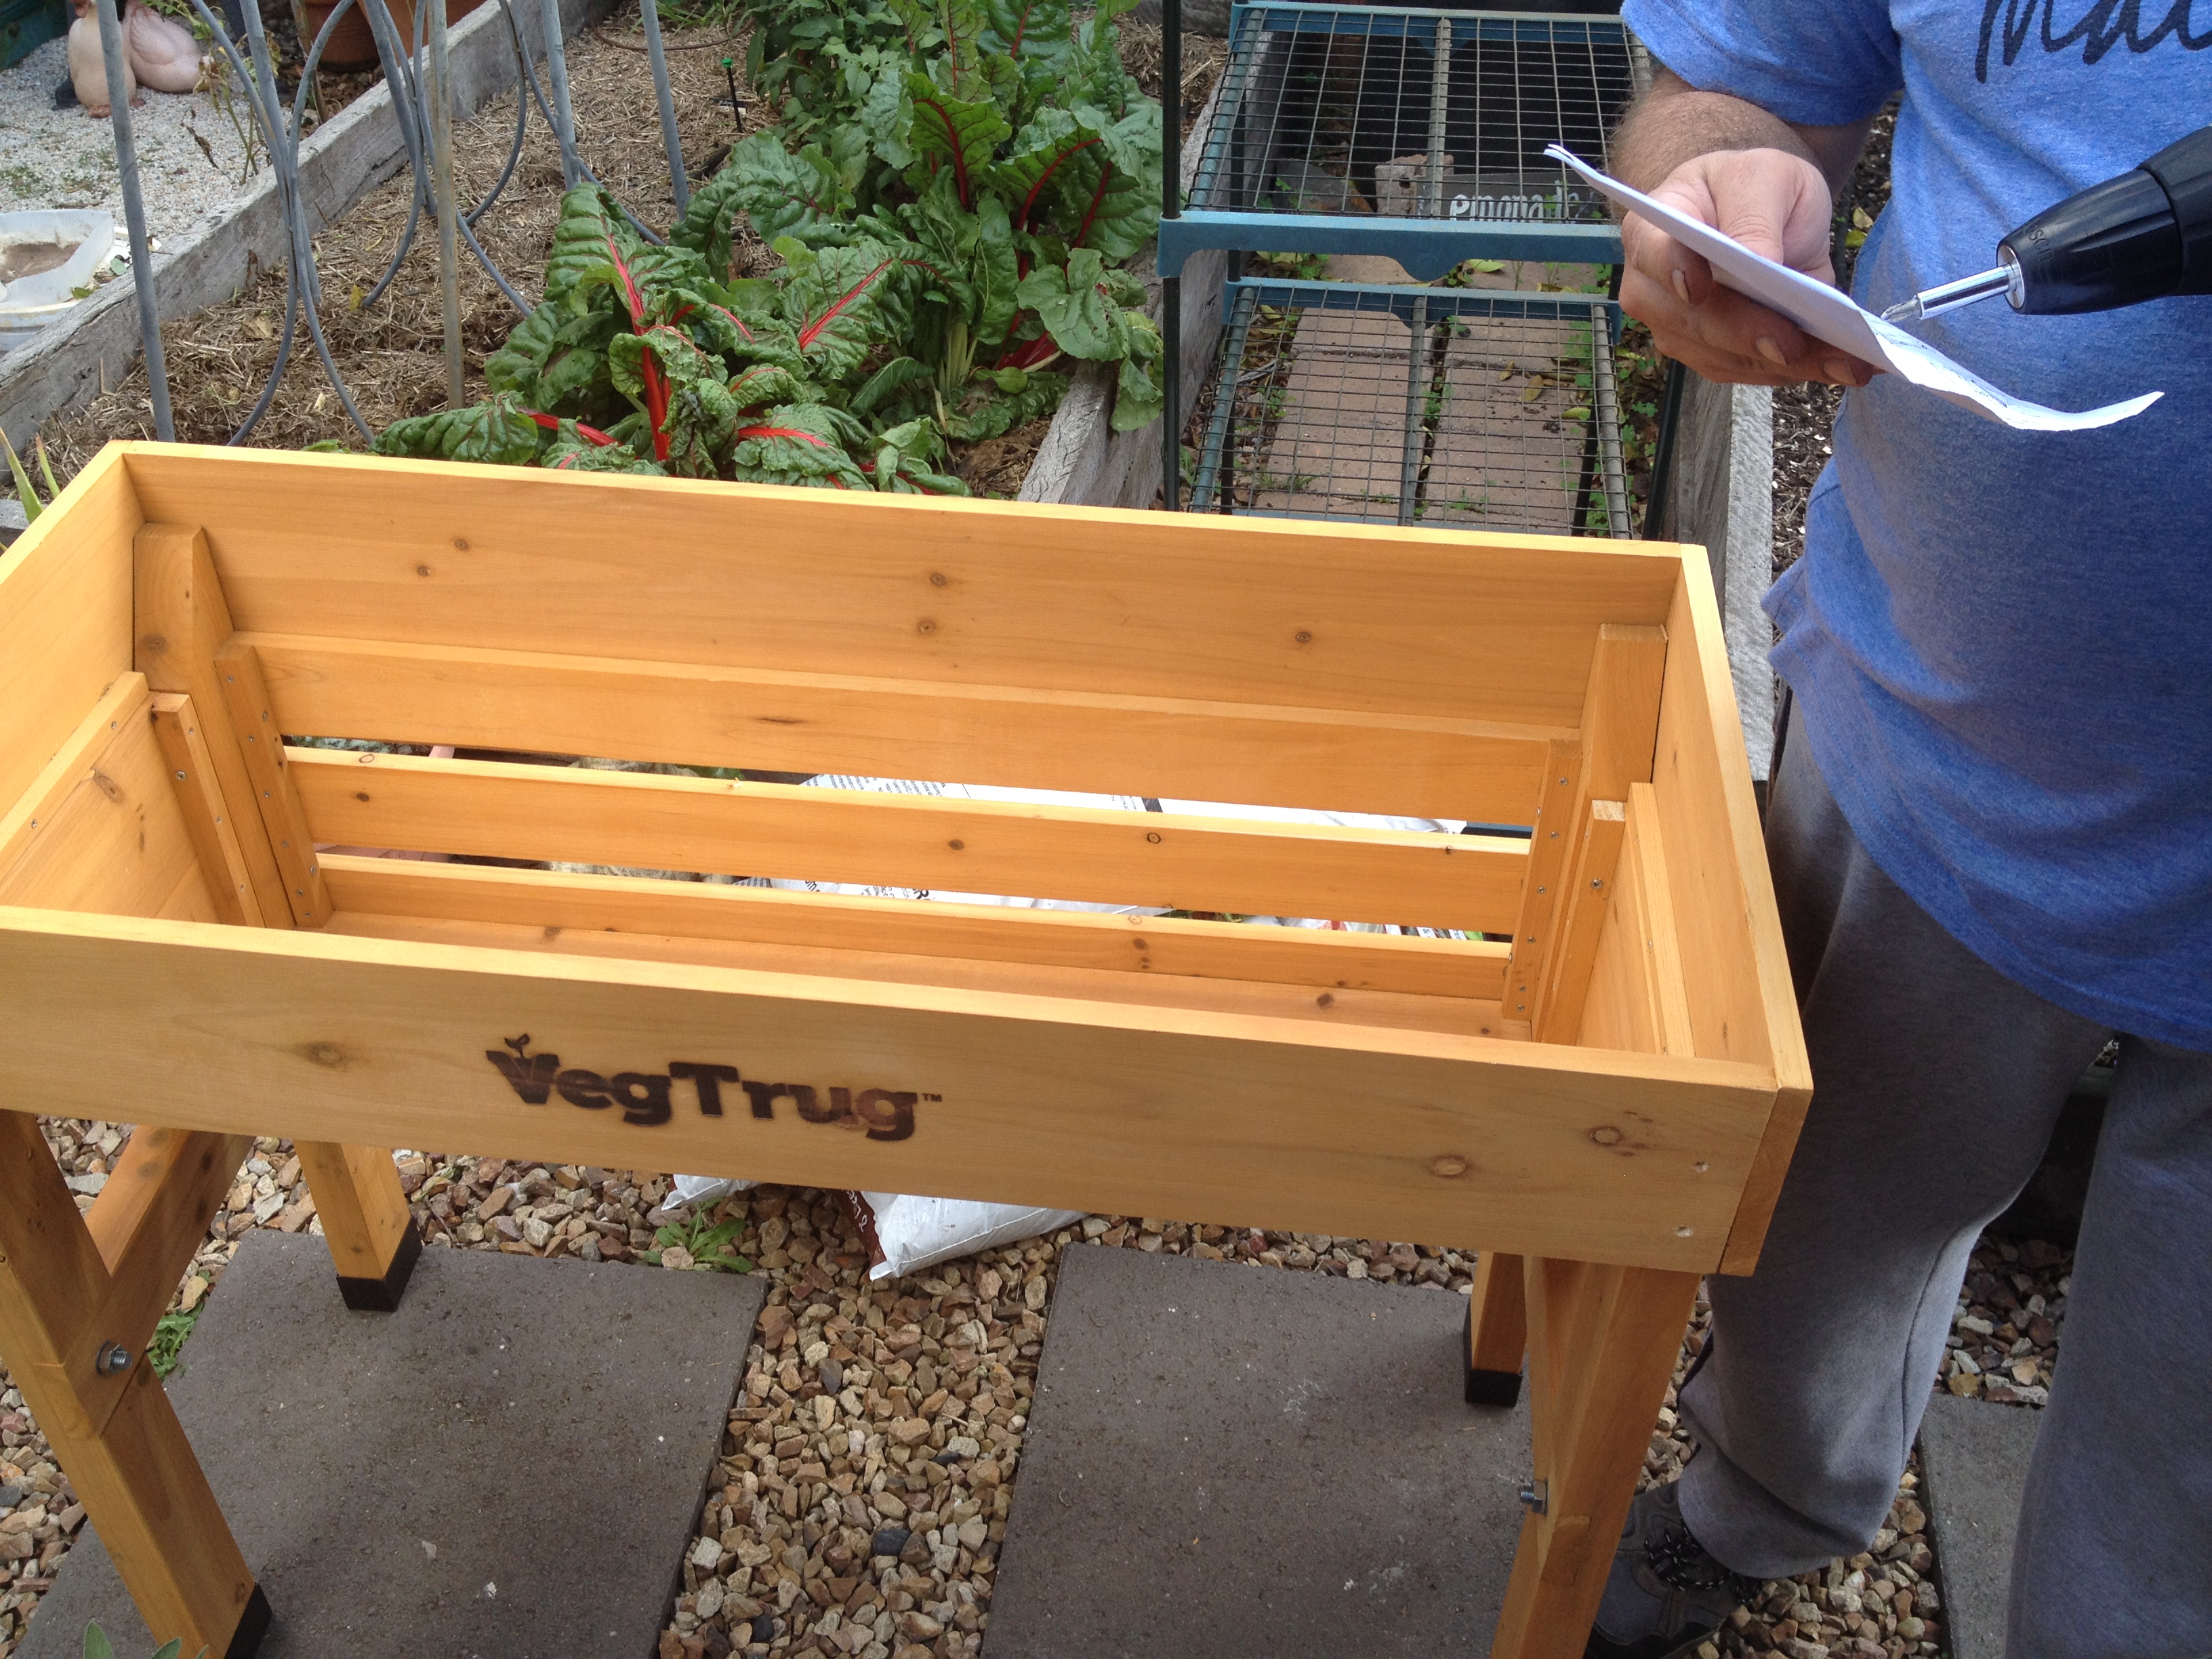
After it was completed, I did a final check to make sure it was all put together correctly. Thankfully, it was, so I added in the woven liner and moved it into the greenhouse.
Once the first VegTrug was in place, we built the second one. Now that we were familiar with the instructions, we threw this one together in 20 minutes.

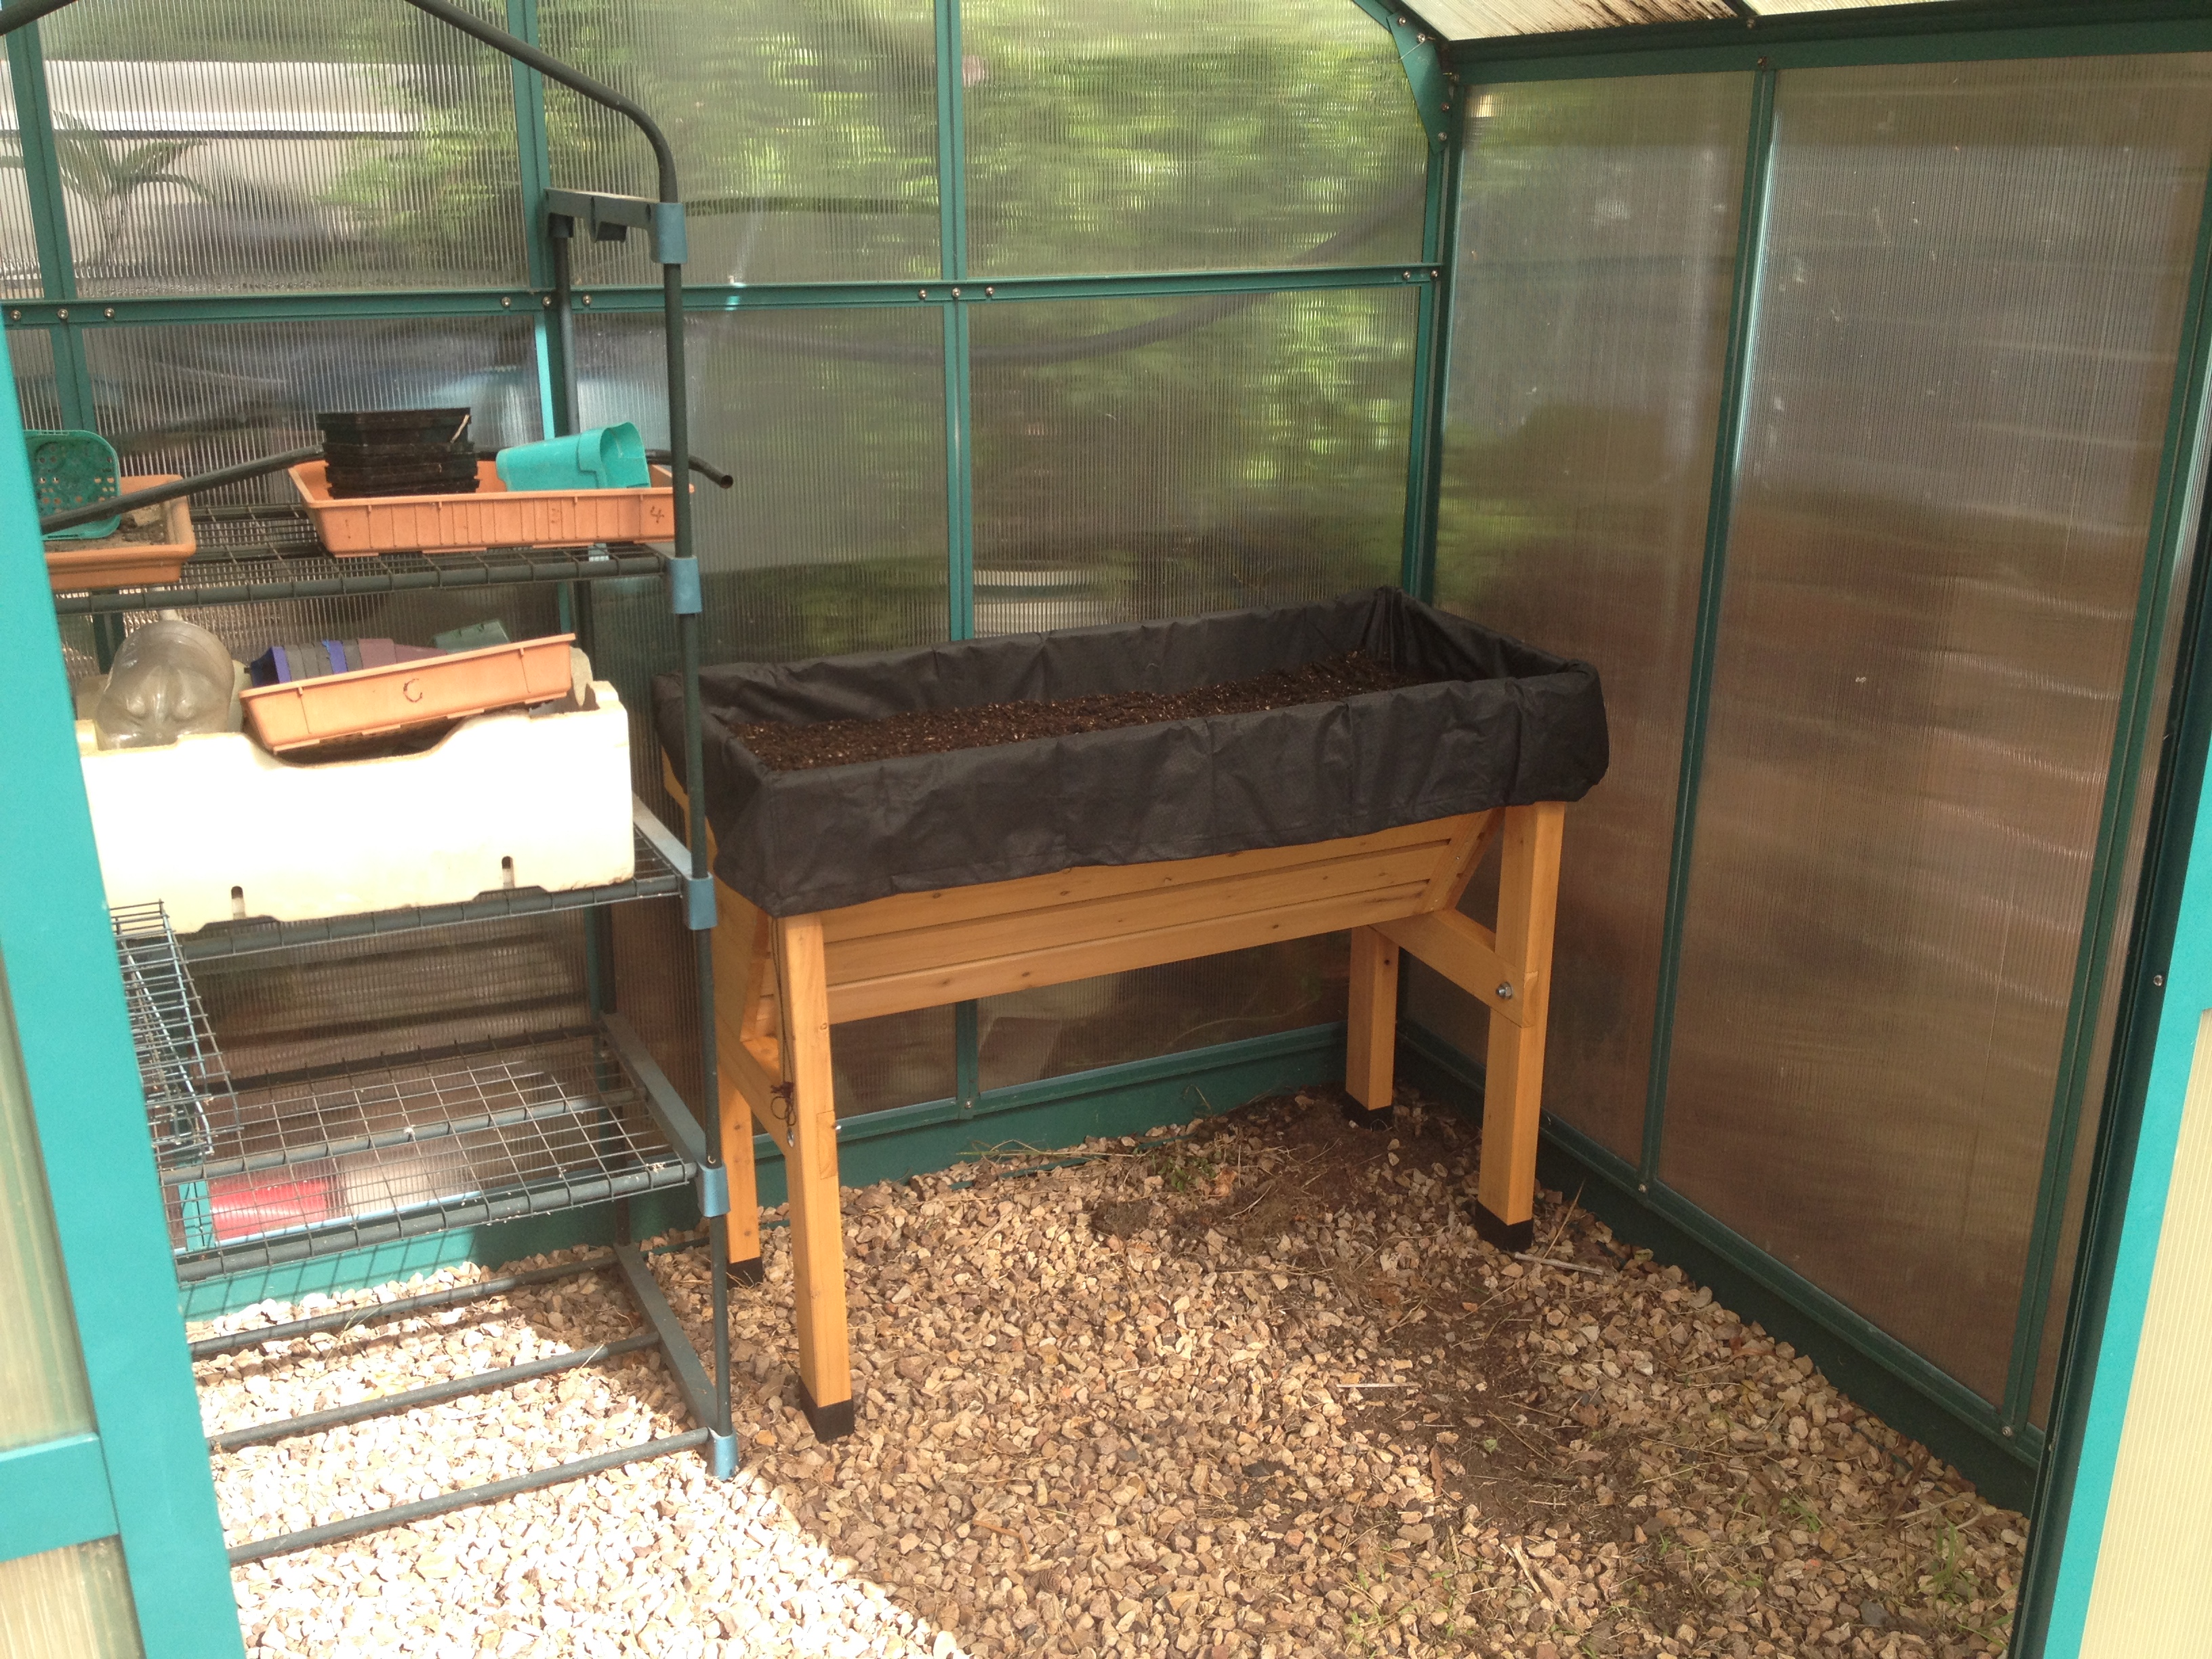
VegTrug in greenhouse
Then I filled each bed with soil and compost. The instructions mention that it holds 170 litres of soil, however I only used 100 litres to fill each bed. It has settled a little, but not enough to warrant another bag.

Filling the VegTrug with soil
I have since planted some tomato seedlings and tomatillos that were growing in the veggie patch. The tomatoes are doing okay, but I think that it might be a bit cold overnight in the greenhouse for them.
It has been getting down to 11°C during the night, so a bit cool for tomatoes. On the other hand, the tomatillos are growing really well. During the day, we open the greenhouse doors, and close it all down at around 5 pm. It gets up to about 30°C during the day with the doors open on a sunny day, which is perfect. Step out of the greenhouse, and the temperature is only 15°C. It is amazing what those transparent walls and roof make, even with the doors and roof hatch opened.
I am so glad that I found a veggie bed that was the right size and height. There is room underneath to store empty pots for storage, and still enough space in the greenhouse for 4 seedling racks.
A great find, don’t you think?
Excellent job Gav, The greehouse look a lot bigger without the other shelving it.
To smooth out the temperature fluctuations you could try to put a few large containers (60L drums maybe) under the beds filled with water. They will soak up the heat during the day and release it during the night and help keep the temperature a bit more constant. It might not make a huge difference in winter but it could make a difference in autumn and early spring.
Cheers
MOC
Great tip Mick, thanks. I do have a water barrel that I could fill, so will give that a go tomorrow and see if it makes a difference.
They look pretty neat Gavin and just the right size and height for you. Regards Kathy A, Brisbane, Australia
They are great! Now I want one! Thank you for sharing, great photos!
Too cool Gav and i like your helpers. Ive been busy over the weekend turning pallets which i get from work for free (repurpose, reuse) into strawberry beds. Post to come. So far ive had all the materials on hand so it has cost nothing but effort. I do wish i had a greenhouse and perhaps i could at some stage fit in a cupboard one. I dont have room for one your size. Once ive gotten rid of the grass i will have more space for pots or as you have done veg trugs. Im lucky my iron ones came cheap – i built them myself with help from the engineers at work. I would never buy a commercial one – way too expensive. Cheers Mate.
You’re welcome Lynda
Hi Gavin we love our green house I like the idea of using beds instead of pots we have all pots in our green house and they grow wild and we find the slugs and snails love the green house as much as we do so thanks for the idea
Linda
Awesome Gav, might have to get me one of those! Hey where so you get your woven liners from? I’m about to buy some apple crates to plant in and thought I might line them with those?
Hi Emma. The liner comes with the VegTrug, so at best you would have to make one out of some other material. Sorry 🙁
Gav
You could try woven weed mat or maybe Geofabric as the liner. There are many places that sell both.
thanks michael! 🙂
Hi gavin. My name is mark crowley and I am the uk sales manager for vegtrug. What a fantastic piece you have written. Please like our facebook page and post this on there if you like.