• About
  • Archive
  • Contact
The Greening of Gavin
  • Home
  • Our Green Shop
    • Little Green Workshops
  • Green Workshops
    • Cheese Making
    • Soap Making
    • Soy Candle Making
  • eBooks
    • Clay Oven eBook
    • Keep Calm and Make Cheese eBook
  • Podcast
    • TGOG Podcast
    • TGoG Podcast Archive
    • Little Green Cheese
  • Vlog
  • Cheese
  • Green Living
    • Chickens
    • Gardening
    • Soap Making
    • Recipes
    • Climate Change
    • Peak Oil
    • Solar Power
  • Resources

Cat On A Hot Greenhouse Roof

September 24, 2014 @ 17:44 By Gavin Webber 10 Comments

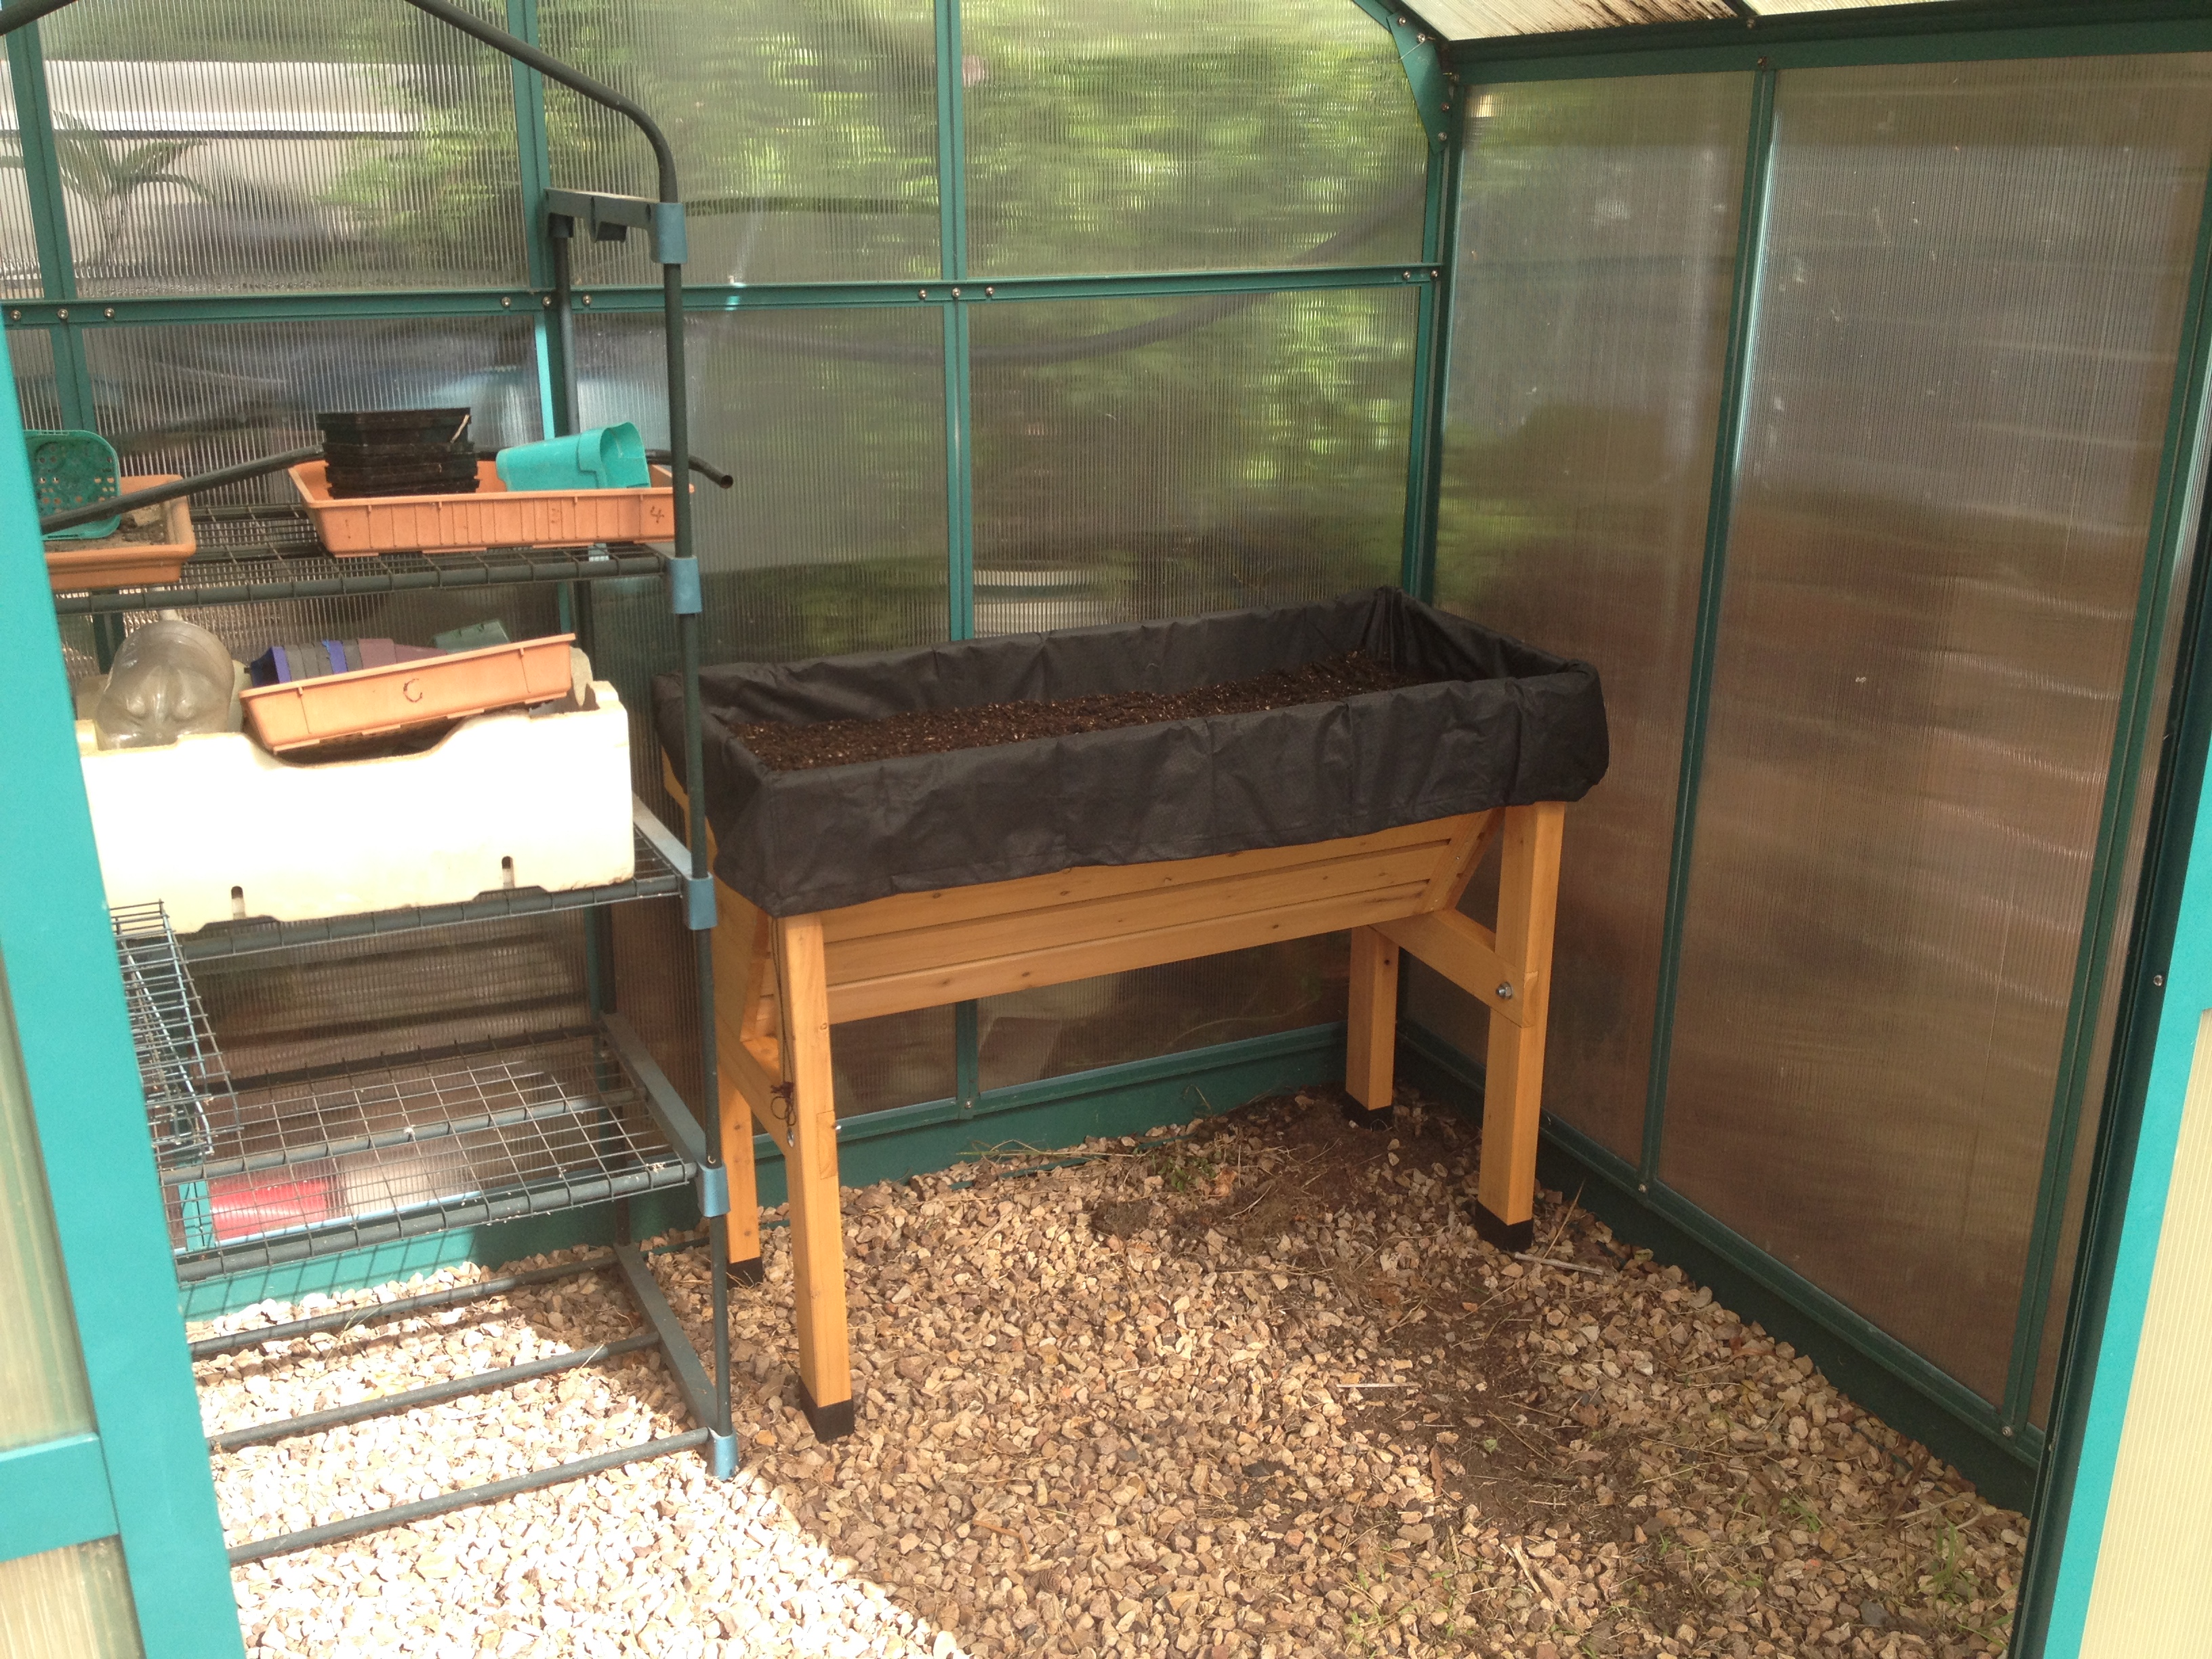
Imagine my surprise when I opened up the greenhouse today and saw this whopping great hole in the greenhouse roof.   I couldn’t believe my eyes!  What in the heck could have done this?

Greenhouse roof

I had no idea how it happened until I asked Kim.  She mentioned that she heard a heck of a racket a few nights ago, that sounded like something very large had landed on the carport roof.

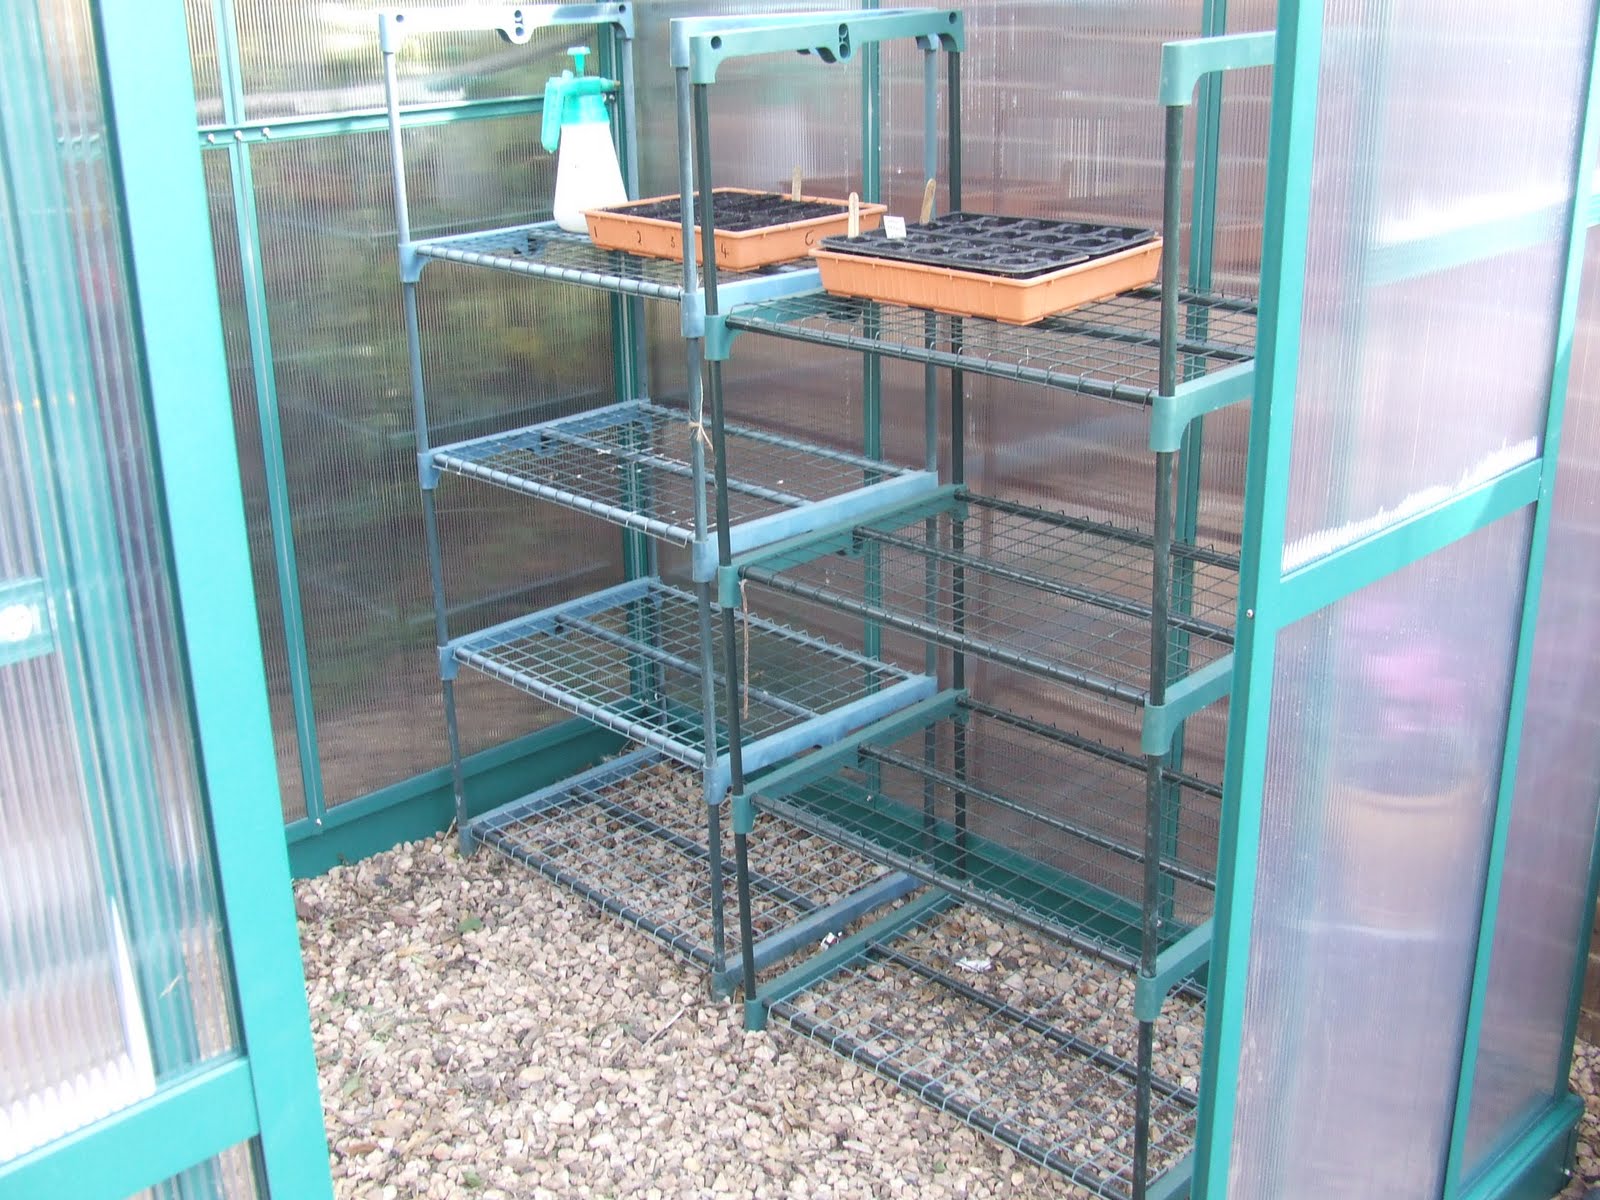
So I put two and two together, inspected the fur fragments around the hole, and figured that a big tabby must have jumped off the carport roof and landed straight through my greenhouse roof.  It managed to get out again as there is a pot stand right underneath.  Thankfully there were no seedlings on the stand.

This gaping hole will be nigh on impossible to fix because I built another shed in front of the access that is necessary to remove the gutter from the greenhouse and slide out the damaged panel.  In fact, all of the roof panels are UV damaged, even though the manufacturer stated that it would last a lot longer than it has.  Between the sun damage and hail damage, it has not held up as long as I would have liked.

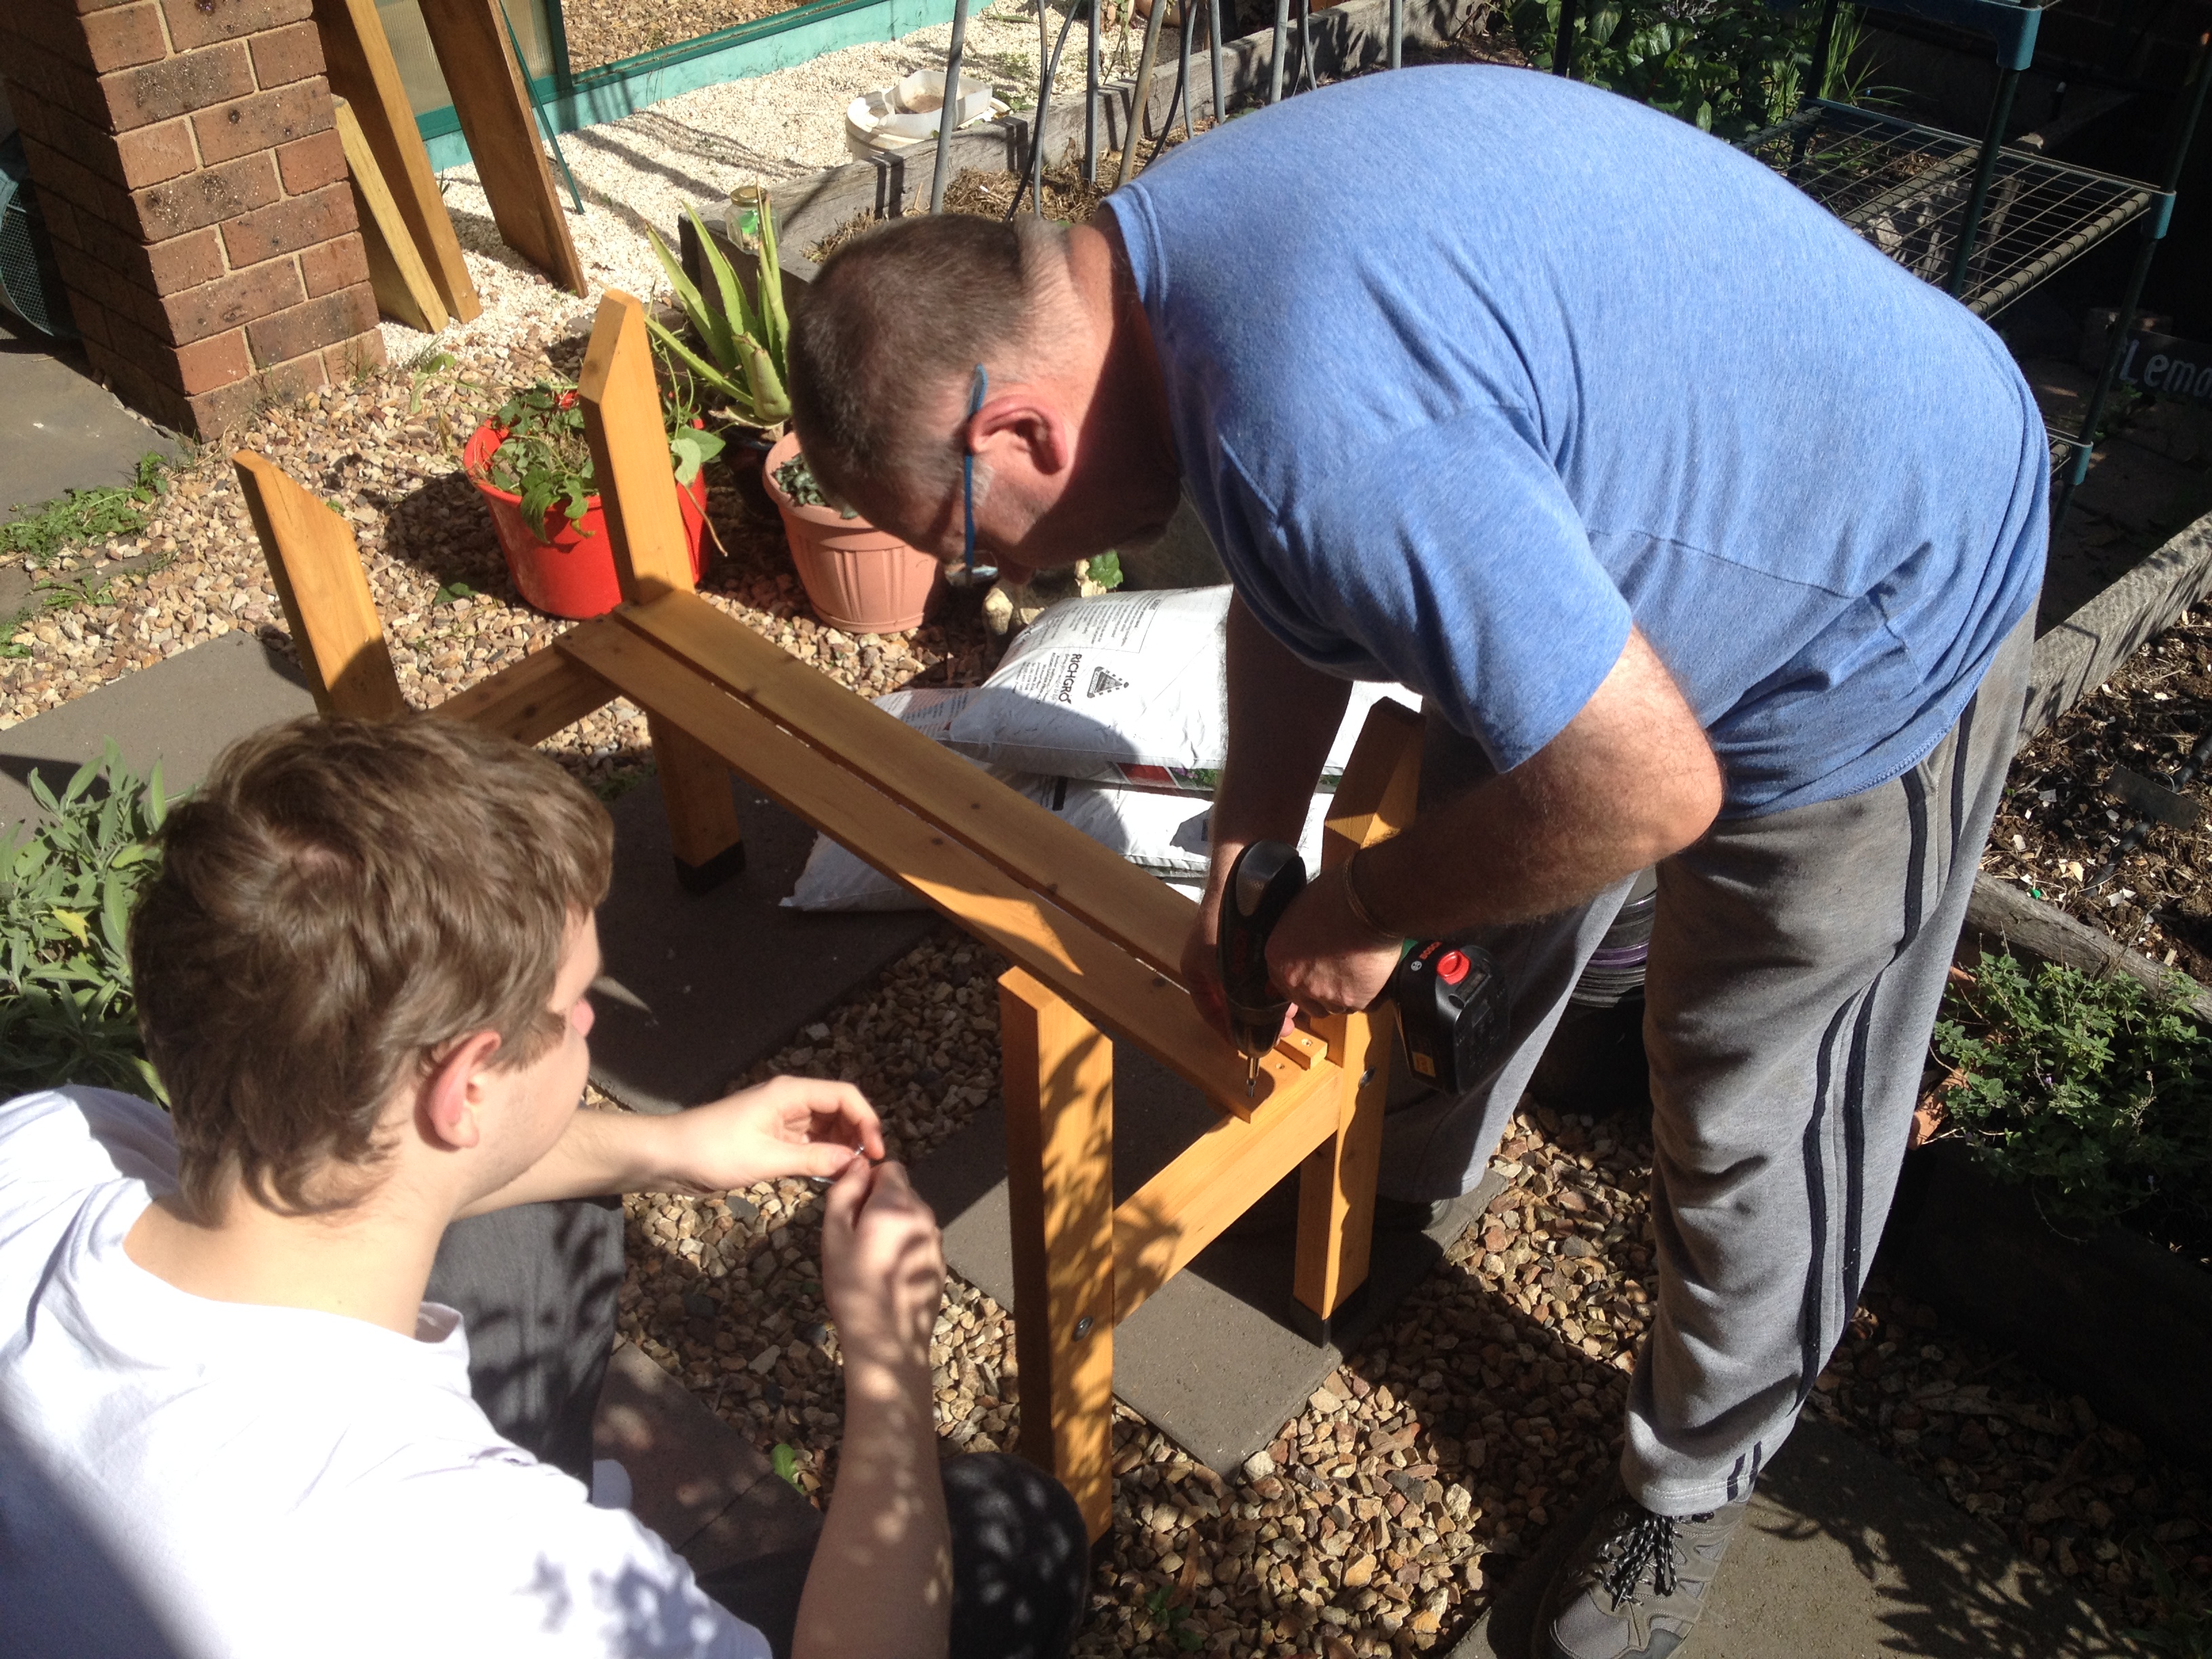
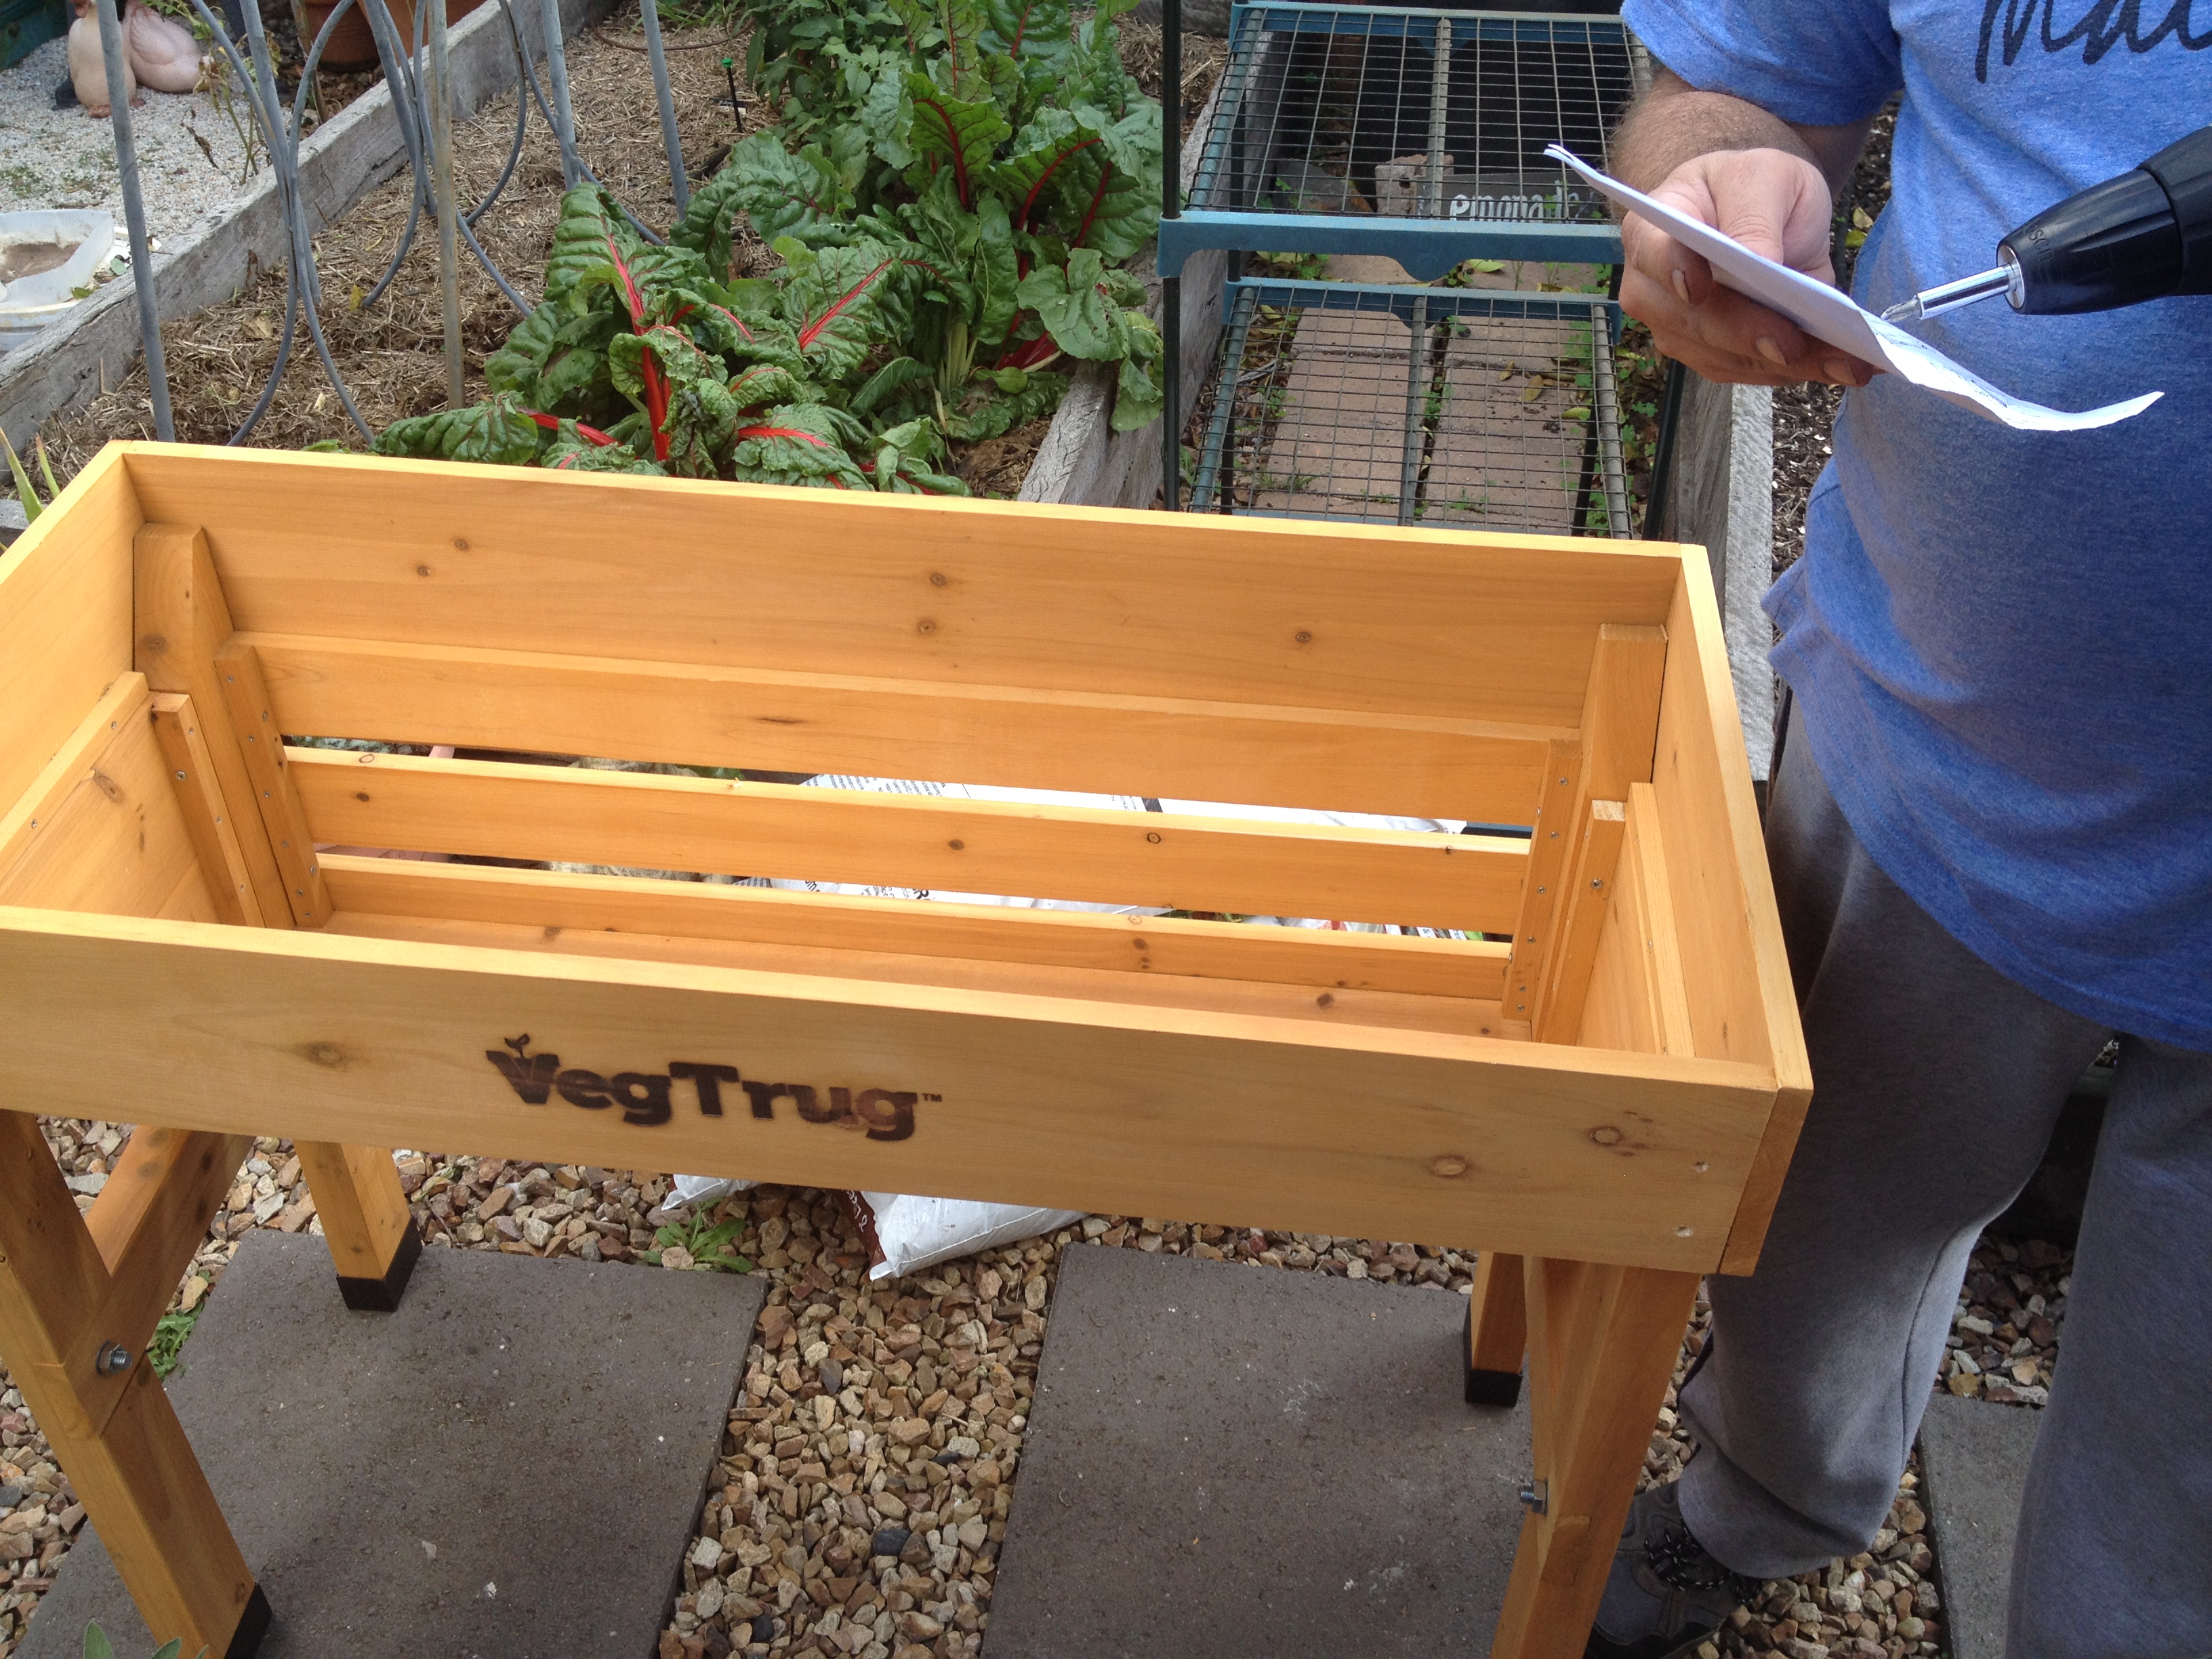
I have all but given up on this greenhouse, because it is just too hot in summer even with shade over the greenhouse roof.  And it is too cold in winter, because of all the gaps.  I could replace the damaged panel with some wood, but I wouldn’t achieve an airtight seal.  I am even thinking of moving the two VegTrug out of the greenhouse and stand them up against the decking.  At least I will get better use out of them.

Considering that my greenhouse was built 4.5 years ago, I think I should have gotten better value for money for a $699 investment.

My advice to you all is not to purchase a greenhouse with polycarbonate panels.  They simply do not last the distance, especially in our harsh climate.  Good old glass would be your best bet.

You live and learn.

Will this article help someone you know? If so help them out by sharing now!

  • Click to share on Facebook (Opens in new window) Facebook
  • Click to share on X (Opens in new window) X
  • Click to share on LinkedIn (Opens in new window) LinkedIn
  • Click to share on Reddit (Opens in new window) Reddit
  • Click to share on Pinterest (Opens in new window) Pinterest
  • Click to share on Tumblr (Opens in new window) Tumblr
  • Click to print (Opens in new window) Print
  • Click to email a link to a friend (Opens in new window) Email
  • More
  • Click to share on Pocket (Opens in new window) Pocket

Filed Under: Gardening, Greenhouse

Building a VegTrug or Two

April 20, 2014 @ 18:30 By Gavin Webber 13 Comments

After spending a few hours fixing up a few blown out panels on the greenhouse, I decided to put it to good use and add some veggie beds.  The greenhouse is now four years old, and has been a little neglected over the last year.  It gets up to 55°C  (131°F) during the summer, so it doesn’t get used for half of the year.  It makes a great solar dryer though, and works wonders for drying herbs and bay leaves!

It was filled with seedling growing racks, and not that practical for use in winter.

I wanted to grow some summer veg during the winter, so decided to add in some growing beds.  As I am not getting any younger, I decided to look for a growing bed that was about waist height and easy to reach without having to bend over.

Enter the VegTrug!

I wanted a garden bed that was easy to put together, that was made of FSC wood, and that was about 1 metre (3 feet 3⅜ inches) long.  I figured that I had just enough space to put two of this sized beds along one wall and half of the back of the greenhouse.

I found the garden bed that I was hoping existed in my local hardware warehouse.

VegTrug in box

VegTrug in box

The price was what I kind of expected ($120), and it was much cheaper than metal based, on-ground garden beds of the same size.

I was pleased that the wood was from FSC managed sources (that is all I buy), and that it was just the right size.

So it was construction time.  I had two helpers, one willing (Kim) and one not-so-willing (Ben).  Pam (Kim’s Mum) watched the fun and games as they ensued.

Ben tightening nuts on the VegTrug

Ben tightening nuts on the VegTrug

It was easy to put together, and we managed to complete on in 30 minutes.  The cordless drill/screwdriver certainly helped to speed up the process.

VegTrug

The model that I purchased was the Wall Hugger Small.  There is a medium-sized model that was 2 metres (6.5 ft), but that wouldn’t have fit in the greenhouse.

IMG_0418

As I mentioned, it was not hard to put together.  You just have to get your helpers to pass you the right sized screws (there were only two sizes, so it shouldn’t have been that difficult)!

IMG_0424

After it was completed, I did a final check to make sure it was all put together correctly.  Thankfully, it was, so I added in the woven liner and moved it into the greenhouse.

IMG_0436

Once the first VegTrug was in place, we built the second one.  Now that we were familiar with the instructions, we threw this one together in 20 minutes.

VegTrug in greenhouse

VegTrug in greenhouse

Then I filled each bed with soil and compost.  The instructions mention that it holds 170 litres of soil, however I only used 100 litres to fill each bed.  It has settled a little, but not enough to warrant another bag.

Filling the VegTrug with soil

Filling the VegTrug with soil

I have since planted some tomato seedlings and tomatillos that were growing in the veggie patch.  The tomatoes are doing okay, but I think that it might be a bit cold overnight in the greenhouse for them.

It has been getting down to 11°C during the night, so a bit cool for tomatoes.  On the other hand, the tomatillos are growing really well.  During the day, we open the greenhouse doors, and close it all down at around 5 pm.  It gets up to about 30°C during the day with the doors open on a sunny day, which is perfect.  Step out of the greenhouse, and the temperature is only 15°C.  It is amazing what those transparent walls and roof make, even with the doors and roof hatch opened.

I am so glad that I found a veggie bed that was the right size and height.  There is room underneath to store empty pots for storage, and still enough space in the greenhouse for 4 seedling racks.

A great find, don’t you think?


Will this article help someone you know? If so help them out by sharing now!

  • Click to share on Facebook (Opens in new window) Facebook
  • Click to share on X (Opens in new window) X
  • Click to share on LinkedIn (Opens in new window) LinkedIn
  • Click to share on Reddit (Opens in new window) Reddit
  • Click to share on Pinterest (Opens in new window) Pinterest
  • Click to share on Tumblr (Opens in new window) Tumblr
  • Click to print (Opens in new window) Print
  • Click to email a link to a friend (Opens in new window) Email
  • More
  • Click to share on Pocket (Opens in new window) Pocket

Filed Under: Gardening, Greenhouse, Sustainable Living, vegetables Tagged With: VegTrug

Question and Answer Time Part 2

August 30, 2011 @ 21:05 By Gavin Webber 1 Comment

My son Adam enjoying the Greenhouse!

I received an email yesterday from a long time reader Richard, who asks;

Hi Gavin,
I think it was during the Sustainable Homes day that I visited your place and saw your greenhouse. It took me a few months to get the motivation to set it up and a further few weeks to finally bolt it all together but it’s done. As you inspired me, I tried to find out some more information on the greenhouse from your website, but I couldn’t find anything. Can you please give me some pointers?
Firstly, the four feet at each corner of the base, did you just jam them into the soil so the base is flat on the ground? What’s the base of your greenhouse covered in, crushed rock or recycled crushed brick?
Did you seal the polycarbonate sheets with silicon along the aluminum parts?
With the shelving did you buy separate portable greenhouse shelving and put them inside?
With your seedling labels, have you found any ‘eco-friendly’ ones or just the plastic paddle-pop things from Bunnings?
With your fruit trees, what made you decide what to buy?
As I’ve only got a 1kW PV system installed, would you add another more powerful system? How did you decide on how many panels you needed?
Sorry to ask all these questions, but it’s frustrating doing it all myself.

Rgds,
Richard

Thanks for your questions Richard.

Answer #1.  The base of the greenhouse was bashed into the hard clay that we have in this neck of the woods, so it did not need any concrete.  The base did have spikes that were about 30cm (1′) long and it has not moved since.

 After it was hammered into the ground with a rubber mallet, I made sure it was level.

Answer #2.  The ground was already covered in crushed rock, which I simply pulled back from the frame, then backfilled when in place.  It has kept it very sturdy.

Answer #3.  Walls.  I did not seal the polycarbonate sheets, and have only had one pop out because I was silly enough to leave the door open when it was very windy.  They are a pain in the bum to put back in!

Answer #4.  Shelving.  I bought the shelves separately, and re-purposed an old one that I had.  They are just cheap small greenhouse frames, that would normally have a PVC cover over them.

Answer #5.  As for eco-friendly labels, I simply cut up an old ice-cream container into strips and marked them with a permanent marker.  When I am finished with the label, I wipe it with a bit of methylated spirits to remove the writing, and store it back in my seed box.  Otherwise, I use old wooden ice-cream sticks from iced lollies.

Answer #6.  Fruit trees.  I asked the family what they liked to eat, bought those varieties on dwarf root stock, and planted the deciduous trees (stone-fruit, apples, pears) in the front yard which is north facing so that sunlight still warms up the house in winter, and planted the evergreens (citrus) to the south and west of the house.  Where I couldn’t source dwarf roots stock I planted them in pots.

Answer #7.  Solar PV.  It all depends on your consumption of electricity.  If you are energy-wise, then 1kW will be sufficient, however if you are like the average Australian family and use over 16 kWh a day then it will only reduce you power bill by 25%.  You can read about how I went about reducing my electricity consumption at the post titled “Eco House Challenge Electricity 1“.

Answer #8.  Just remember it is cheaper to save a kilowatt than it is to make a kilowatt of electricity.  I sized my system based on 75% of my energy usage of an average 12 kWh per day and I was way over generous.  I now produce 120% of my energy needs, as two children have left home since I installed the system back in September 2007.

Well, I hope everyone got a little something from Richard’s email, as I certainly enjoyed replying to it.

Ask and you shall receive!

Will this article help someone you know? If so help them out by sharing now!

  • Click to share on Facebook (Opens in new window) Facebook
  • Click to share on X (Opens in new window) X
  • Click to share on LinkedIn (Opens in new window) LinkedIn
  • Click to share on Reddit (Opens in new window) Reddit
  • Click to share on Pinterest (Opens in new window) Pinterest
  • Click to share on Tumblr (Opens in new window) Tumblr
  • Click to print (Opens in new window) Print
  • Click to email a link to a friend (Opens in new window) Email
  • More
  • Click to share on Pocket (Opens in new window) Pocket

Filed Under: Greenhouse, Q and A, Solar Power

Next Page »

Search This Blog

Follow my work

About Gavin Webber

About Gavin Webber

An Ordinary Australian Man Who Has A Green Epiphany Whilst Watching A Documentary, Gets a Hybrid Car, Plants A Large Organic Vegetable Garden, Goes Totally Solar, Lowers Consumption, Feeds Composts Bins and Worms, Harvests Rainwater, Raises Chickens, Makes Cheese and Soap, and Eats Locally. All In The Effort To Reduce Our Family's Carbon Footprint So We Can Start Making A Difference For Our Children & Future Generations To Come.

Delve Into the Archives

Visit Our Online Simple Living Shop

Little Green Workshops

Top Posts & Pages

Strawbridge Family Inspiration
Hot Chilli Chutney
Cherry Jam
African Horned Melon
How To Remove Scaly Leg Mites
Home Made Bread Rolls
Tips for Growing Citrus in Pots
Quince Paste
Black Aphids On Garlic
It's Not Easy Being Green TV series

Recent Awards

Recent Awards

Local Green Hero

Categories

Favourite Daily Reads

Debt Free, Cashed Up, and Laughing

The Off-Grid Solar House

Greener Me

The Rogue Ginger

Little Eco Footprints

Down To Earth

Surviving the Suburbs

Little Green Cheese

Eight Acres

The Witches Kitchen

TGOG Readers On-line

Carbon Offset website

Copyright - Gavin Webber © 2025