Recently I waxed lyrical about growing mushrooms here at the house of GoG in this post titled The Great Mushroom Experiment.
So, finally, I found the time together put one of the two kits that I bought to start growing. I started off with the white button (Agaricus bisporus) mushrooms first, as I thought that may be the easiest to get a result.
I found the ingredients necessary for the kit, and got to it.

The essential ingredients
As I intended on making lots of mushrooms, because we eat them by the bucket load, I used 10 kg (22 lbs) of cow manure as the substrate. Each packet of spores can inoculate 5 kg (11 lbs) of manure, so logically, I had to add two packets. The essential ingredients are cow manure, compost mixed with garden soil, and of course the spores.

This is the packet of spores that I used. Produced by Mr Fothergill’s, these mushroom spores are easy to use, and come with comprehensive instructions on the back of the pack. I wasn’t left guessing when putting my kit together.

I used a spare plastic tub that I rescued from my shed. It was ideal as the instructions suggested a large plastic bag or crate. As an added bonus, I still had the lid, which I think in the initial stages of growth will keep the moisture in the box. Time will tell as to if this is a good thing.
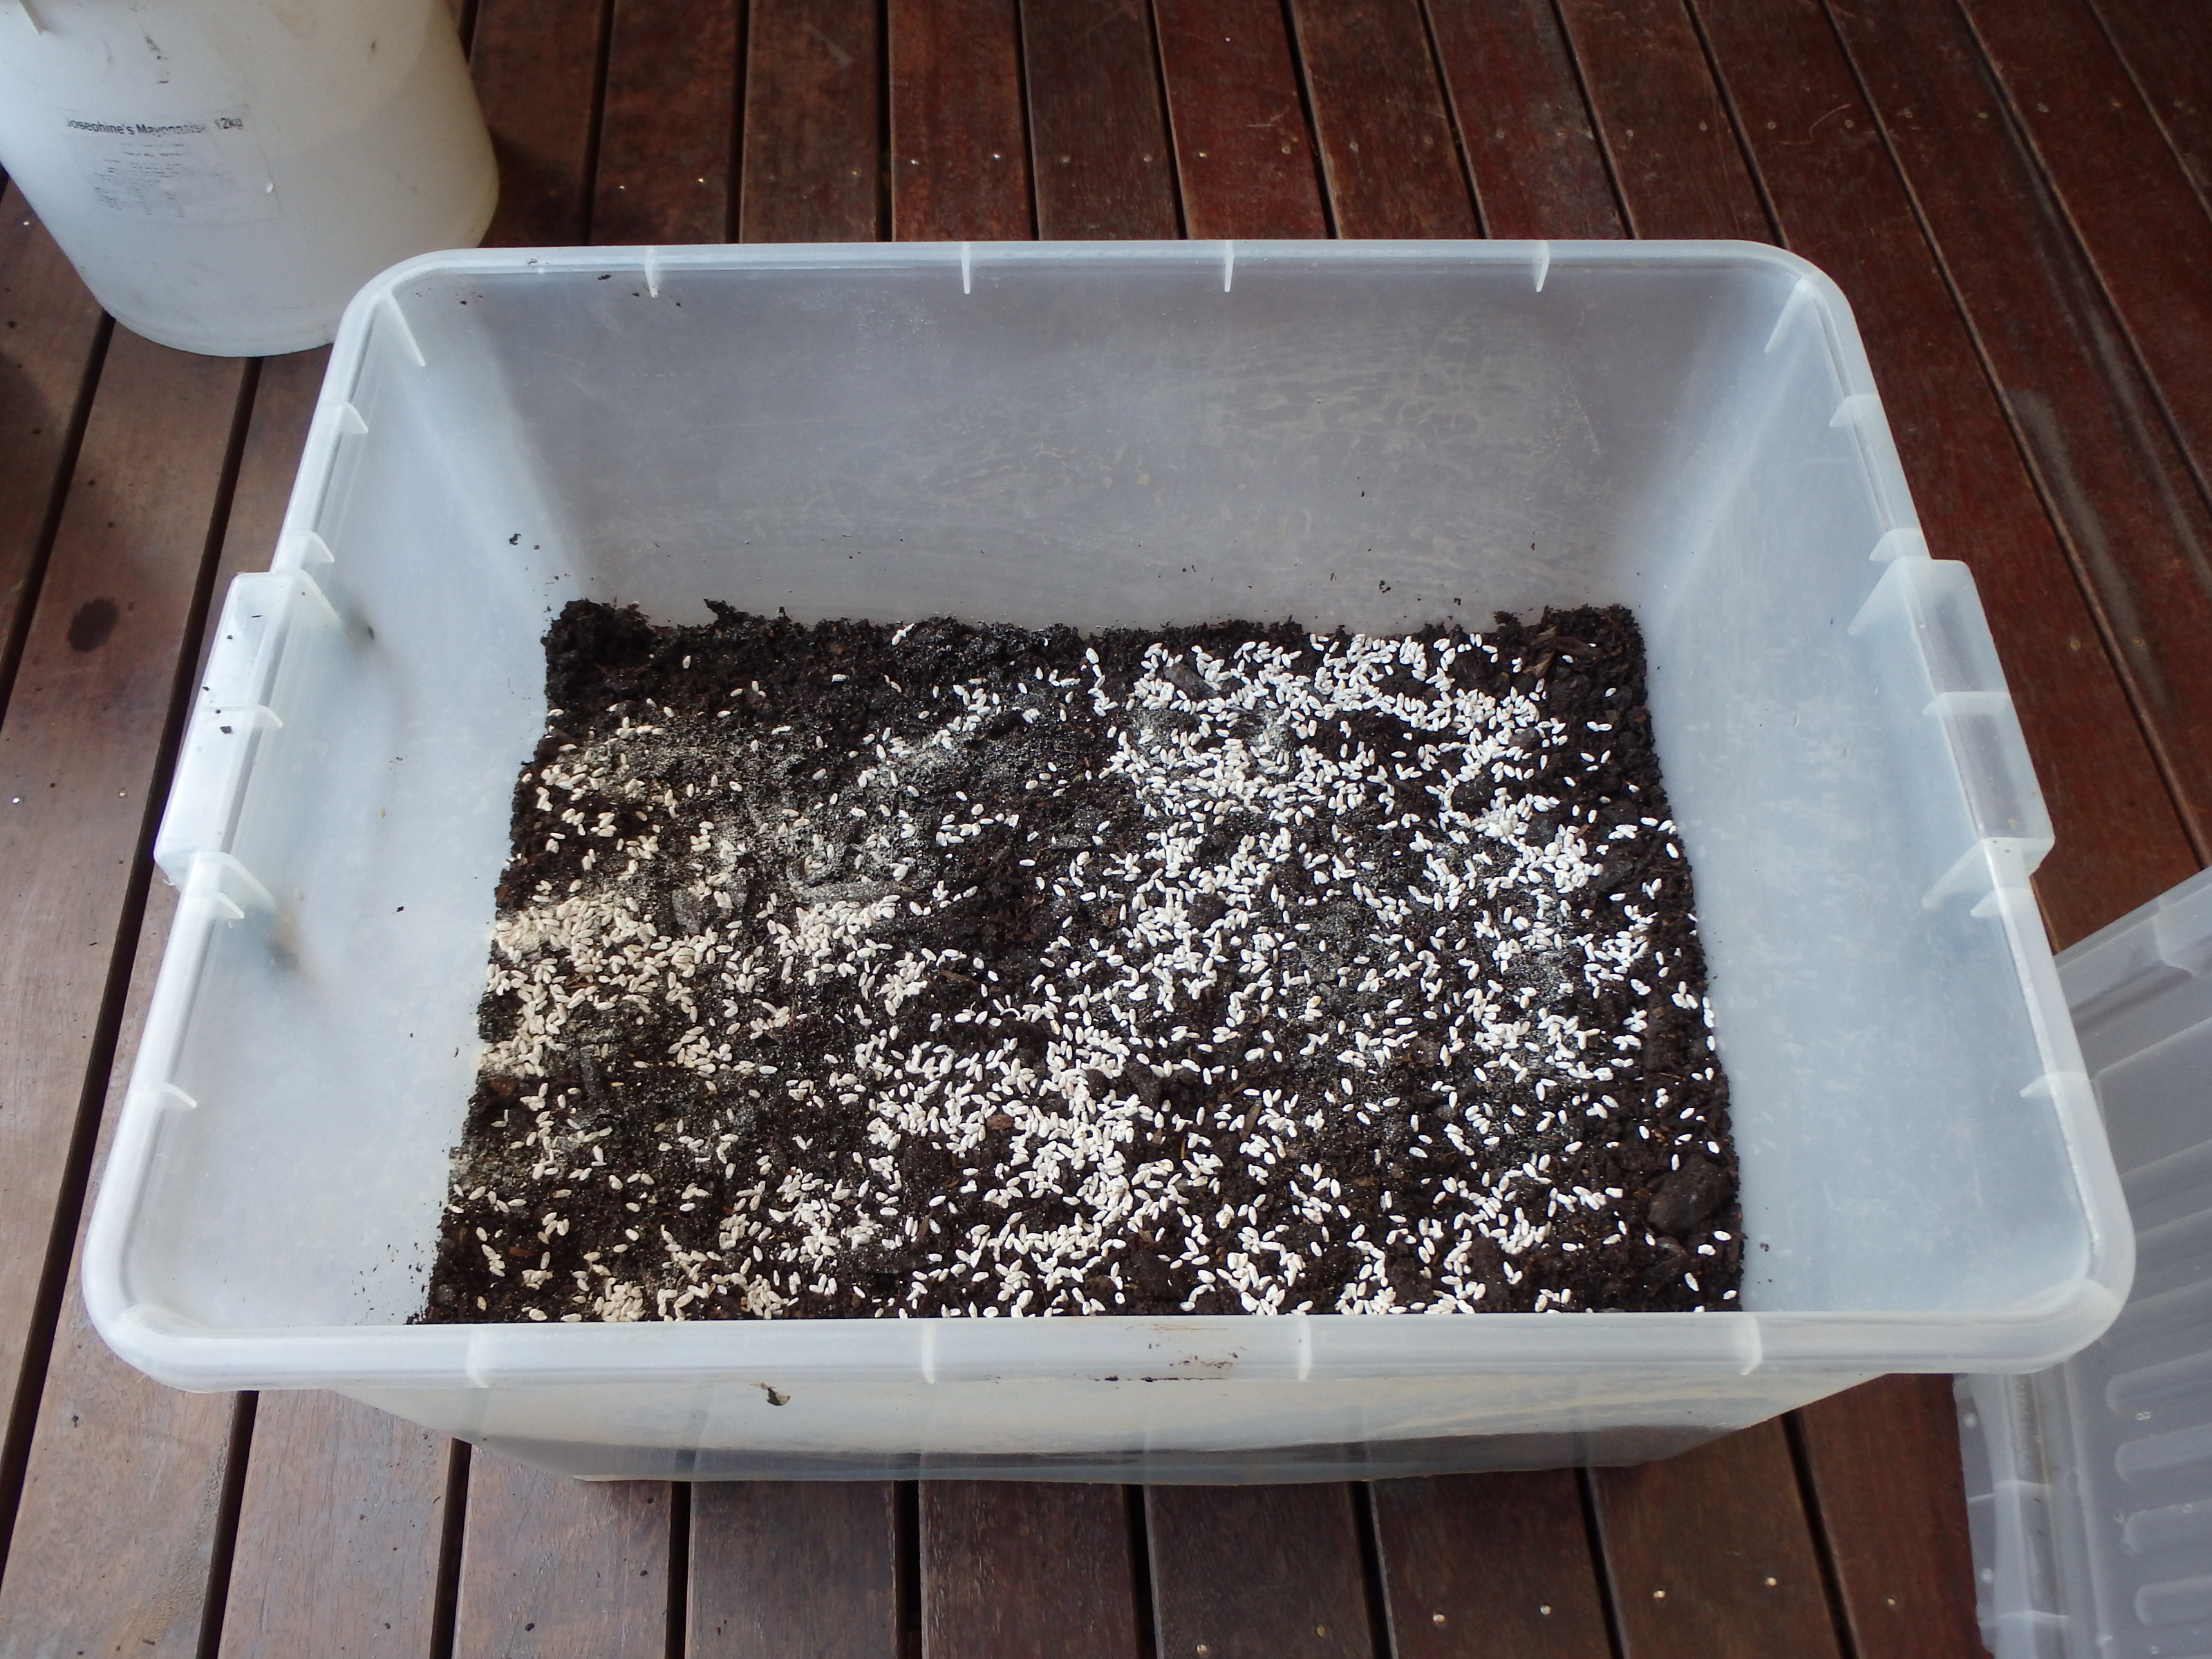
Mushroom spore sprinkled on cow manure
Once I added the cow manure, I gave it a light spray of water so that it was just moist (not damp) then I sprinkled on the inoculated grains (looked like dried rice grains) on top of the manure. Now while we are on the subject of manure, I may have made a mistake at this stage.
I accidentally picked up a bag of cow manure blend, instead of pure cow manure. Upon opening the bag, I found bits of wood and all sorts of additives to the cow manure. Not sure if this is good or bad, but there was still a lot of crushed manure in the mix.
Anyway, here is a close up of the grains.
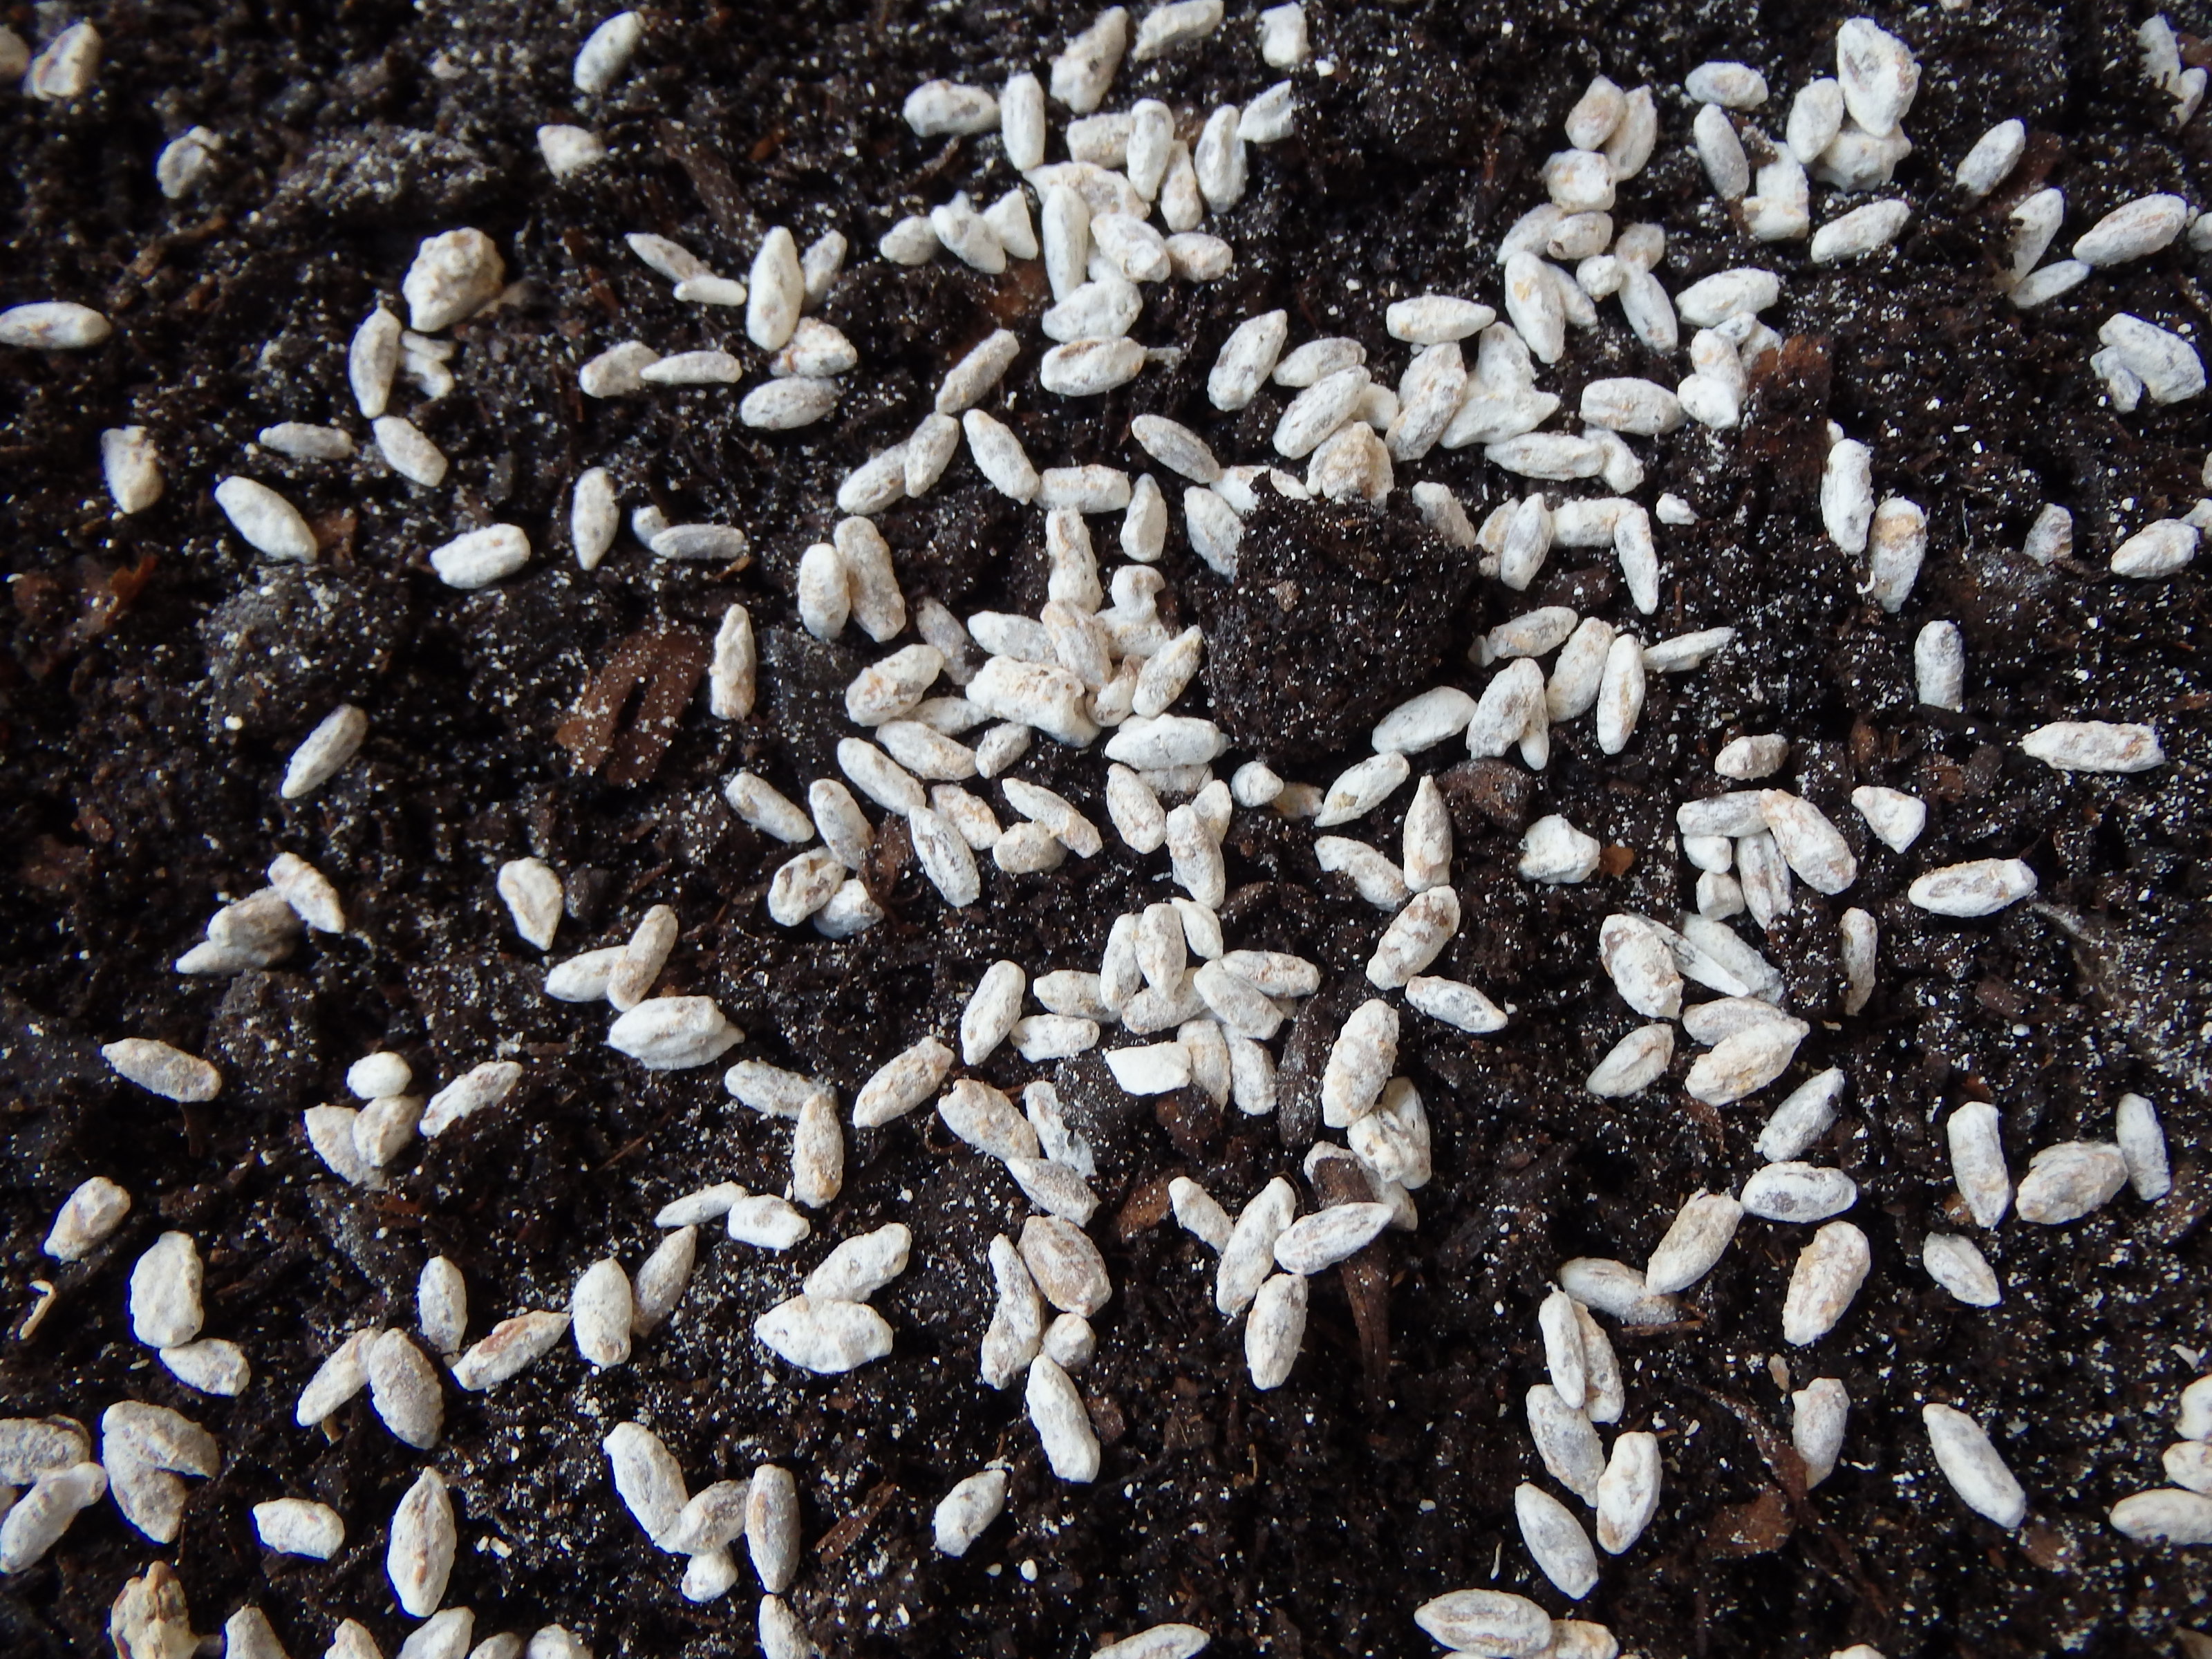
Grain inoculated with mushroom spawn
Now I gave it a big mix to make sure that the grains were thoroughly mixed through the manure blend. It didn’t take too long, but I kept mixing for a few minutes more just to make sure.
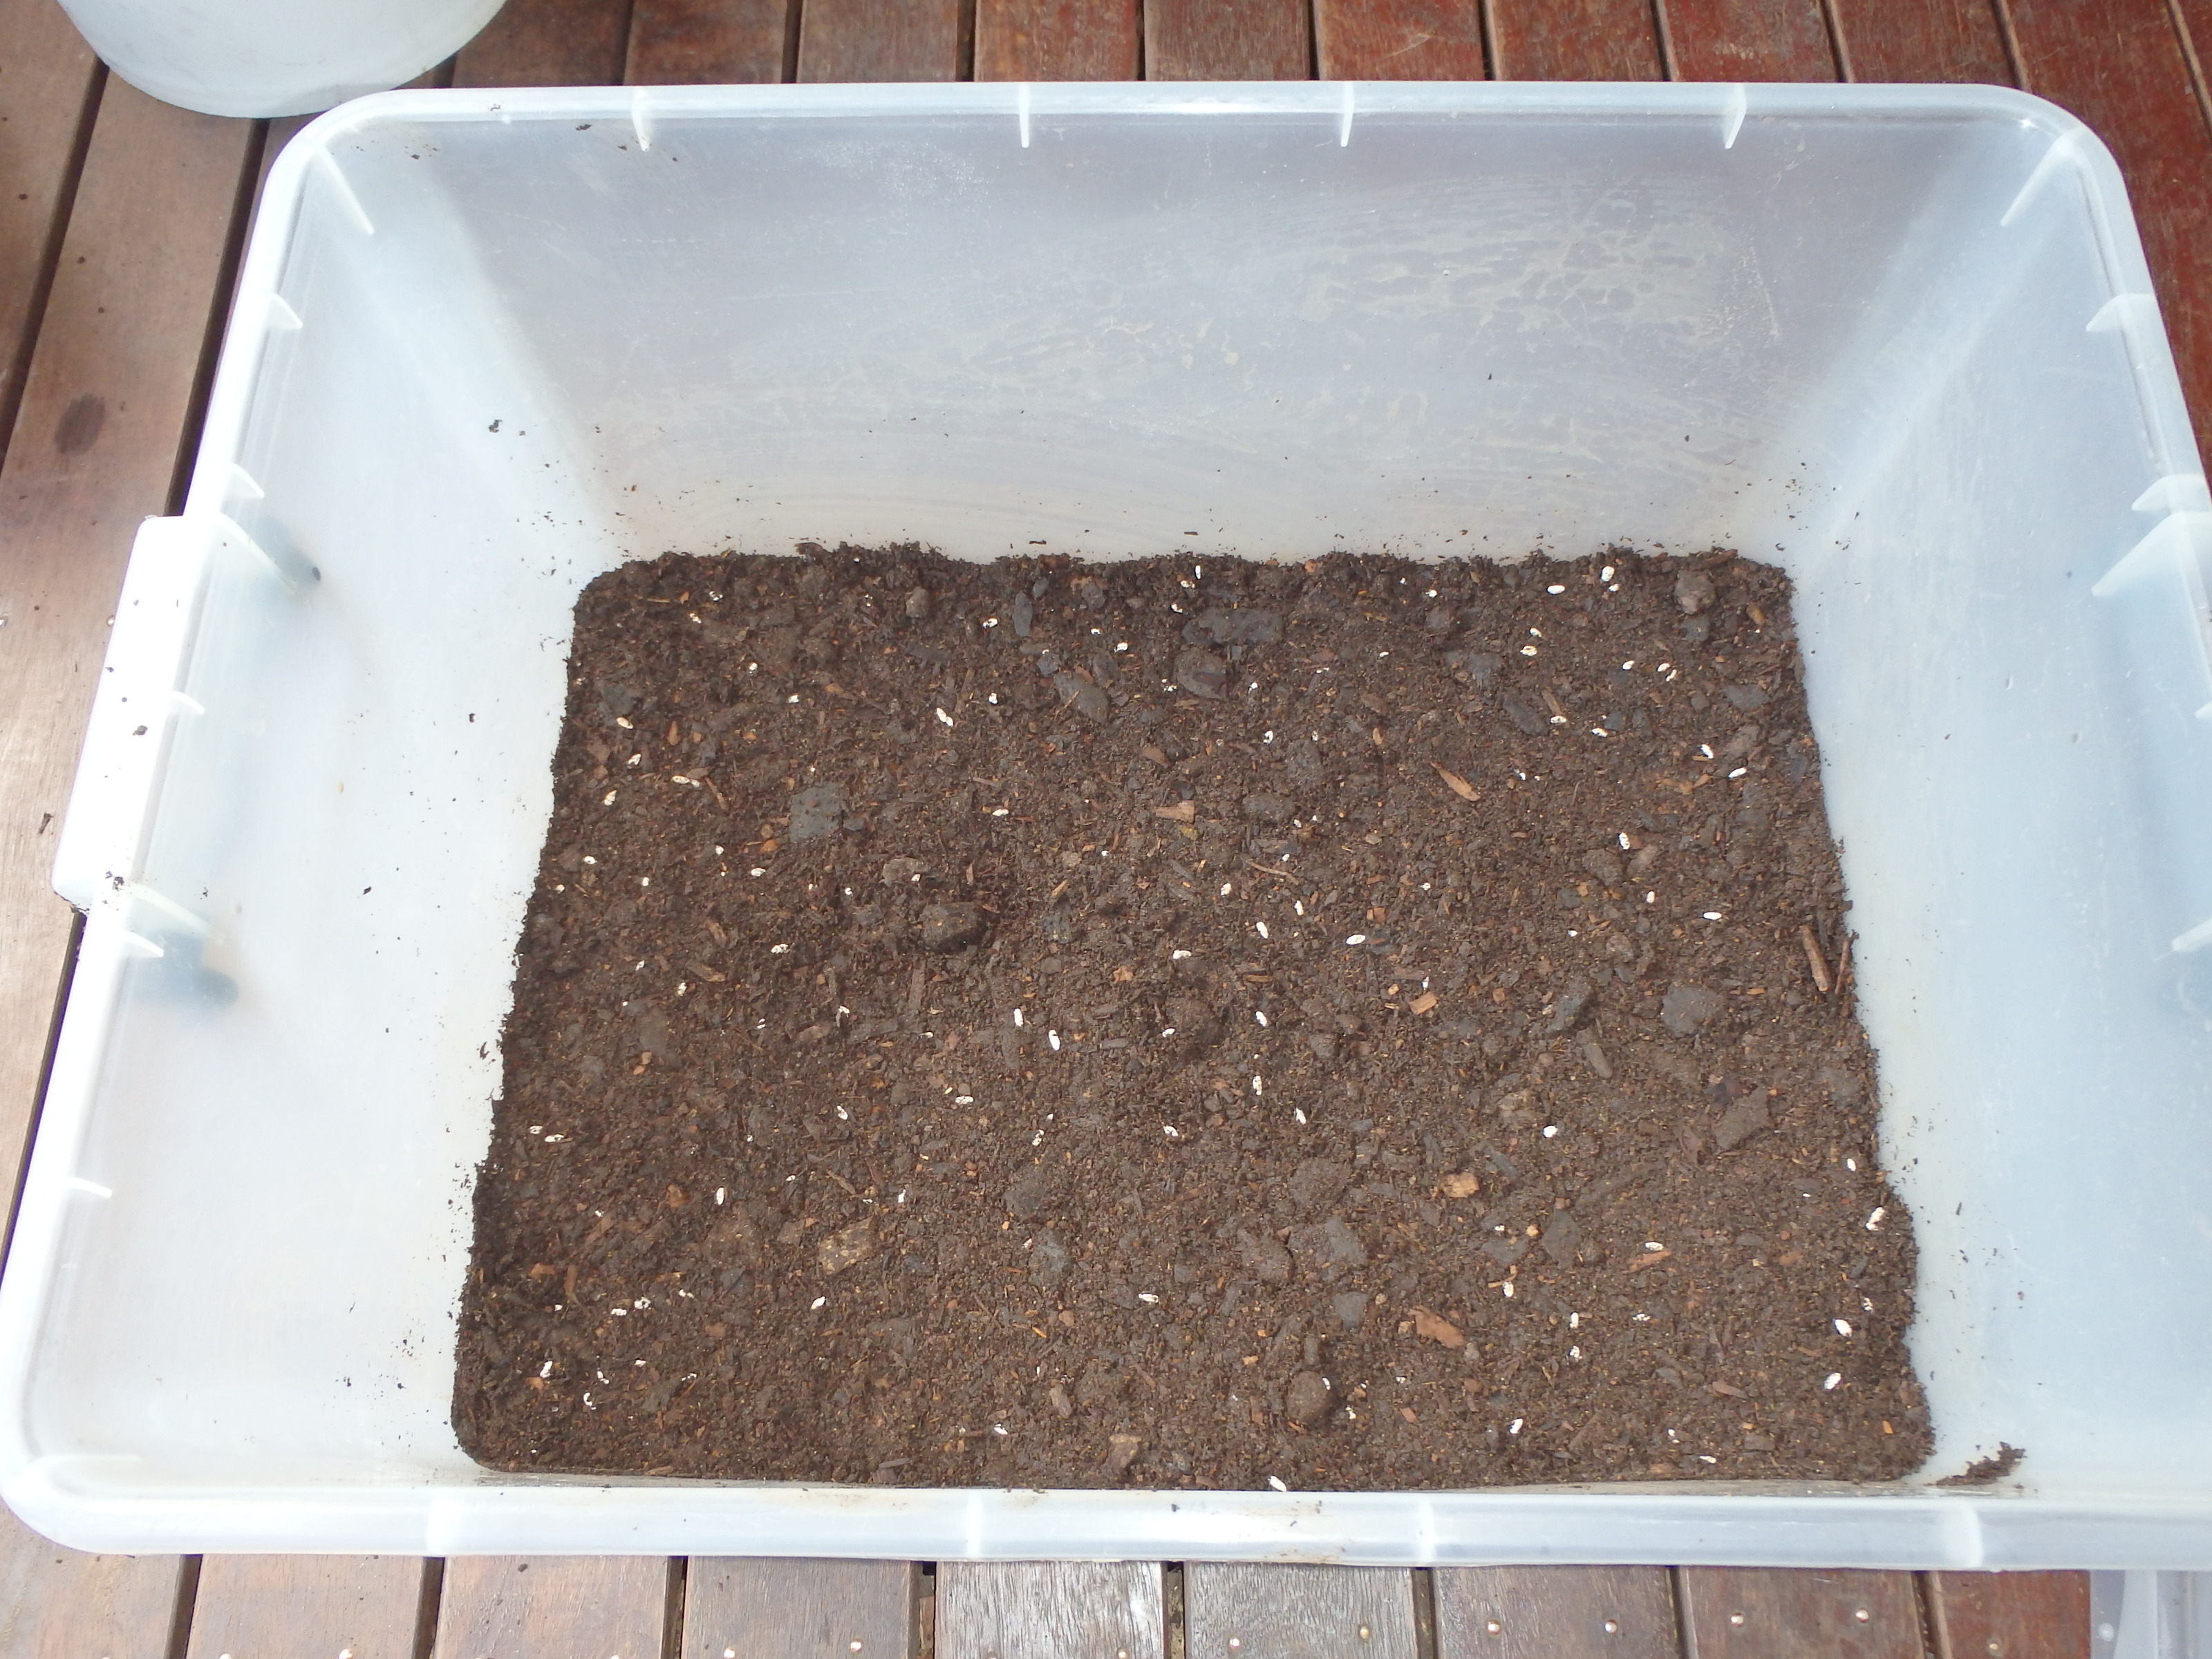
Mixing spawn into cow manure
With the spore mixed in, it was time to add a layer called a casting. This is to separate the substrate from the surface (I think).
I mixed up 1:1 ratio of compost with seed raising mix and picked out any large bits of wood or the like.
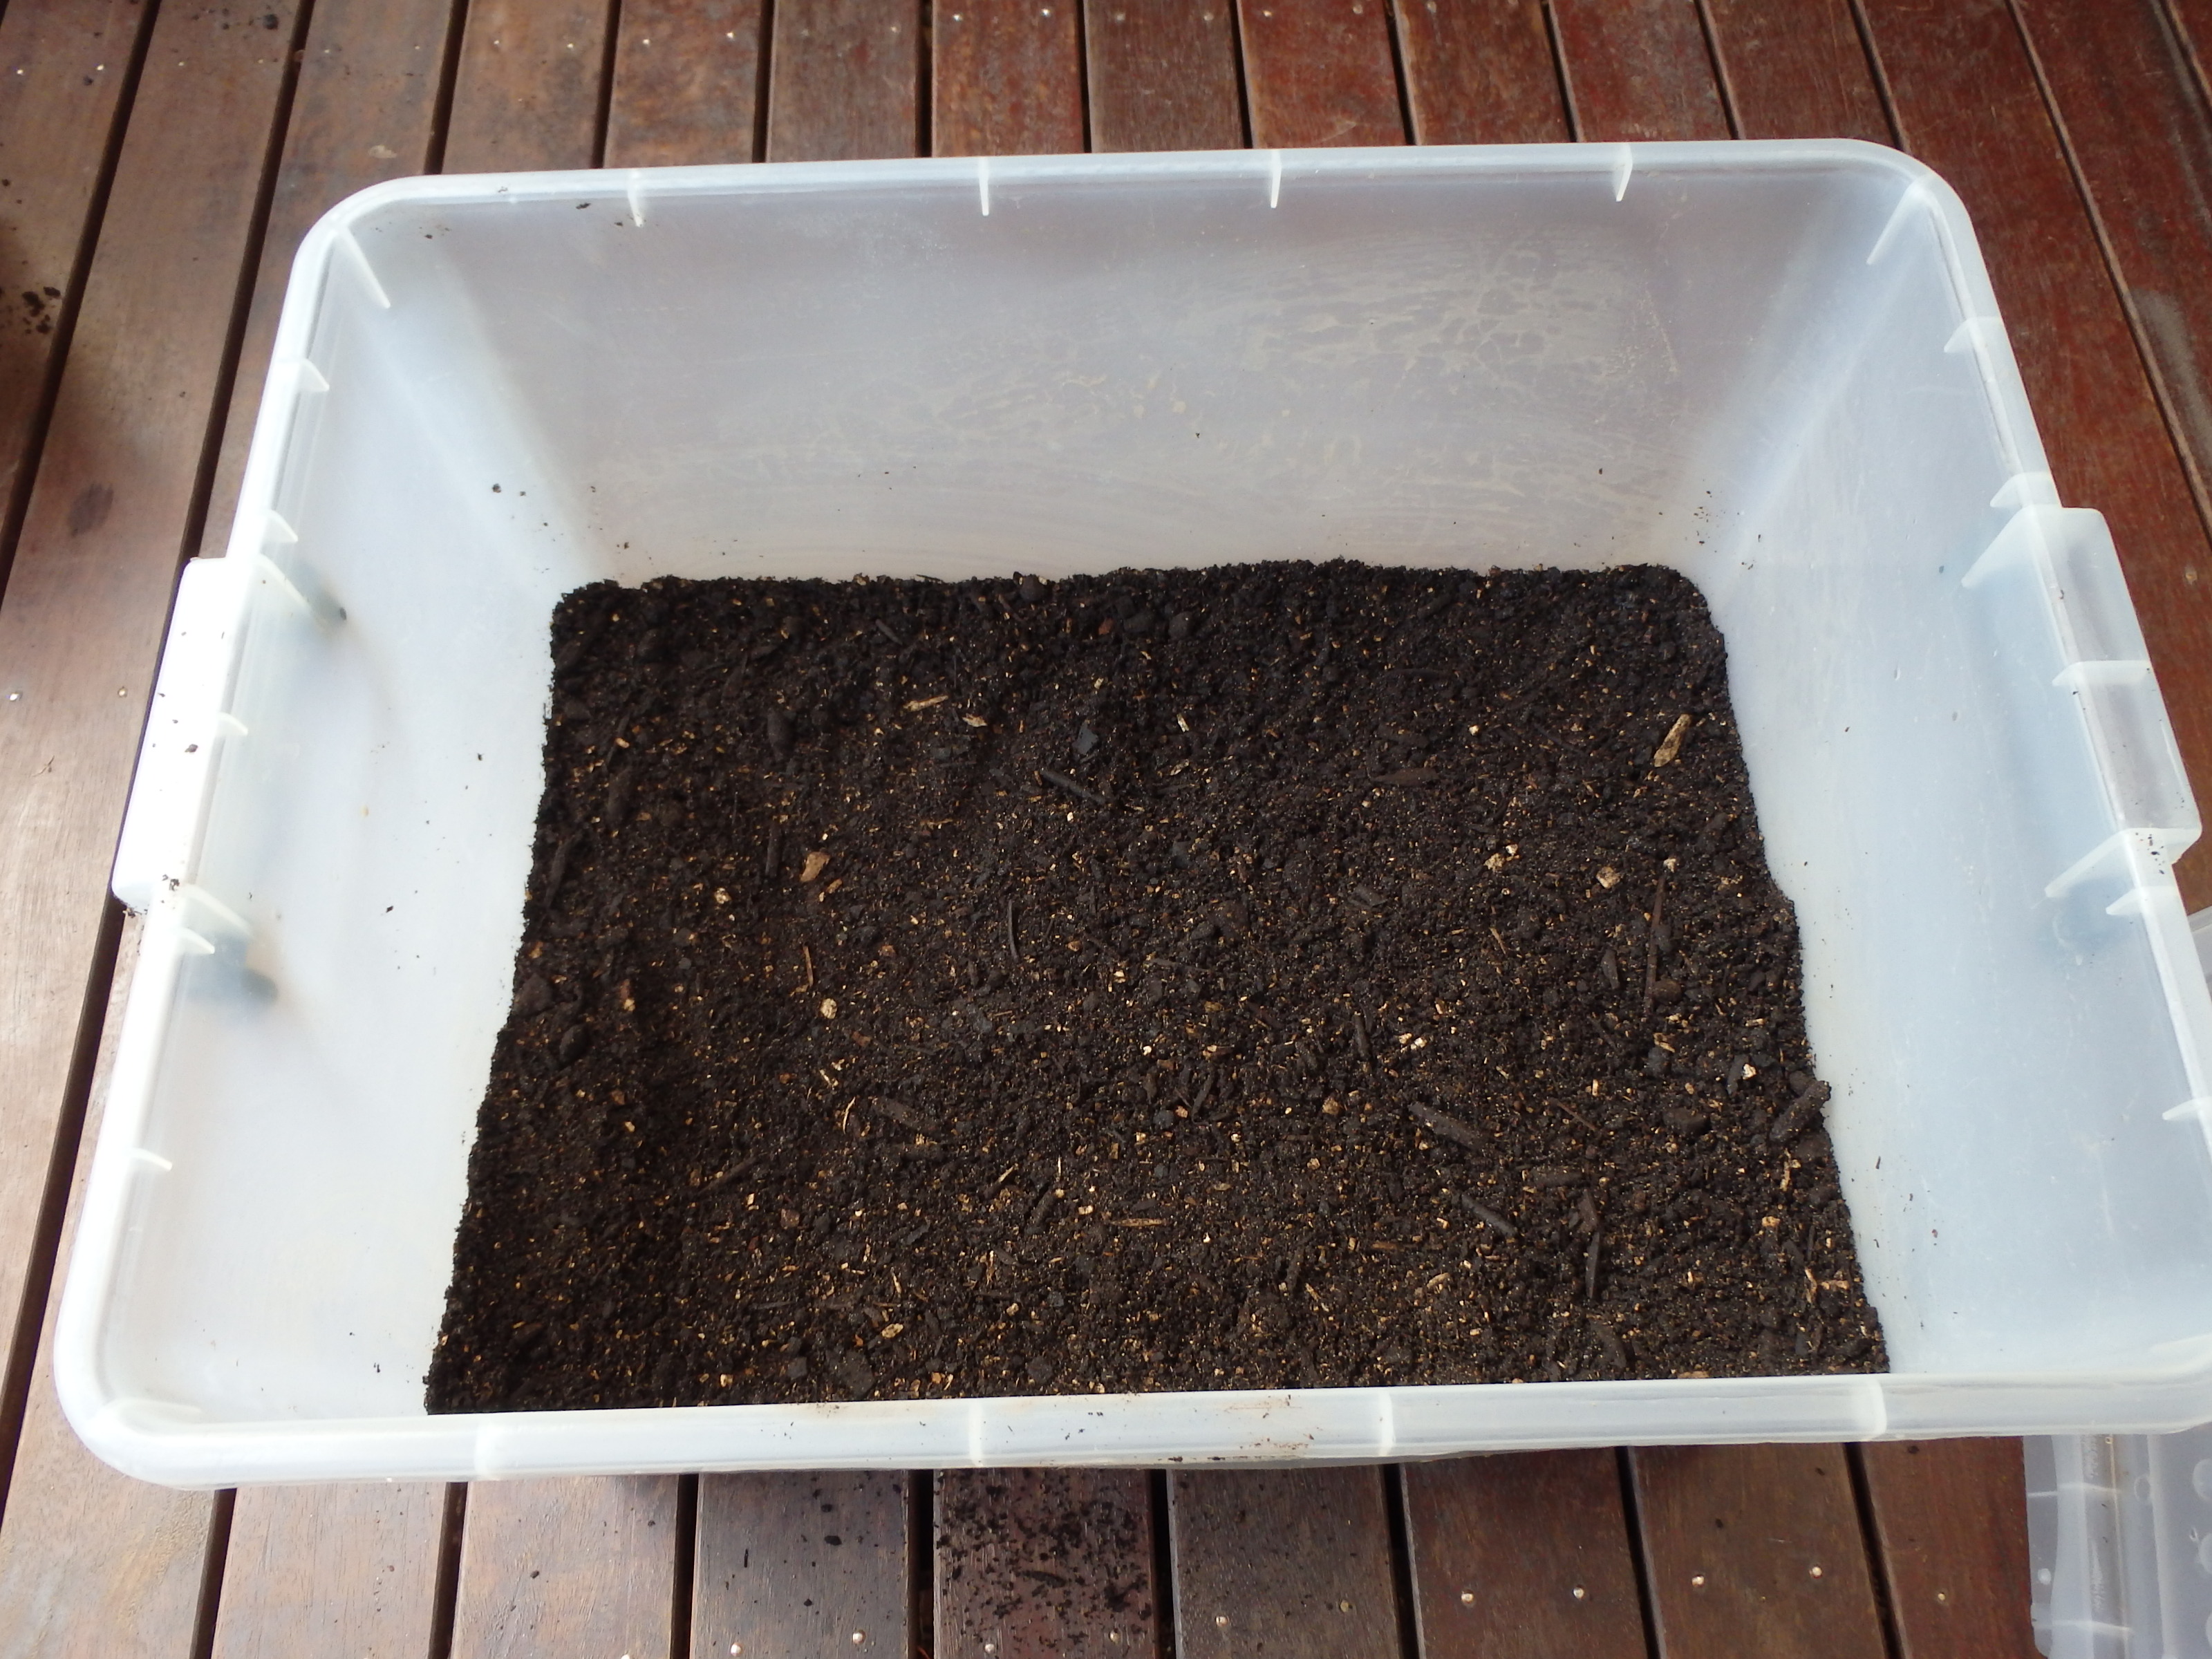
Adding casting layer
It was about 2.5 cm (1 inch) thick, which I lightly patted down. Then I moistened this layer with my spray bottle, and I placed the lid on top to keep in the moisture. I made sure that I did not clip on the lid, it was just placed on loosely so that the mix could breathe.
Once I was happy with it all, Kim took this happy snap.

As happy as a pig in mushrooms!
I stored it in the darkest place on our deck, out of direct sunlight. The instructions suggest that it should be stored in a cool room, garage, shed, or under the house at a temperature of 15-20°C (59-68°F). As it has been getting down to about 11°C (52°F) during the night, we placed a thick blanket over the box to provide some insulation, and to block out direct light.

Storing mushrooms in cool place
It look very bright in this photo, but rest assured, it is quite dark in this corner of the deck. This is the spray bottle that I have been using over the last week to keep the casting moist. I found the pump at one of those $2 shops, and it screws onto an old soft drink bottle. Great little find, as once pumped with air, it provides a fine mist of water. Perfect for this sort of growing, I believe.
Anyway, I have been looking after the mushrooms for about a week now, and no sign of activity on the surface. With that said, the instructions state that mushrooms may appear within as little as 20 days, so I am not even close to that yet.
So now we wait. Looking forward to writing about the first flush of growth!
Tomorrow I will be preparing the shiitake mushrooms, so watch out for a post about them soon.
looking forward to seeing the outcome 🙂
Me too Mick!
Yummo!
These posts are two years old, hope your green journey is thriving. Having been a nomad most of my life and now living with my elderly mother I have hitched my caboose lately to a friend one year into her greening. Just purchased mushroom kits this morning and found you. Wonderful mission
Thanks Angela! Yes, we are still living our sustainable lifestyle each and every day. We love it.
Hi ! I’m a hobby mycologist and mushroom farmer. From your post I believe the places you failed in are that when working with manure you have to pasteurize the manure by packing it into a pillow case and simmering it around 170 degrees F for a few hours then squeeze the manure out to “field capacity” where only a slight drop comes out when you squeeze a handful, same with the casing layer. And you need ALOT of air exchange. Most of us for a tub that size put 2 two inch holes at substrate level stuffed with polyfil polyester pillow stuffing, tightly . When you start with proper pasteurization and hydration with adequate air exchange you almost can’t fail. Good luck in your future mushroom activities it’s a wonderful hobby