When I was a kid, I was right into electronics kits, and occasionally played with meccano sets. Well today I got to relive my childhood, but in a more adult sort of way. I installed the two solar panels that I won as part of the blog of the year competition! Stand Alone Solar PV, here I come. I have based the entire set up on these instructions I found at Home Power magazine titled “Office-Sized Solar-Electric System for Renters“, which is very informative.

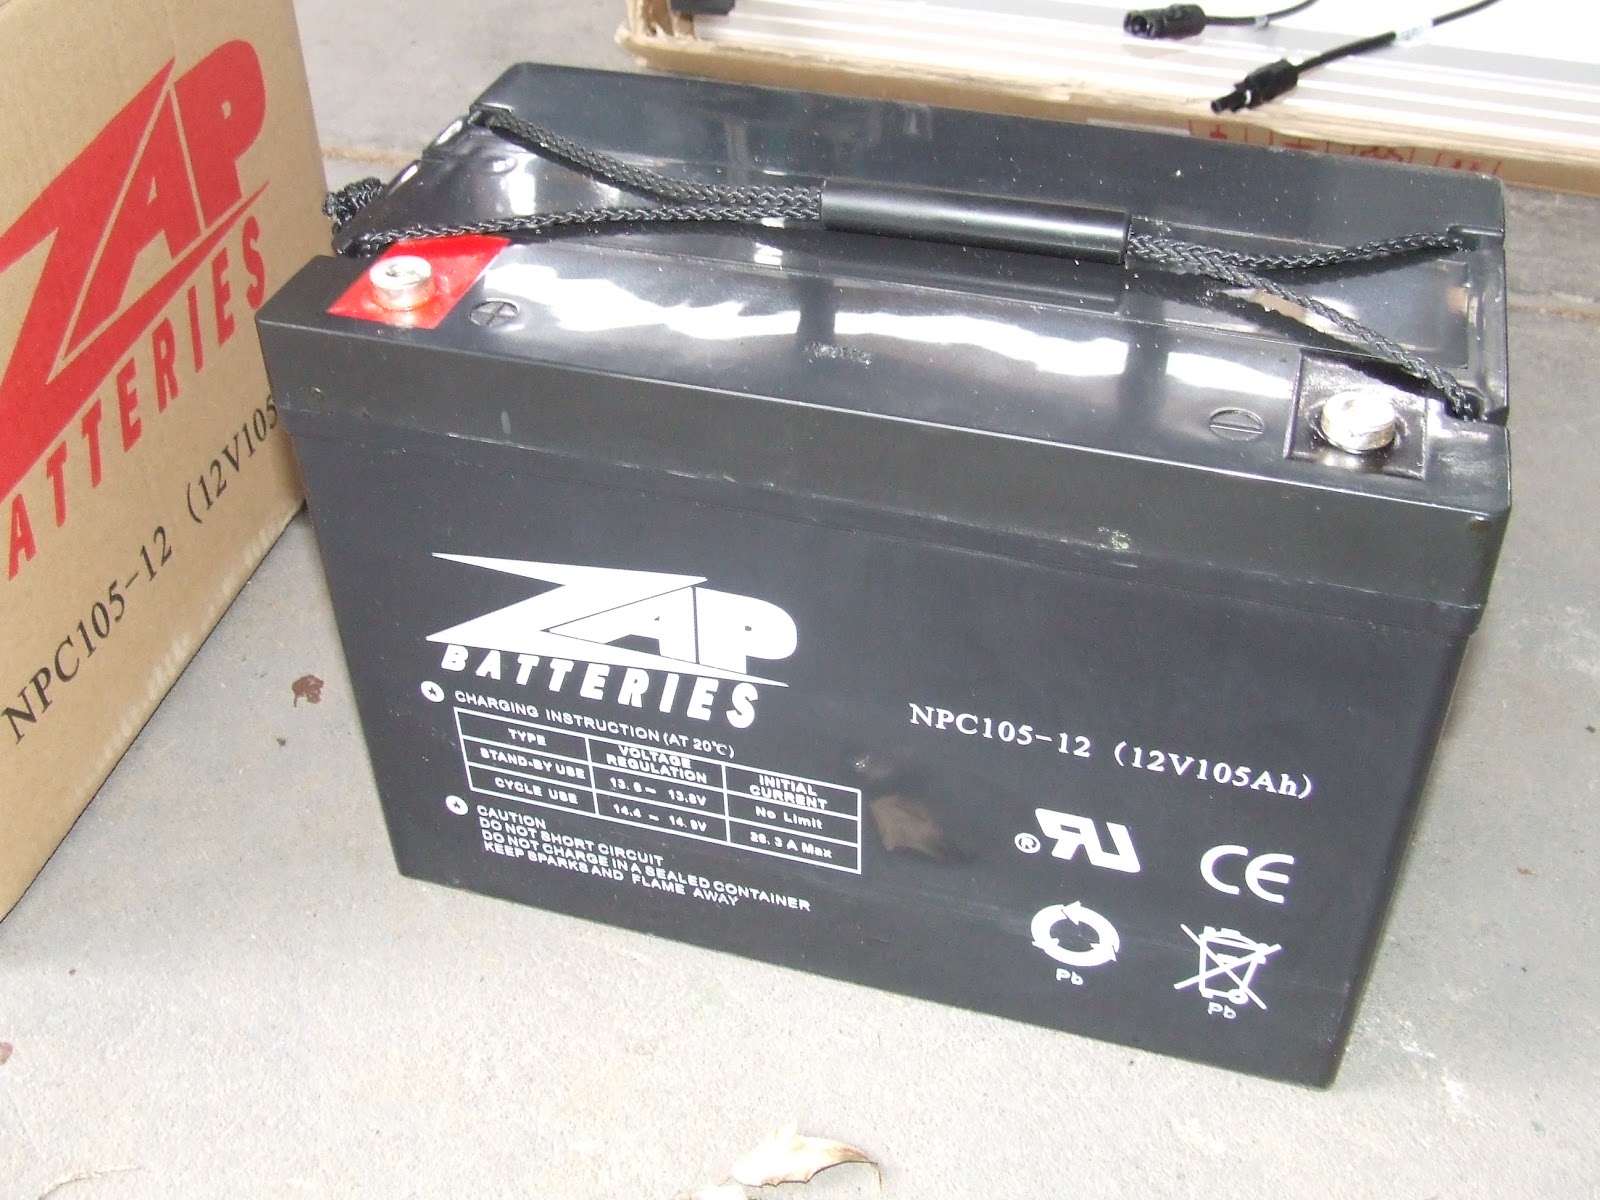
Two solar PV panels by themselves are actually quite useless, kind of like trying to eat with one chopstick so to speak. You have to get some other stuff to make it all work. So, the other day when I picked them up from Low Energy Developments in Preston, I bought some the other stuff as well to the tune of $347 that we had squirreled away for a rainy day. To harness and store the energy generated by the panels I picked up a deep cycle AGM, sealed 12 volt, 105AH battery. No maintenance required, thank goodness.
To ensure that battery doesn’t overcharge and keeps topped up during the day, and doesn’t feed power into the panels at night, I picked up a solar charge controller. To connect it to the other two components I bought a 12 metre cable (with connectors), and a pair of branch connectors to hook the panels together.
Before we began to make a frame to mount the panels up on the arbour, Ben received a basic lesson about direct current electricity, and we tested both panels with a multimeter to ensure that they worked. Both tested ok with an open voltage of 22.2 volts and about 6.7 amps when in the full sun. Just to help with the lesson, I explained that when the panel was in the sun, the voltage remained constant, it was the current (measured in amps) that fluctuated with the intensity of the suns rays. To demonstrate further, I told Ben to stand in front of the panel to shade it and we watched the current reduce. Pretty cool in a nerdy sort of way! Then I told him that the way to work out the watts being produced was to multiply the voltage by the amperage. As the voltage under load is only 18 volts (but reduced by the controller to about 14.4 volts to charge the battery) it worked out that they were producing about 120 watts each. Times this by two panels and that is a total of about 240 watts at noon, which is more than enough to charge the battery. In fact it could charge two batteries if I save some more money to get another one and wire it in parallel to the existing one.
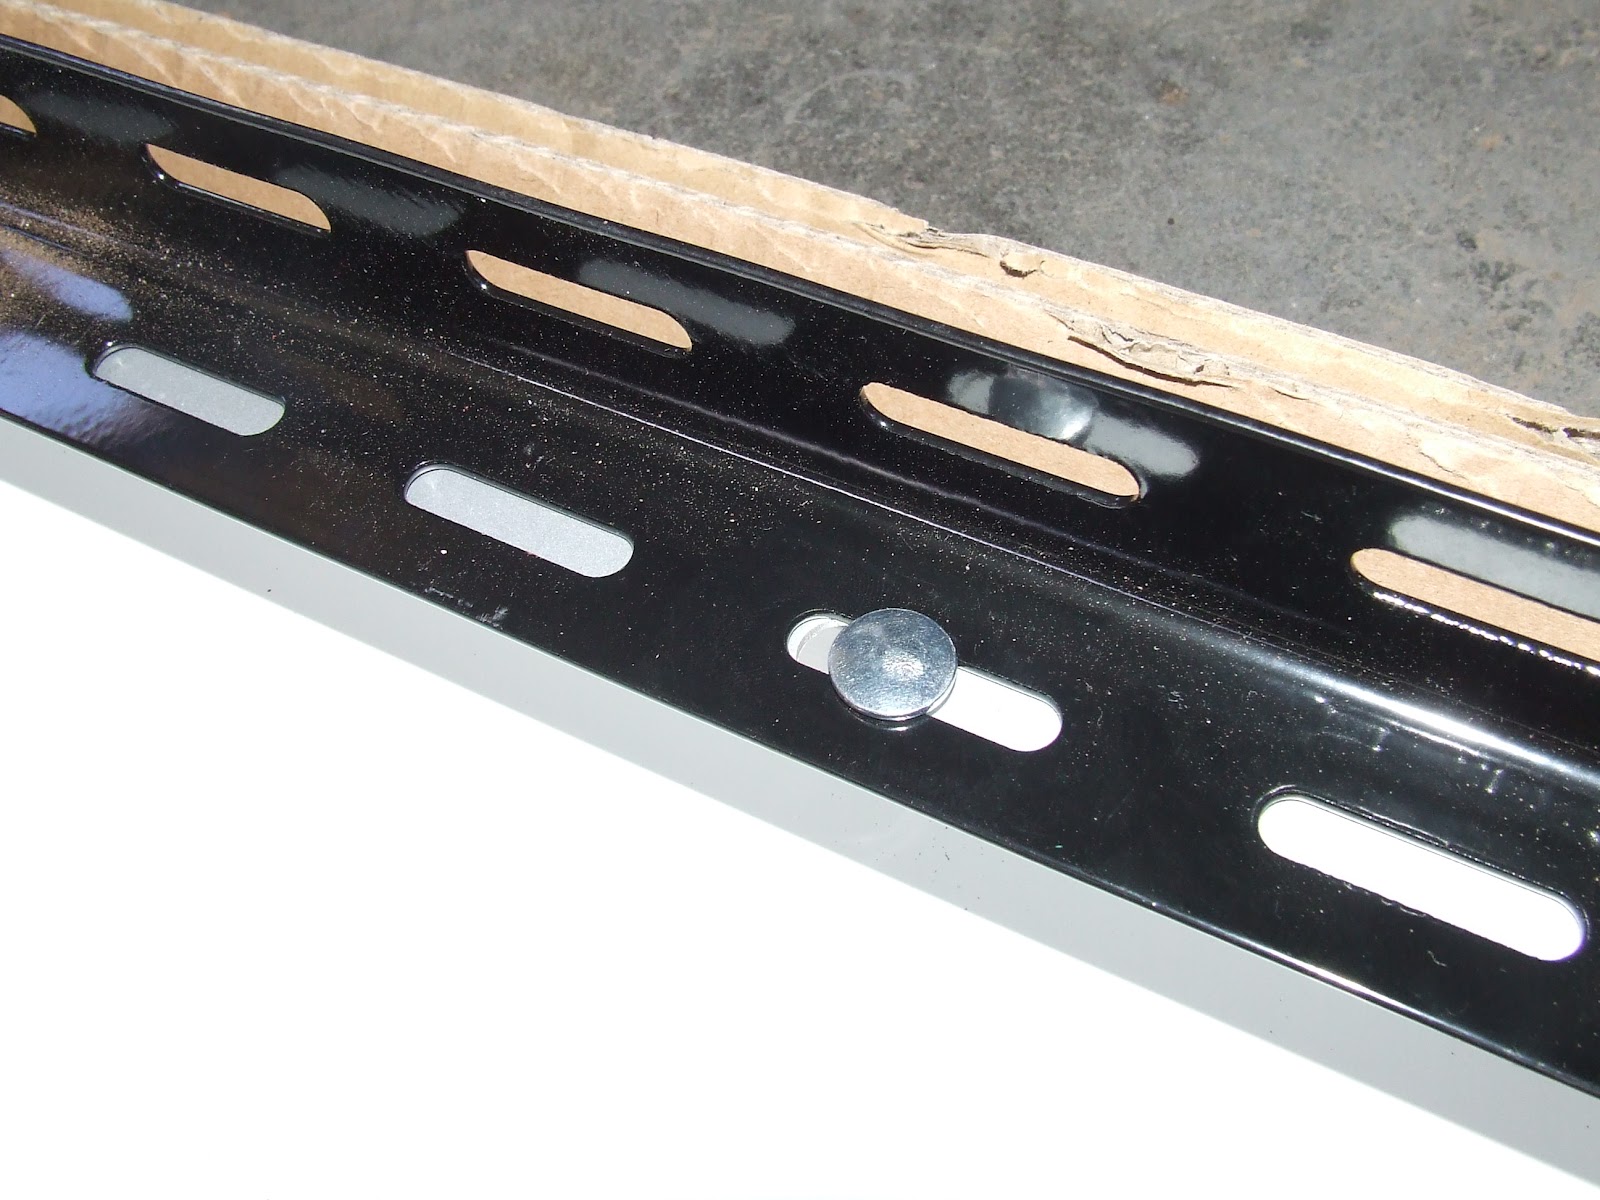
Then we made the frame. Suffice to say it was easy enough, as I used some pressed steel that you make tool shed shelves out of that came with a bag of nuts and bolts. We did a bit of research and found that Melton was about 37 degrees, 40 minutes South, so that was our base angle, and added on 10 degrees for winter to maximise output, and set them at about 45 degrees. Today the Sun’s angle was 46.4 degrees above the horizon. In summer, I will lay them back at about 70 degrees to maximise output.
Anyway, here is how we made the frame. Big boys meccano!
Luckily both panels had two holes on both sides to which I attached to L shaped rails to hold the legs

Here it is from a distance. Note that I have the panels still in their boxes so not to scratch the glass.

Then I attached the legs and set it at the right angle. They look a lot higher than my grid tied panels, but that is because a stand alone system needs to perform as well as it can, so moving it twice yearly helps, especially in winter.
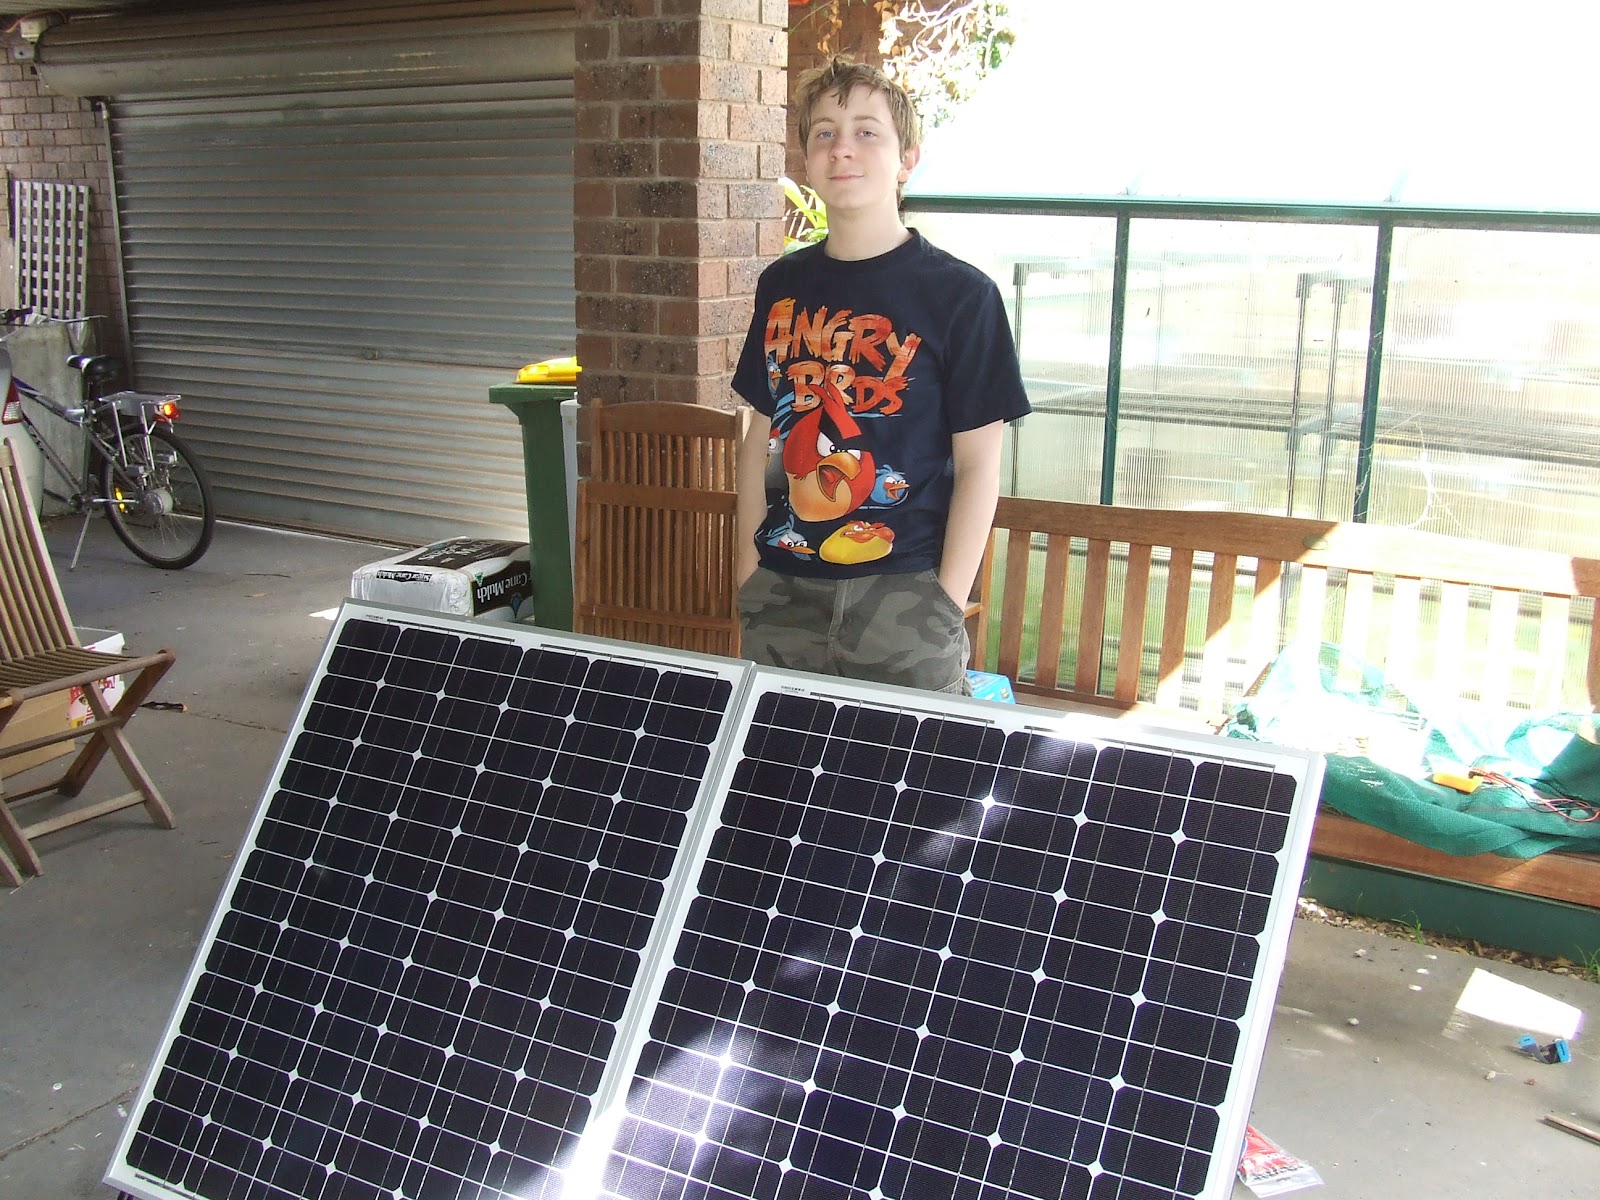
Here is Ben proudly showing some of his work, as we put the frame together as a team.
Then I has some interesting fun putting on the feel which consisted of L shaped brackets bolted onto the legs.
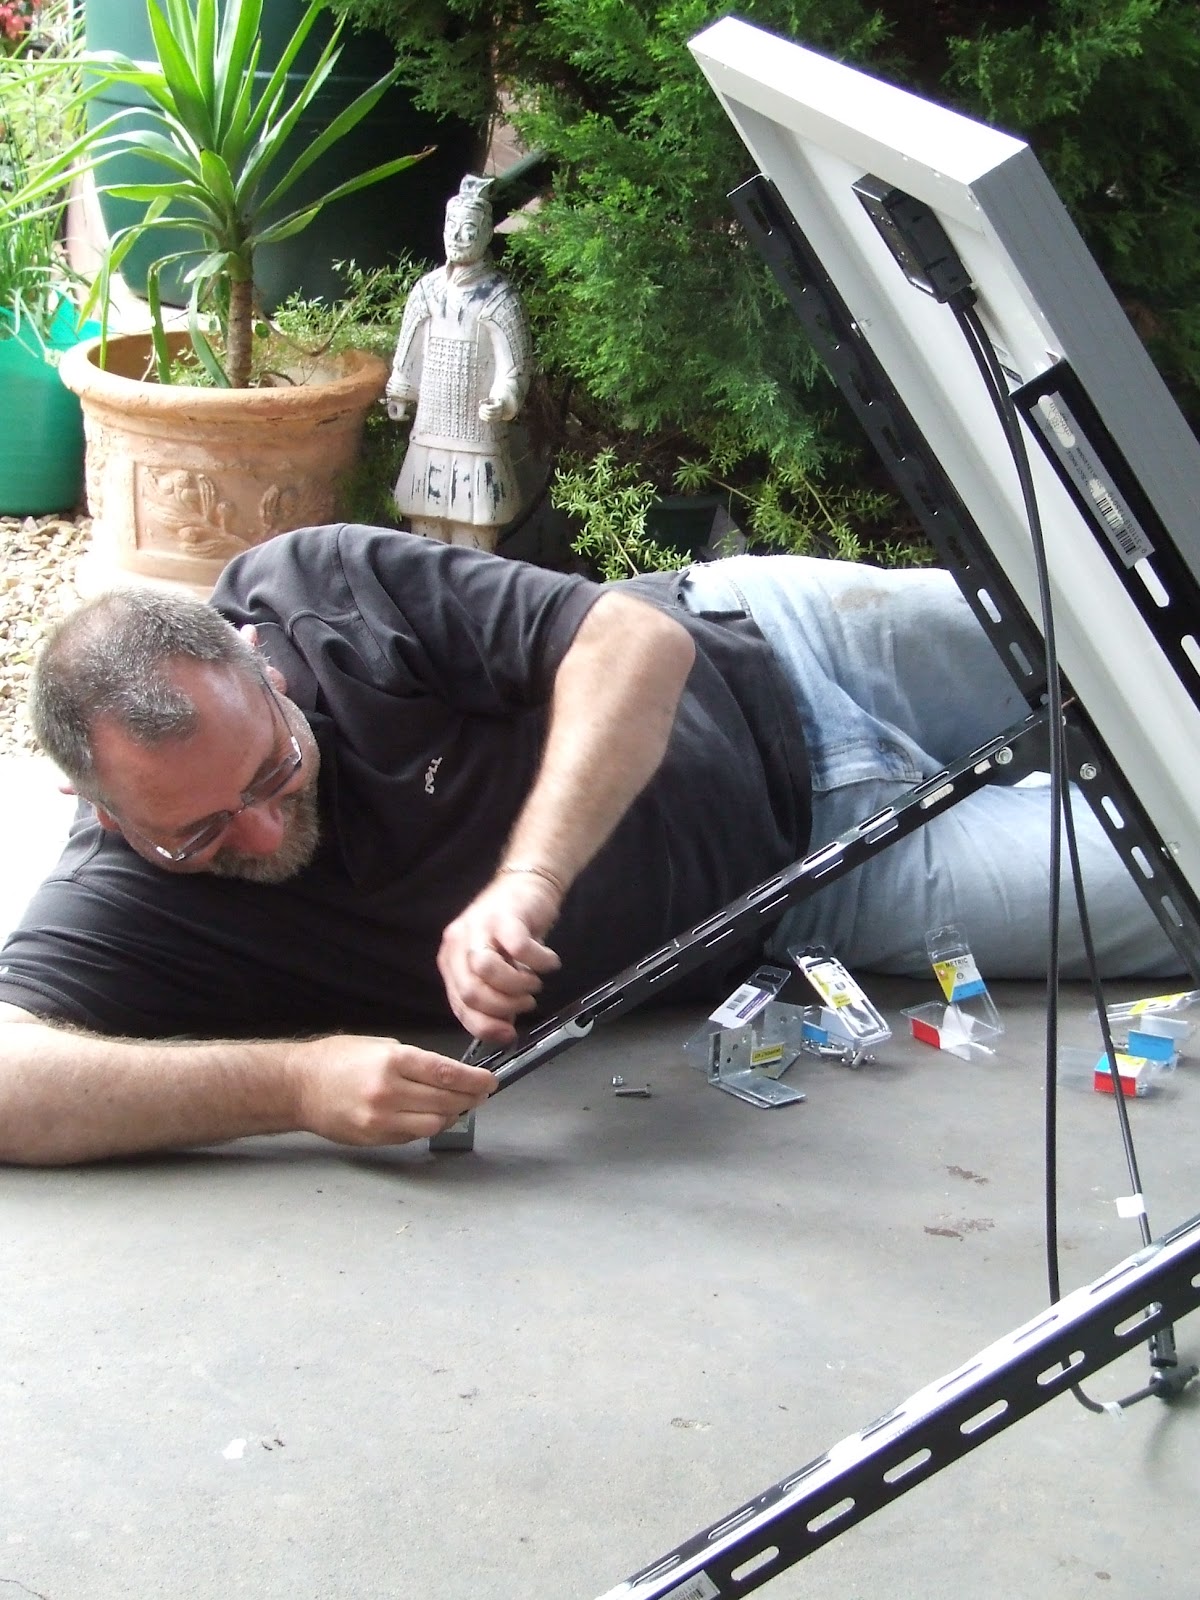
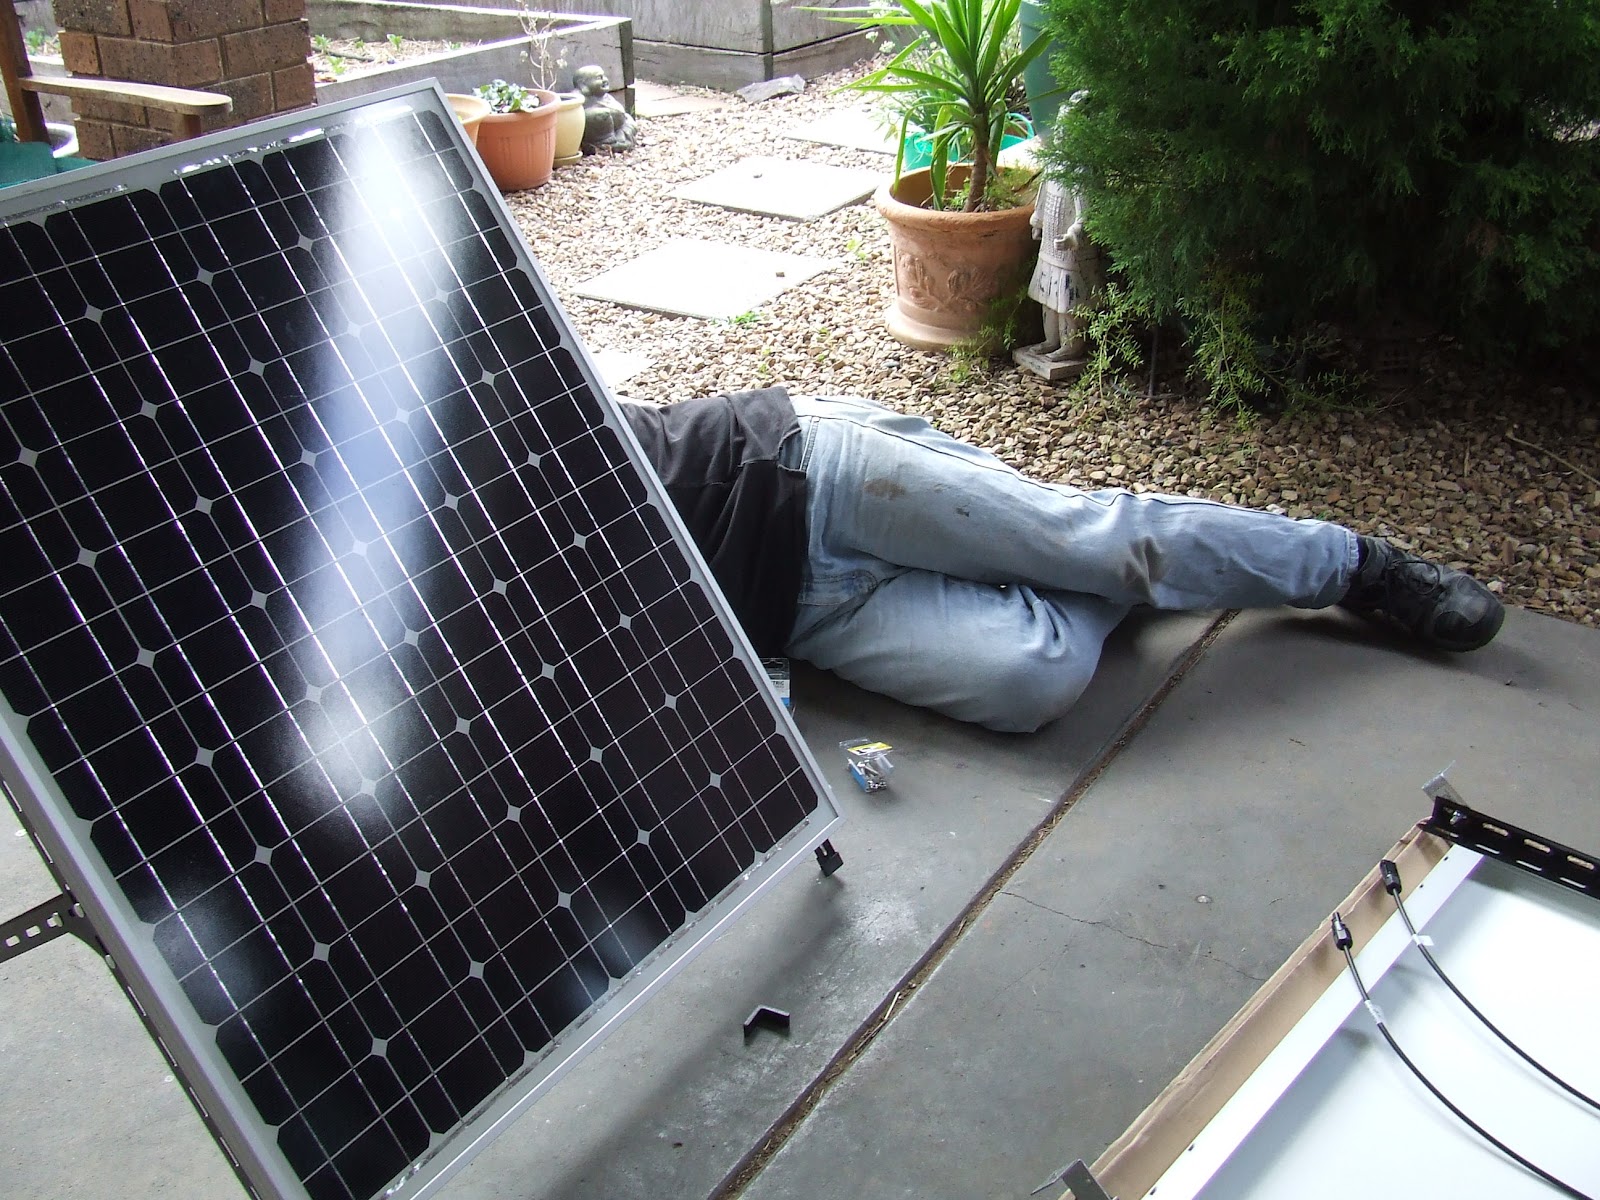
Kim took an unawares photo whilst I was concentrating on the job at hand.

So here is some of my handy work, installed like a pro! Whilst on the subject of professionals, low voltage systems can be installed by the home handy man as long as it is portable, i.e. not fixed. Looks portable to me! As it is only ever going to be a 12 volts system and not connected to the mains, I am not required to find someone licensed to install it for me. If you can install 12 volt garden lighting, then this is a breeze.

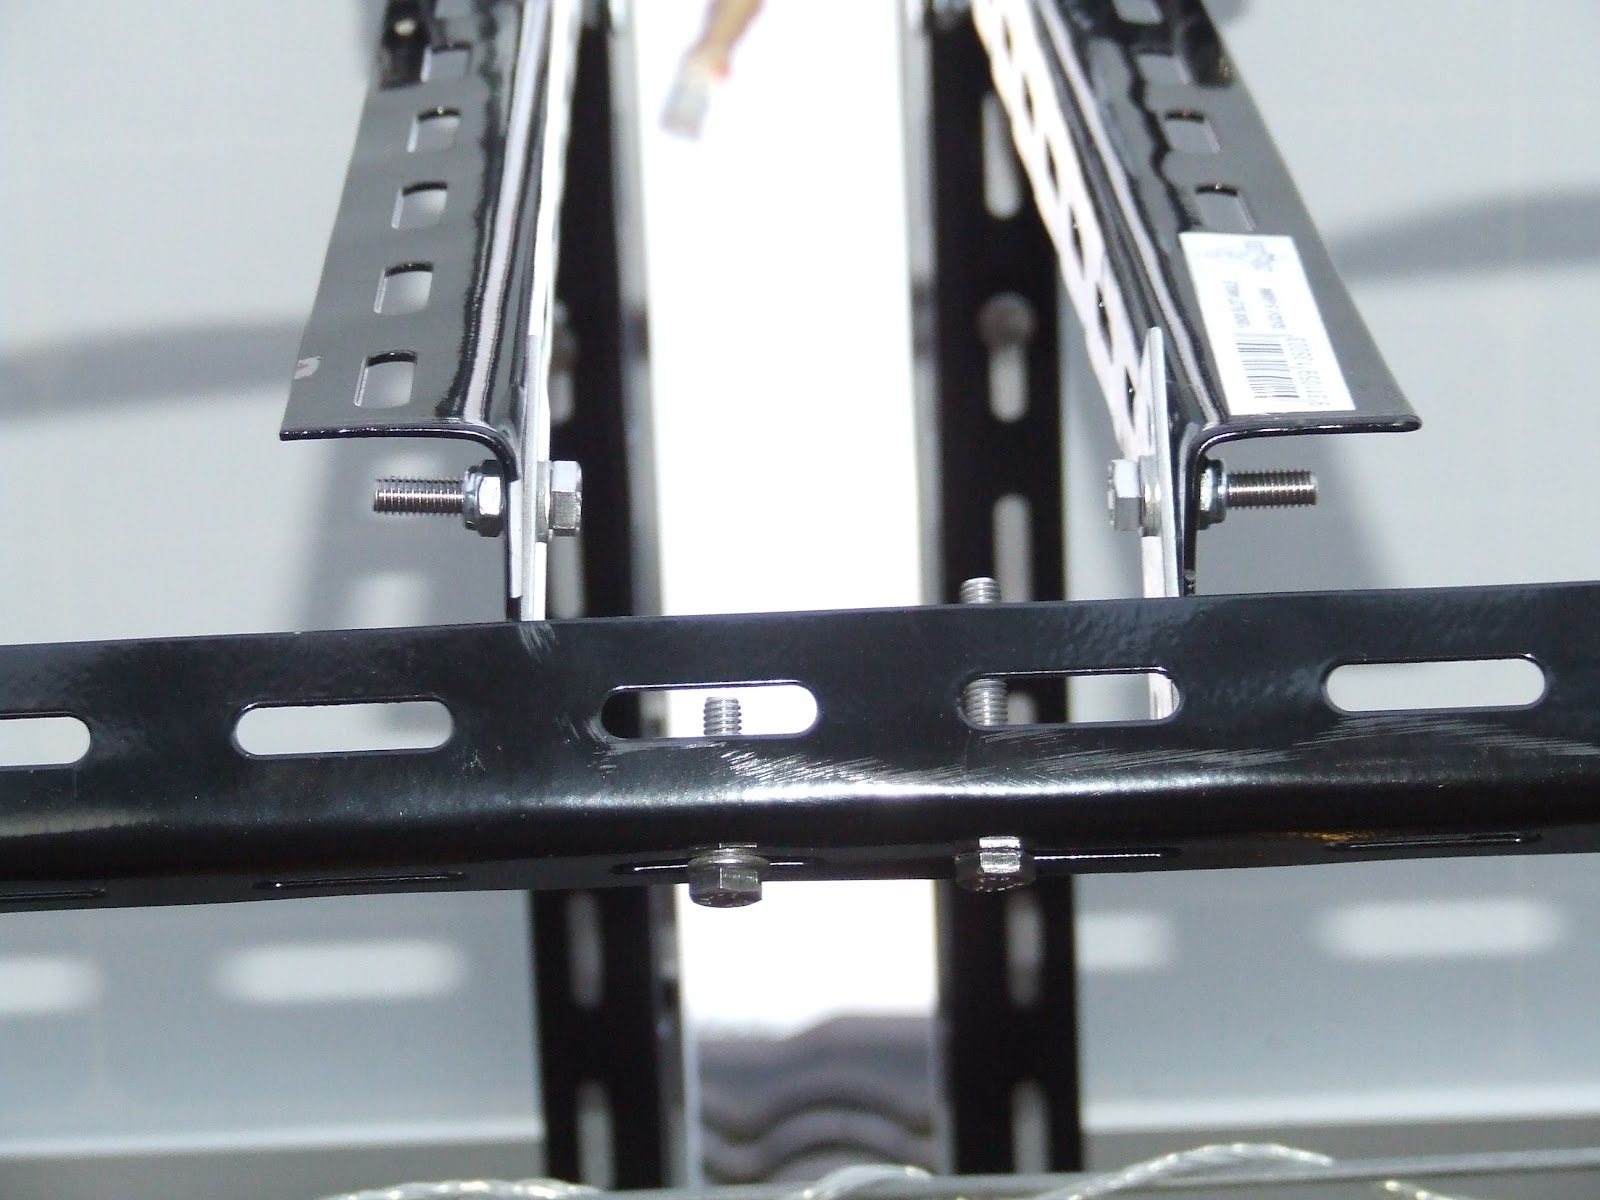
After about an hour of fiddling around we had it all installed, ironically, just as the sun was going down. There was just enough light to cable tie the fly leads into place. It is very ridged, and hopefully will withstand high winds from any direction. The frame is set up like the one on the carport, so I don’t think I will have too many problems.

Here is a rear shot of the panels, which should make for a good conversation piece over a few beers at parties! The connectors are now wired in parallel so to keep the system at 12 volts. If wired in series it would have increased it to 24 volts, which would not have worked with the components I purchased. There are many more things made to work on 12 volts, most specifically made for caravans and the Rec Vehicle market that I can utilise. First on my list is some lighting for the carport, and then a small pump for the rainwater tanks. Also, when I save up a few bob, I will get a 1000 watt inverter that I can plug in a few 240v appliances into if we have a blackout. Well that is the plan anyway.

A tidy job, because Kim mentioned that it had to look nice when viewed from her office, and the gazebo. Not one to disappoint, it looks as nice as I could make it.
So tomorrow, Ben and I are making a portable battery box with lots of ventilation, which is just to keep a bit of air flow around the battery and keep the weather off of the solar charge controller and wiring. I bought a few switches so I can isolate each circuit to the controller and some 30 amp fuses to connect in between the panel and the controller. Looks like a wood work lesson in the morning and some DC low voltage electronics in the afternoon. Hopefully everything will work as smooth as it did today! I will show all the wiring in case anyone wants to try this for themselves.
So much fun, and it feels good to be able to do something about our energy independence in a small scale way.
happy boys and what a great thing to do together xx
Hi Froogs, yes good clean and educational boys fun. Ben enjoyed the time with his ‘old man’, and is looking forward to today as well.
Gav x
hi gav where have you placed the battery dad
Hi Dad, we are putting the battery box next to the existing grid tied inverter. Close to where the pump is going to be installed as well, when I find one at the right price.
Gav
how much can these 2 panels potentially power up?
Not quite sure at the moment, but I would expect that it will power my soon to be purchased water pump, and lighting in the carport when ever I need them. Technically the battery should be fully charged most of the time, but one I connect the solar charge controller which will tell me how quickly the battery is charging and discharging, I will have a better idea.
Will let you know when I have it all connected and working.
Gav x
that’s what I’m keen to know – what can it power 🙂
looking forward to updates as they come
nice job!
Thanks Kristy x
Great job Gav,
Hasn’t young Ben grown up …wow
I met a guy over here that lives out of a trailer.He pays $7 a night at local camping spots and only comes to town when he needs food, gas etc,he has 2 x120 watt panels , 2 x 100 ah batteries a 30 amp controller. He runs a car fridge freezer 24/7, a 12 volt led light bank , a 240 volt single electric blanket on low in winter and a small fan in his tent in summer, he also powers his computer and has a sticker making machine in his trailer to make beer money.
Keep up the the good work mate.
Hi Phil,
At least that gives me an idea of the sorts of things I will be able to run with my system. I realise it is a bit spartan, but you have to start somewhere. Sounds like I need another battery!
cheers mate