I inspected the oven on Thursday, and there were large cracks that had opened up in the first layer, so on Friday, Kim and Ben made up a mix of 66% sand, 33% clay and half a bucket of straw.
They made a layer that was about 3cm thick all over, and we let that dry. Well guess what? That fixed the cracks. So Saturday morning was the first firing of the clay oven to harden the inside which was still damp.

The first flame!
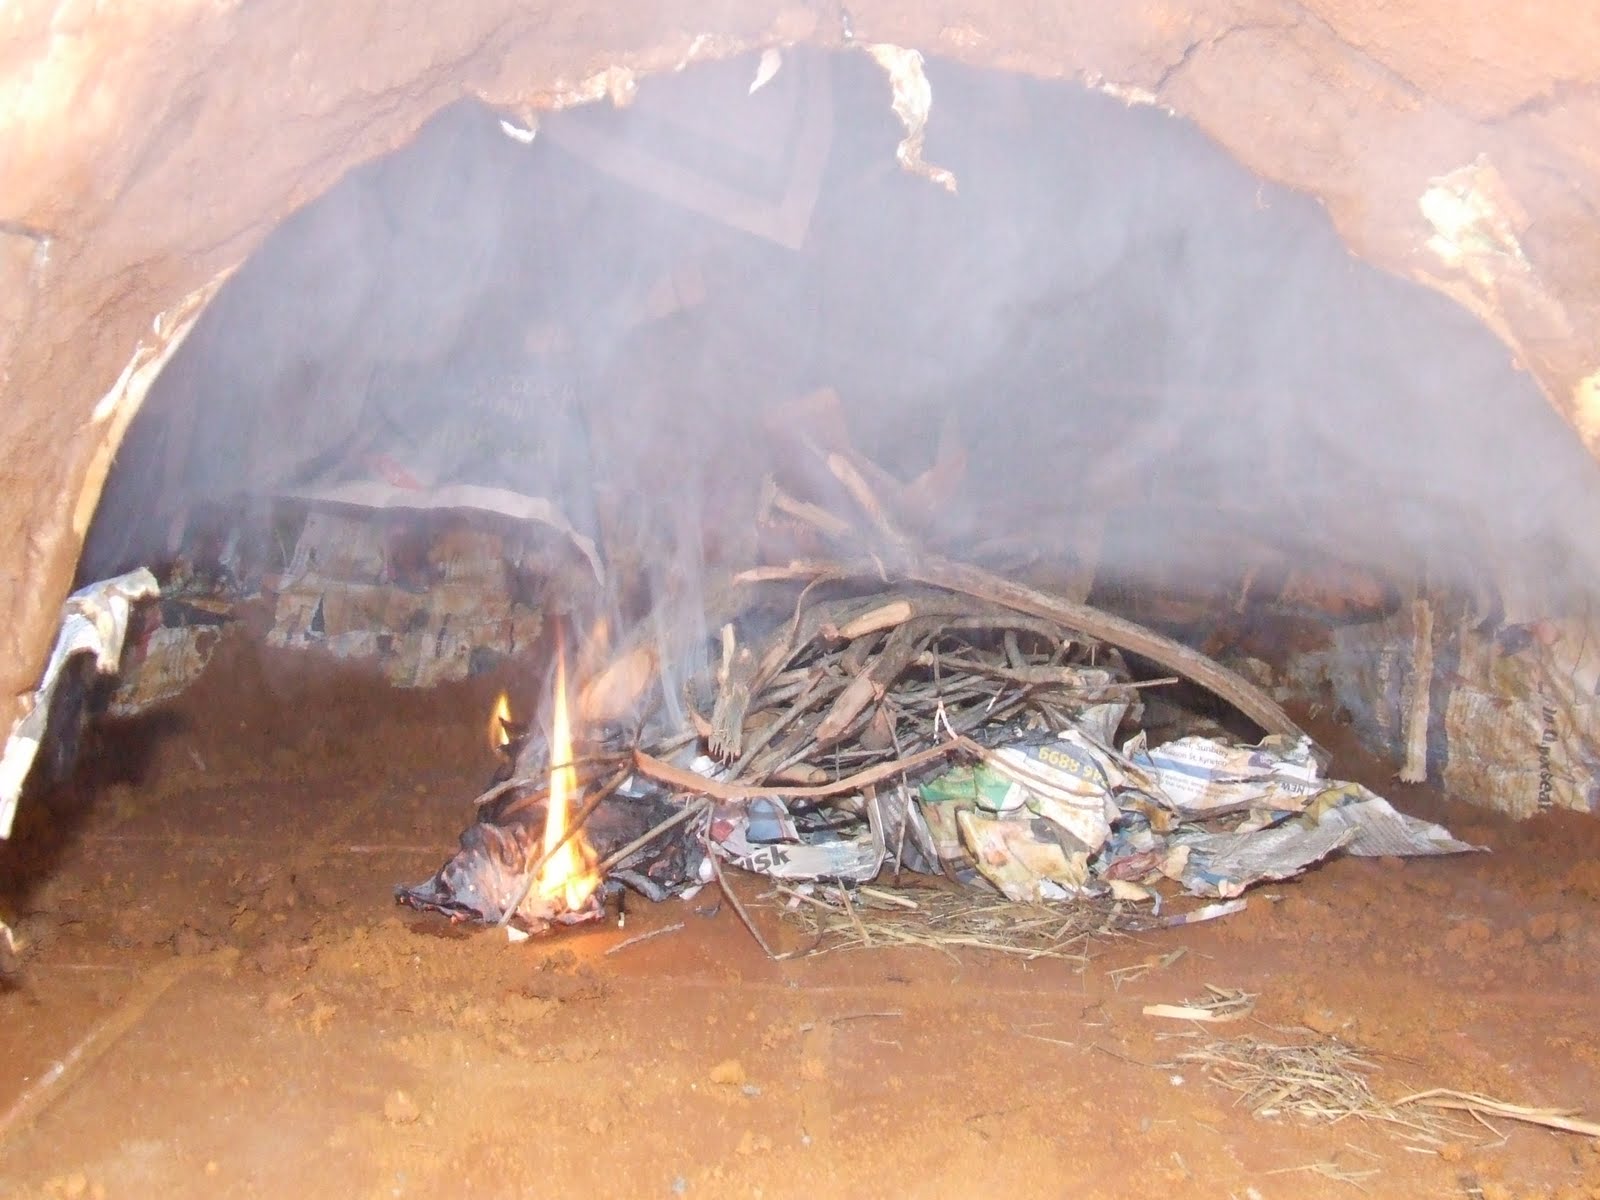
Where there is smoke……
After a few minutes, we had a small fire burning well.

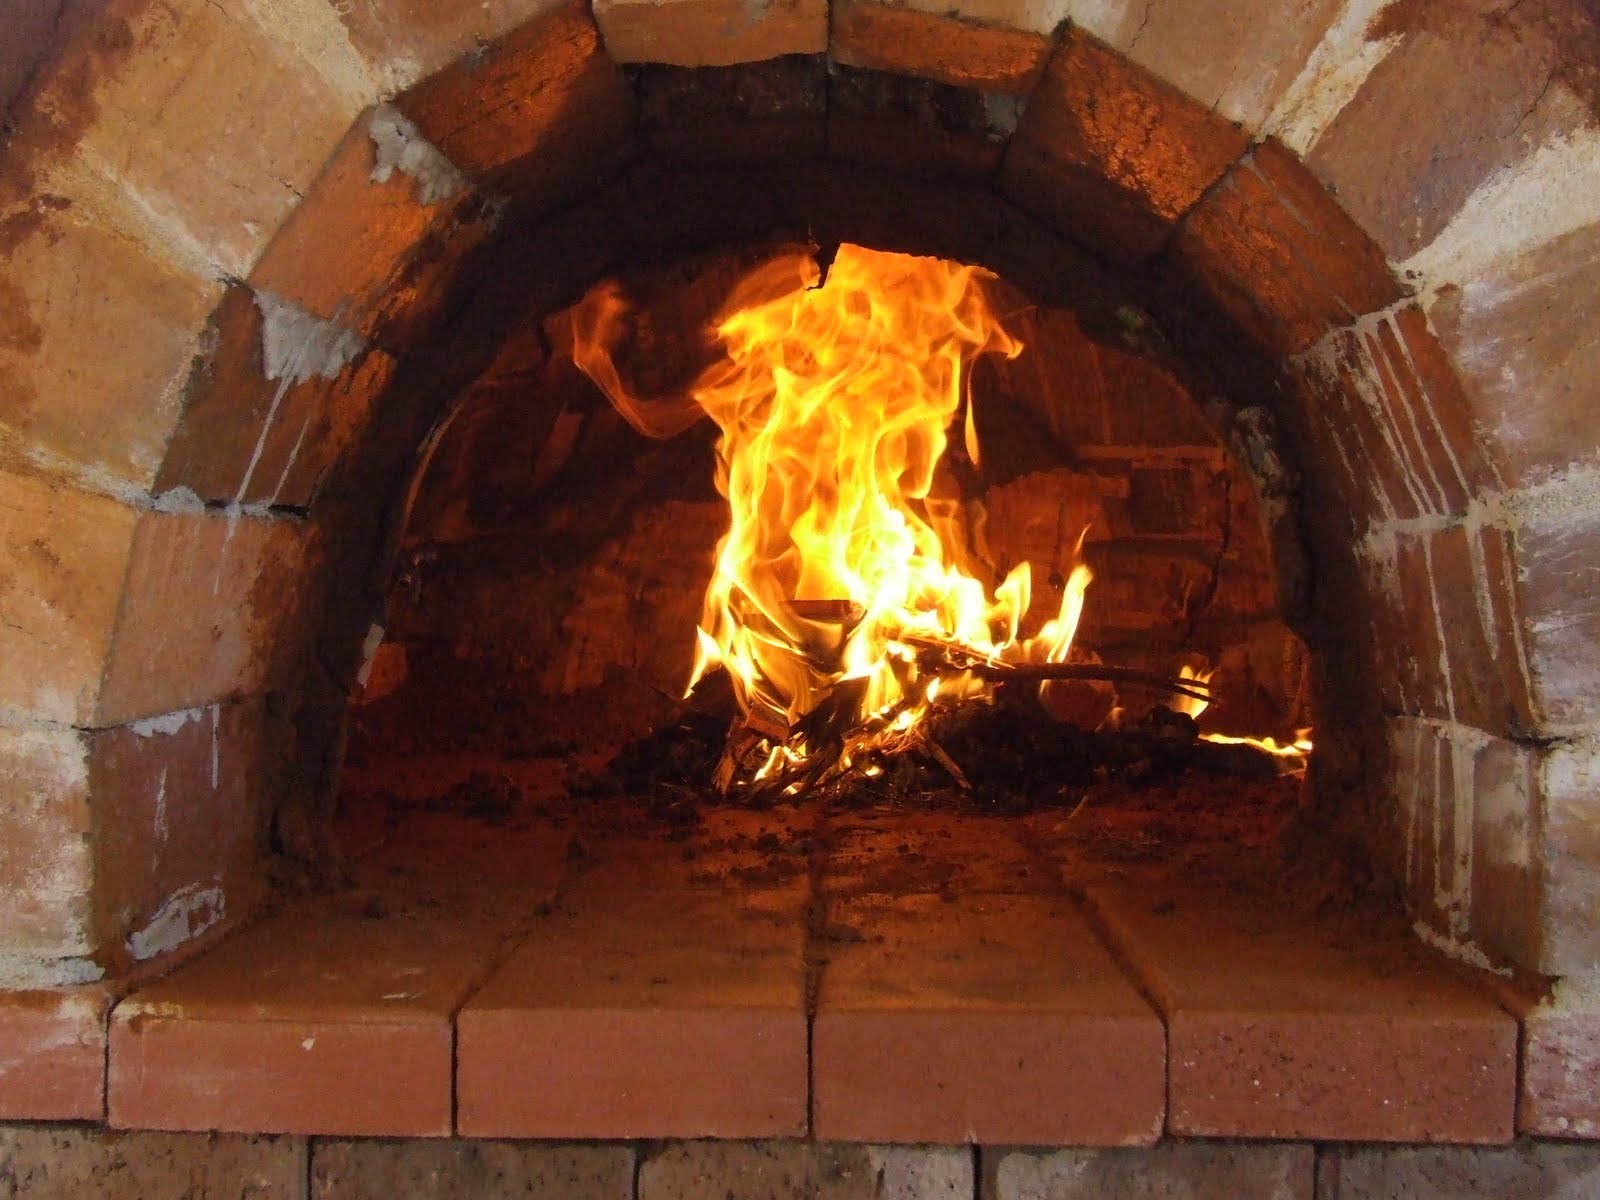
Here it is in all its glory. But is the flue working?
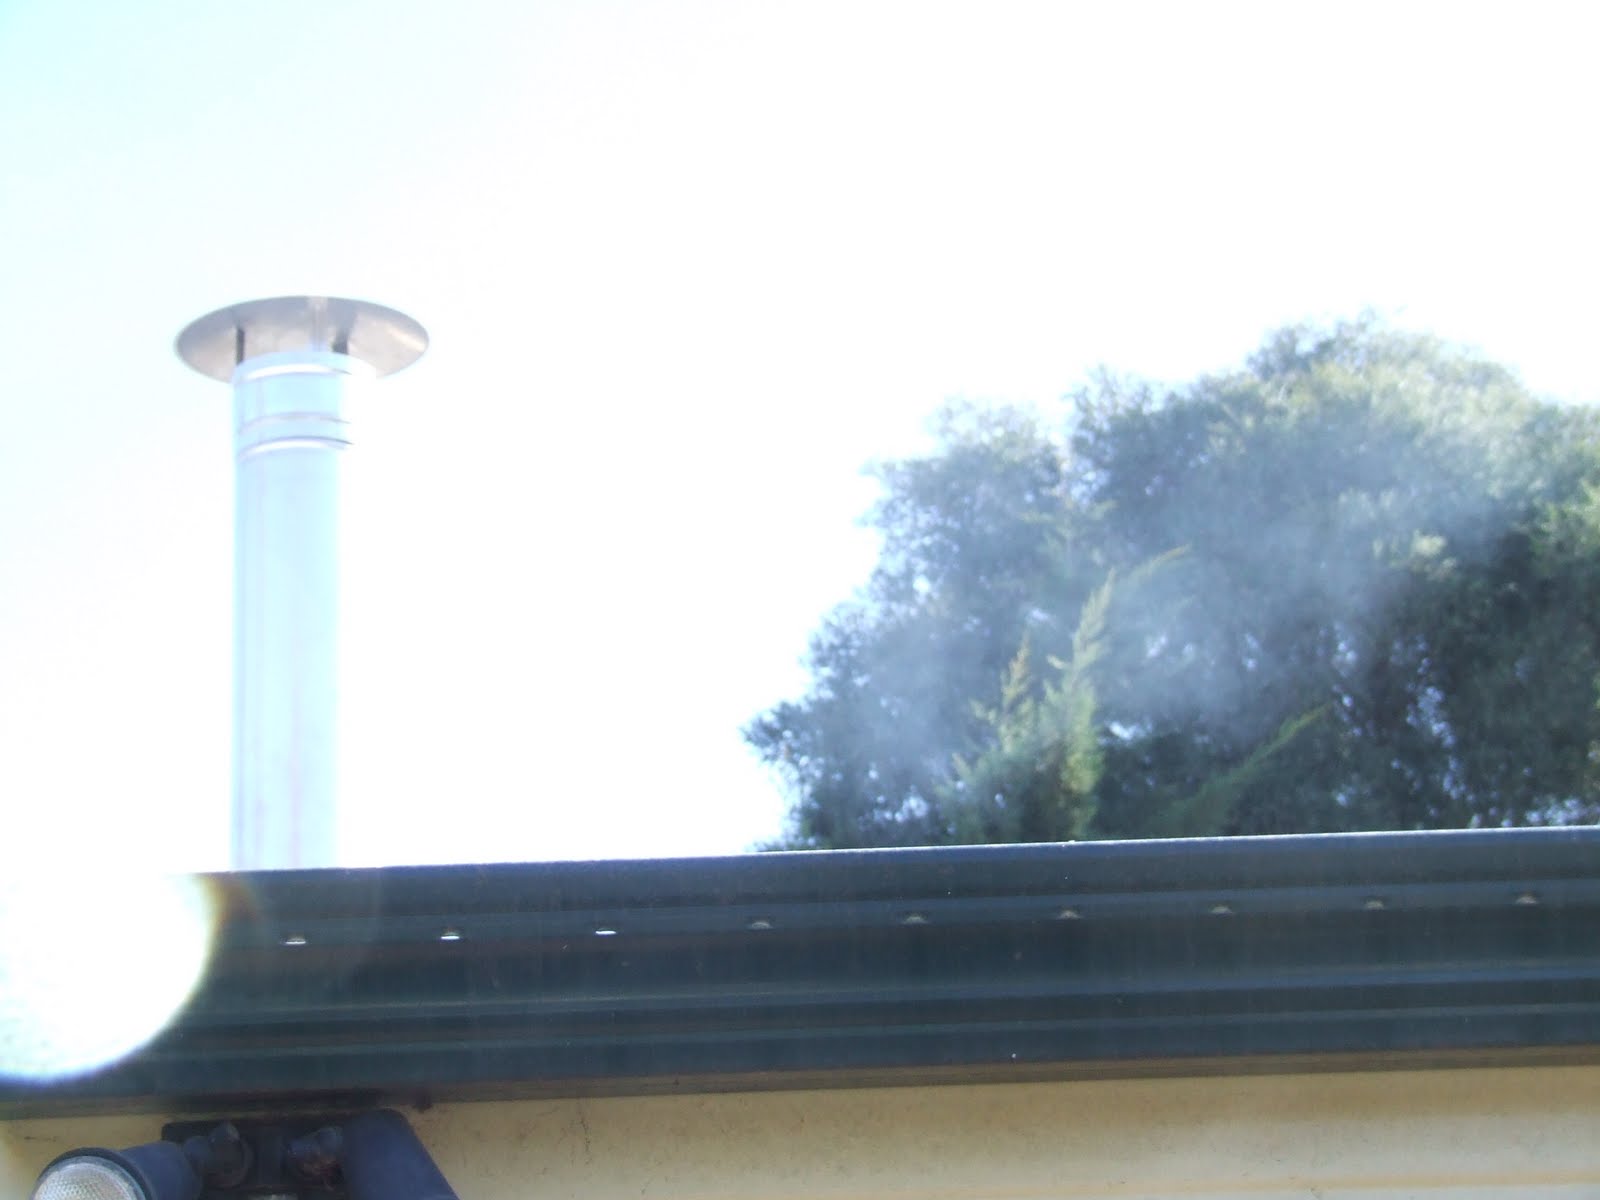
Why yes, there is definitely smoke and hot air going up the flue, and very little coming out of the door arch. It works as designed.

The coals are glowing red. The initial firing only lasted about 30 minutes, as I didn’t want to heat it too much and crack the inside any more.
So, upon some valued advice from a fellow blogger (thanks Tracy), we made up a large batch of cob to make a thick layer to add to thermal mass. This batch was 75% sand, 25% clay, two buckets of straw (including a bit of dried chook poo). Ben and I did the mud dance and we mixed it until we could roll it in our hands and it didn’t stick to them. Then Kim wet the dome, and slapped on big wads of clay about 5 cm thick (2″). As we added this layer we smoothed it out. Then my daughter Megan and her boyfriend Jake turned up to lend a hand.

Here we are finishing the 3rd layer off.

The final smoothing whereby we bashed the oven with our hands to make sure that any air bubbles were removed.
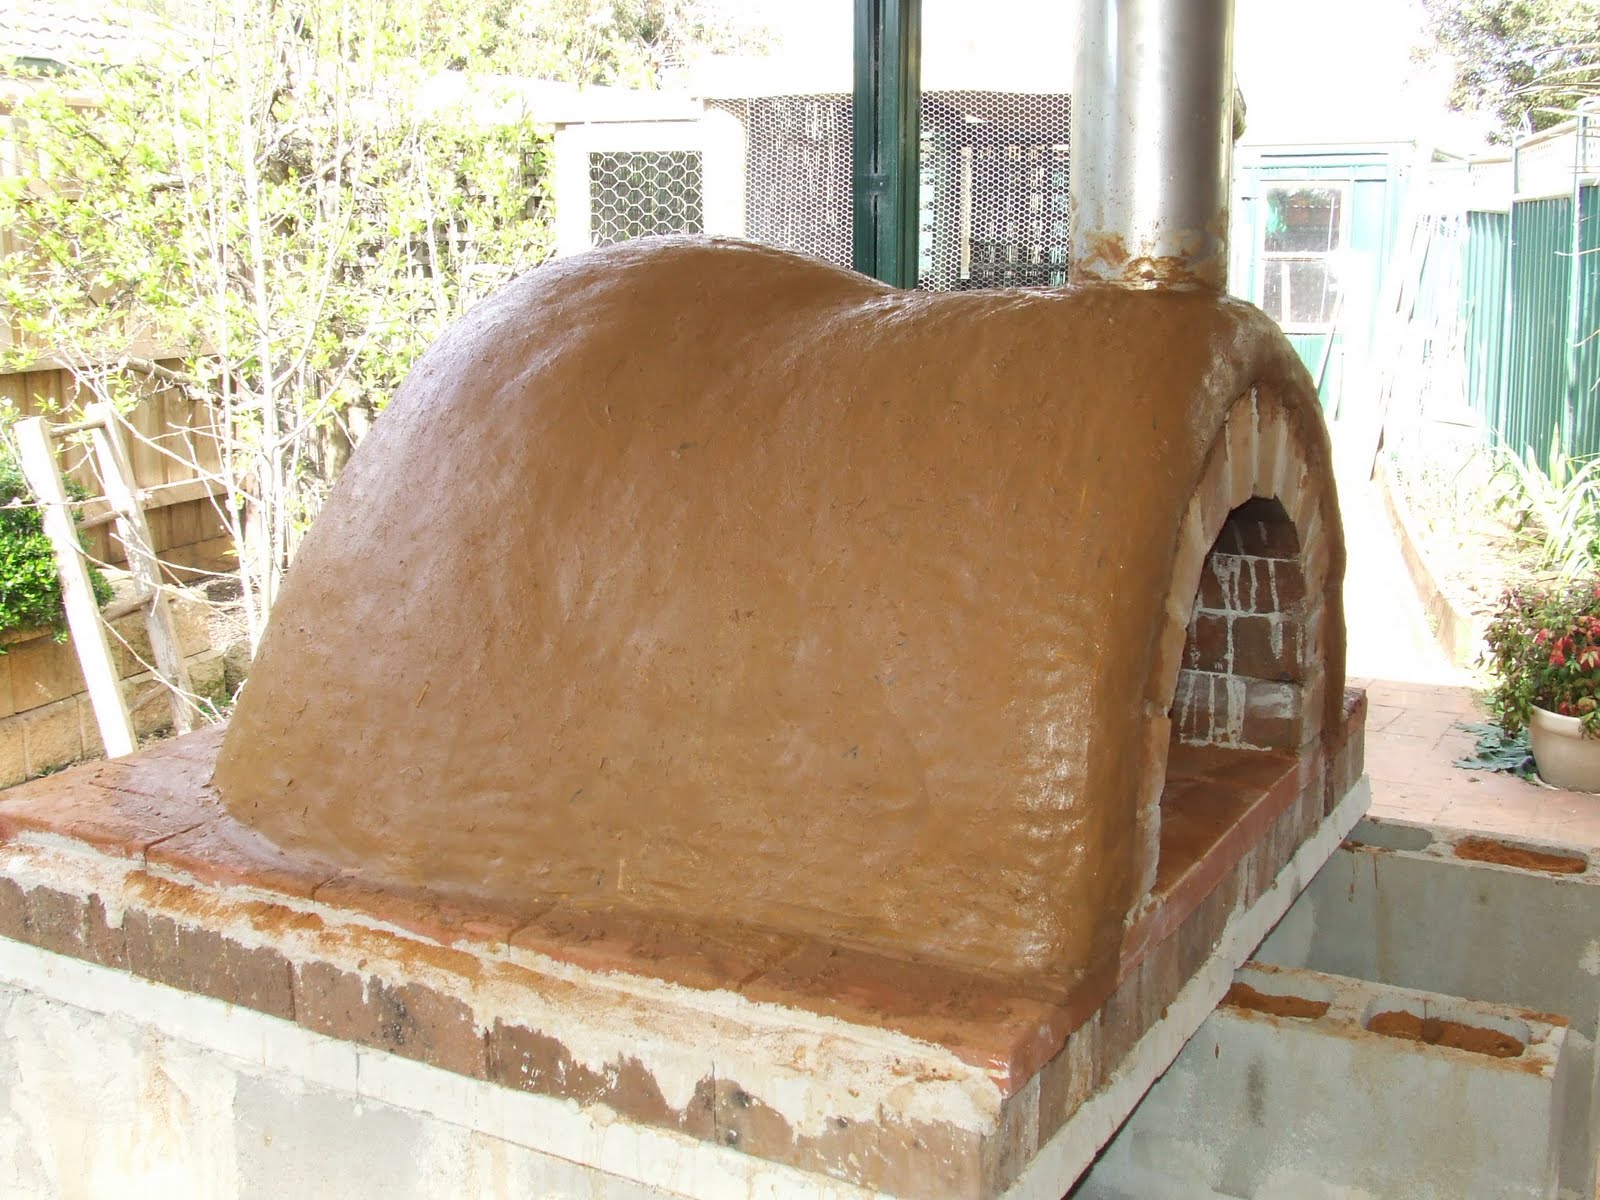
Nice and smooth. The dome is now about 15cm thick and the layer around the door arch about 10cm.

The front view with the ashes of the first firing.
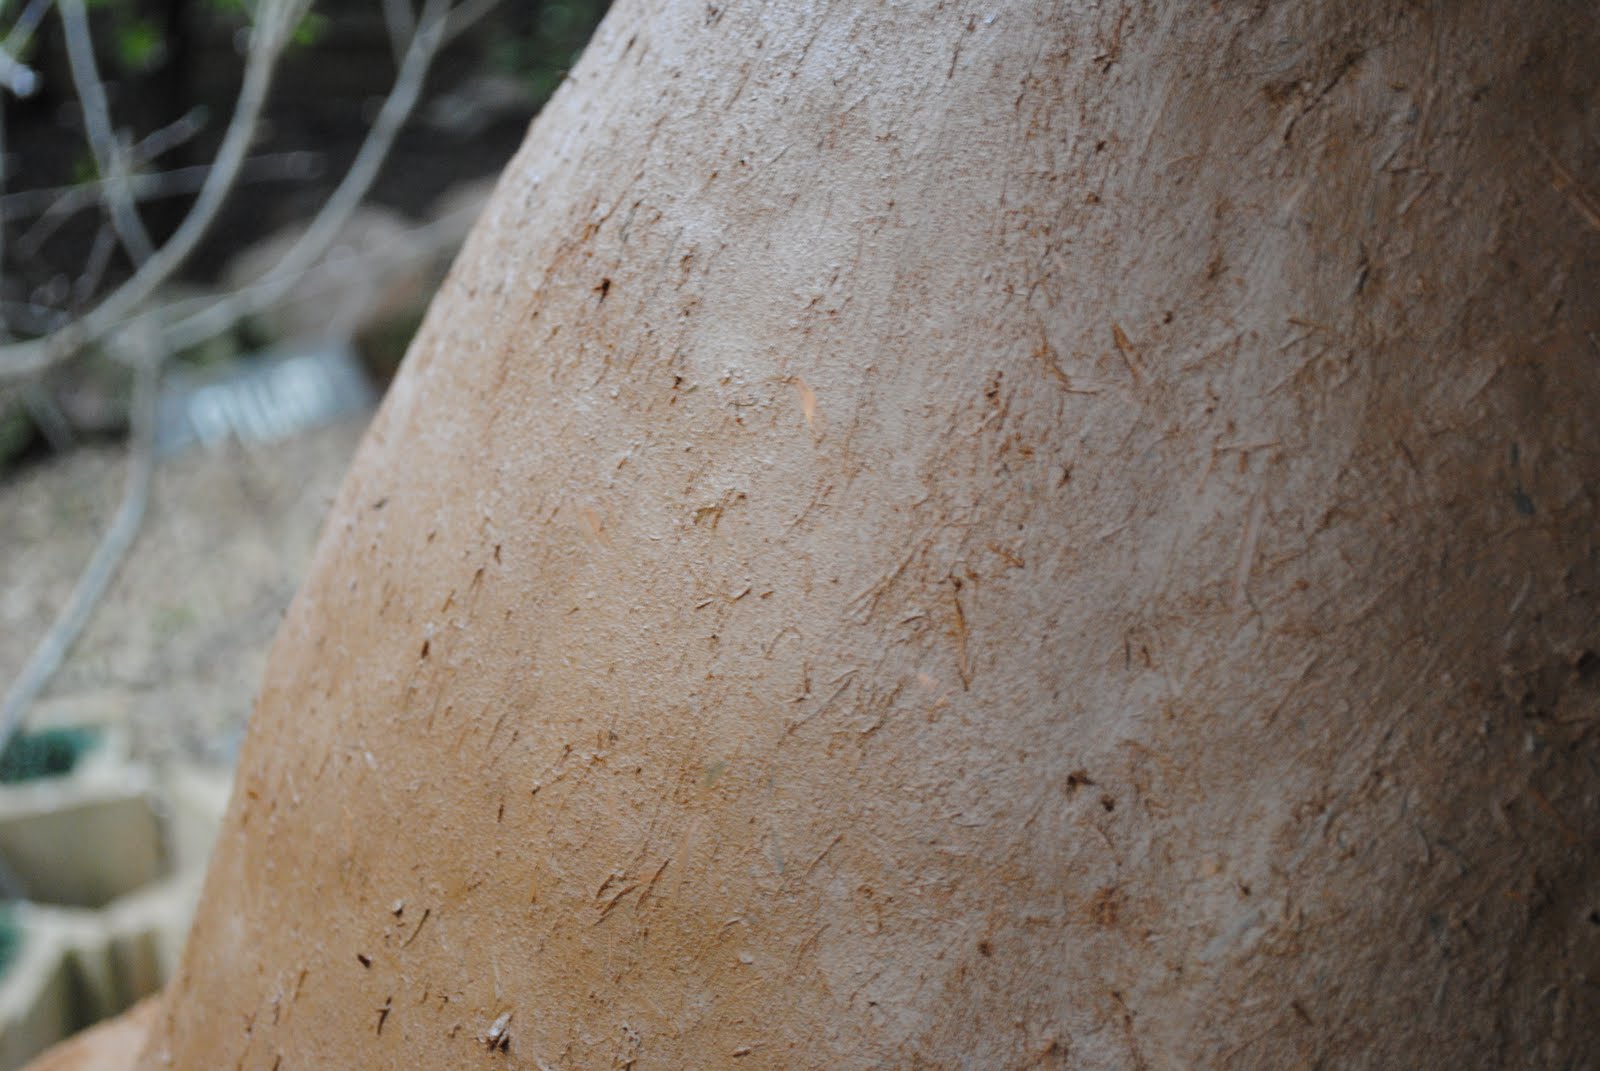
Here is a close up of the surface of the oven. Note the large amount of straw all the way through.
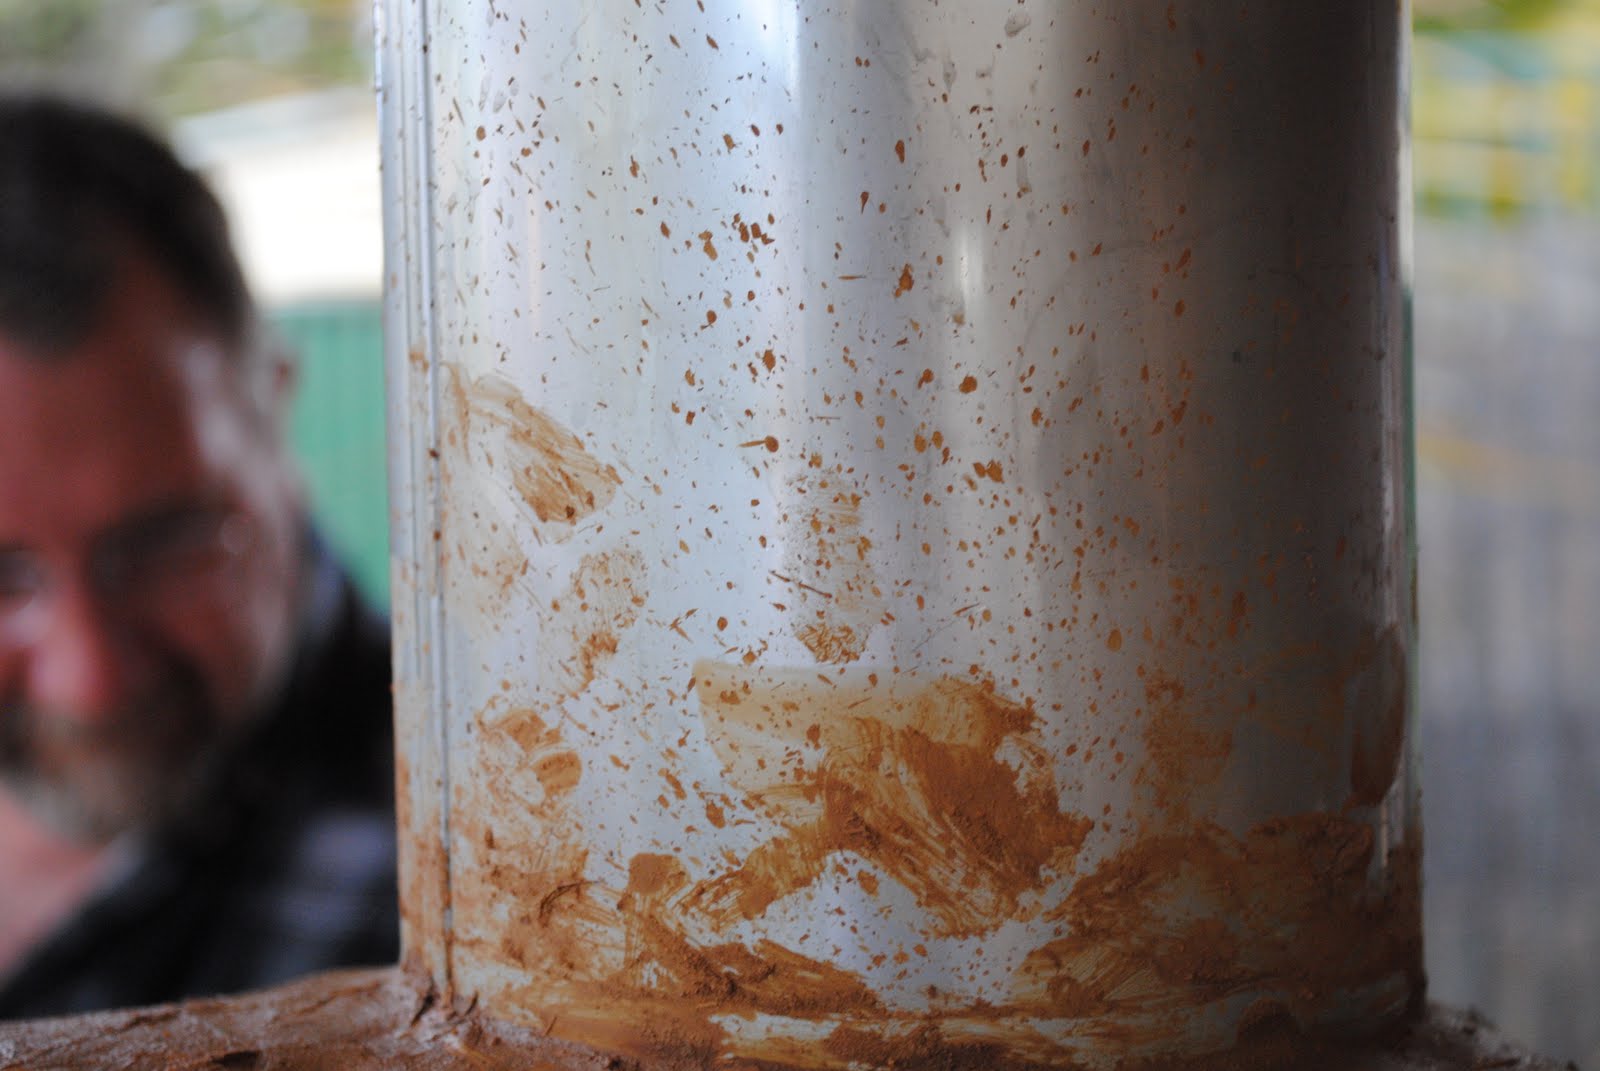
One final inspection , and we are done. The clay came off of the flue with a damp cloth.

Directly after this shot, I fired it again to help the new layer dry quickly. It worked like a charm, and I kept the fire going for two hours this time, still small, and not a raging inferno. The inside is as very hard now, and the outside is drying nicely, with only hairline cracks which are easily smoothed over. The top of the dome gets warm, but never hot enough that you cannot hold your hand there. I have given away the idea of an insulating layer with chicken wire and render, and will only add a final render of sand/clay, and a little cement and lime (with an oxide added) over the surface to smooth it all down. This will allow Kim to add mosaic tiles, all over the dome. I am looking forward to the artist doing her magic!
I will fire the oven each night this week, so that before the final render goes on, were should be no more cracking. For those wondering about the clay pavers that I used for the floor of the over, well great news, there has been no issues at all with them, with no cracking and they are simple to clean afterwards.
Next weekend, I will also make the mantle to go at the front and the door for the oven. That will be the finishing touches, other than two doors that I am going to make for the wood storage.
I am so pleased with this oven so far, and now wonder why I procrastinated for so many years! We are all looking forward to actually cooking something in it.
This is fantastic. It looks like you all had a great deal of fun too. I look forward to seeing Kim’s handy work and reading about the cooking that you get up to.
YAY it’s done – almost but much more completed than just a ‘one day wish’. Nice work! *nods*
It looks amazing
What a fabulous project that involved friends and family and will provide lots of enjoyment and good food for said friends and family. Thank you for sharing this … entertaining and informative…as usual.
Looking good – looking really good! If you find that you are getting a lot of smoke puffing out the door when firing, or soot forming on the arch, a simple metal backed door could be placed in the opening with a gap at the bottom to vent the air in. This helped us enormously. Happy firing – can’t wait to see the mosaicing!
I’ve stumbled across your blog whilst looking for real people diy-ing outdoor ovens. Yours is bloody fantastic!
In hindsight, or given a do-over would you change your construction at all. Do you think you’d add the insulation and chicken wire after all?
Regards
Kerryn
Just in the process of collating ideas for rebuilding our pizza oven after a catastrophic failure in the wonderful UK rain and frost!
My lesson is – put a roof over the oven (a shelter) we might get more than 18 months out of the next one. Best ever pizzas / bread / stews and pies though 🙂
1 tip I have is to use bulky (but will fit through the door!) items instead of all sand to make the cavity. we used a 15kg calor bottle and blocks of wood so much easier to empty.
we are going to increase the relative height of the dome this time too.
The magic is when you light a cooking flame for the firt time and the smoke suddenly disappears and you get an efficient clear fire burning :-
Hello,
I am building a bread oven with a friend over the weekend. He is considering tiling his oven in a similar manner to your beautiful oven. Did you use a cement based render in the end? How is it holding up over time. I am asking because I have heard other oven builders warm against coating a clay oven with a cement render. What is your experience?
Thank you,
Warren
Hi Warren
It is still going strong albeit with a few cracks in the render. If I made it again, I would add a layer of insulation (rock wool), then some wire mesh and then render. Gives the clay some breathing room.
Has your friend taken a look at my eBook? It describes the process very well.
Best of luck on the weekend