• About
  • Archive
  • Contact
The Greening of Gavin
  • Home
  • Our Green Shop
    • Little Green Workshops
  • Green Workshops
    • Cheese Making
    • Soap Making
    • Soy Candle Making
  • eBooks
    • Clay Oven eBook
    • Keep Calm and Make Cheese eBook
  • Podcast
    • TGOG Podcast
    • TGoG Podcast Archive
    • Little Green Cheese
  • Vlog
  • Cheese
  • Green Living
    • Chickens
    • Gardening
    • Soap Making
    • Recipes
    • Climate Change
    • Peak Oil
    • Solar Power
  • Resources

Backyard Clay Oven Update

June 22, 2016 @ 21:12 By Gavin Webber 4 Comments

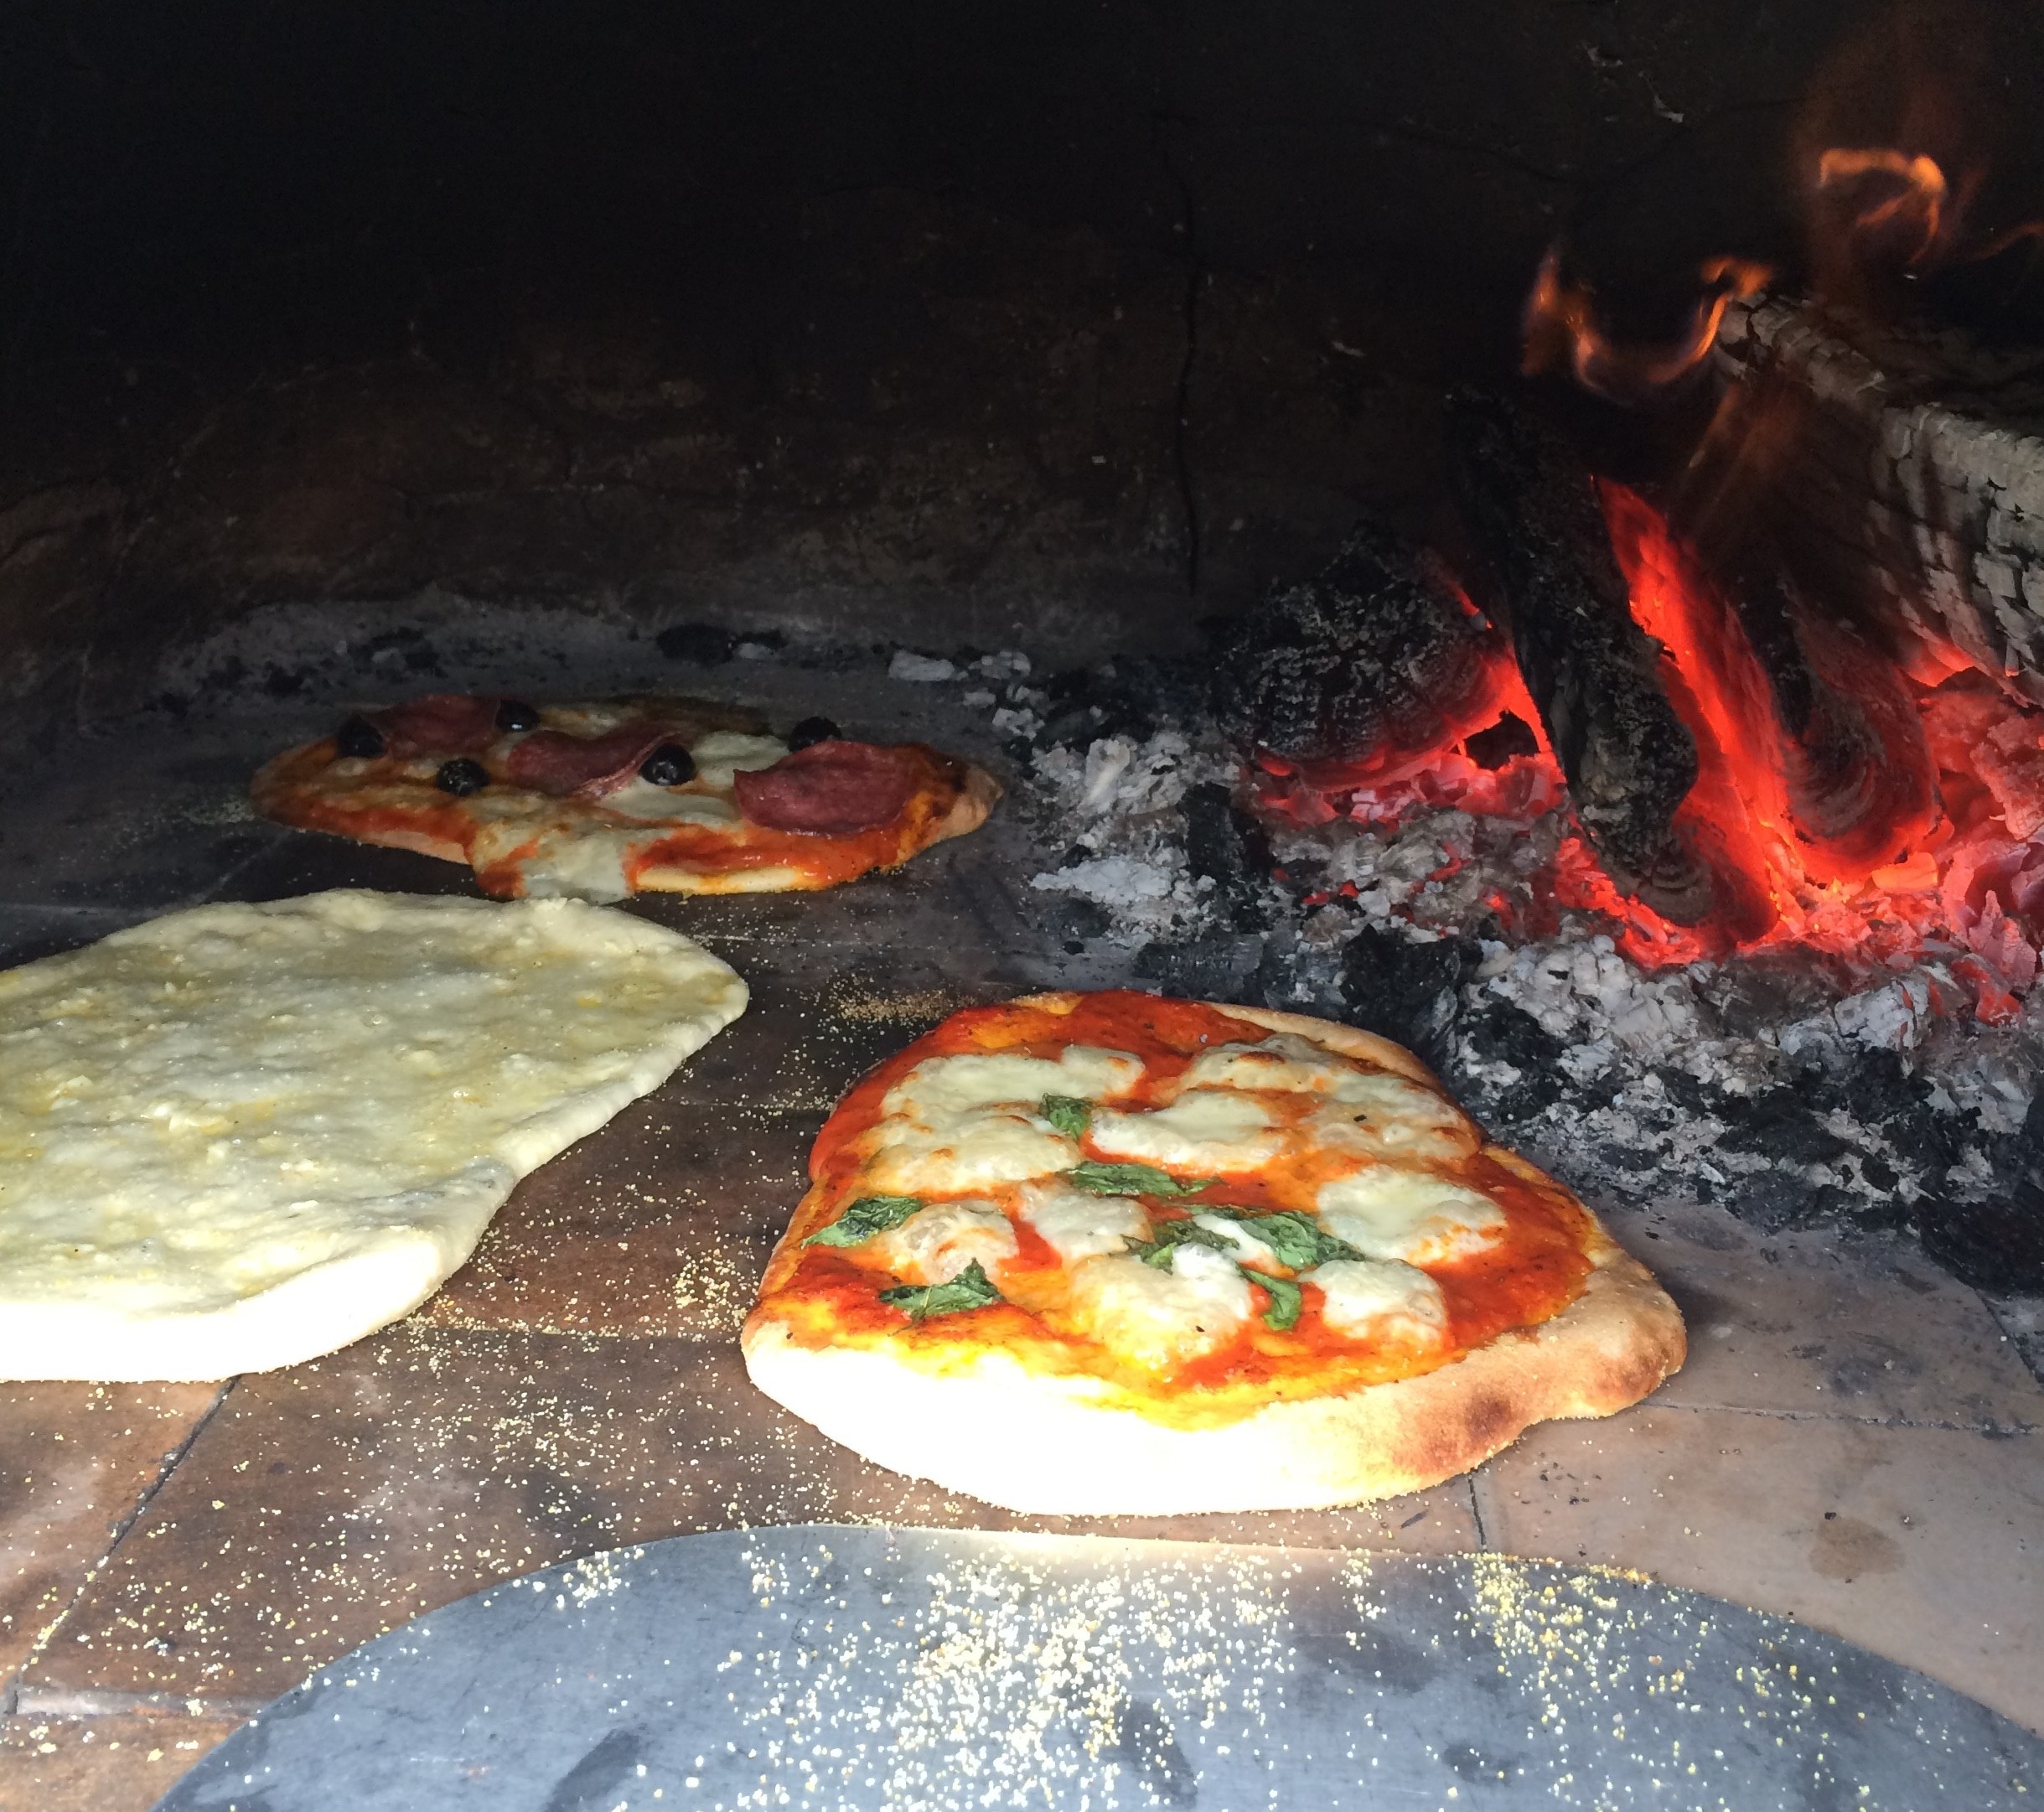
One of the proudest achievements on my sustainable living journey has been my Backyard Clay Oven!  I love looking at it.  I love tending the fire.  I love cooking in it.  I love eating the food I make using it.

The REAL Joy

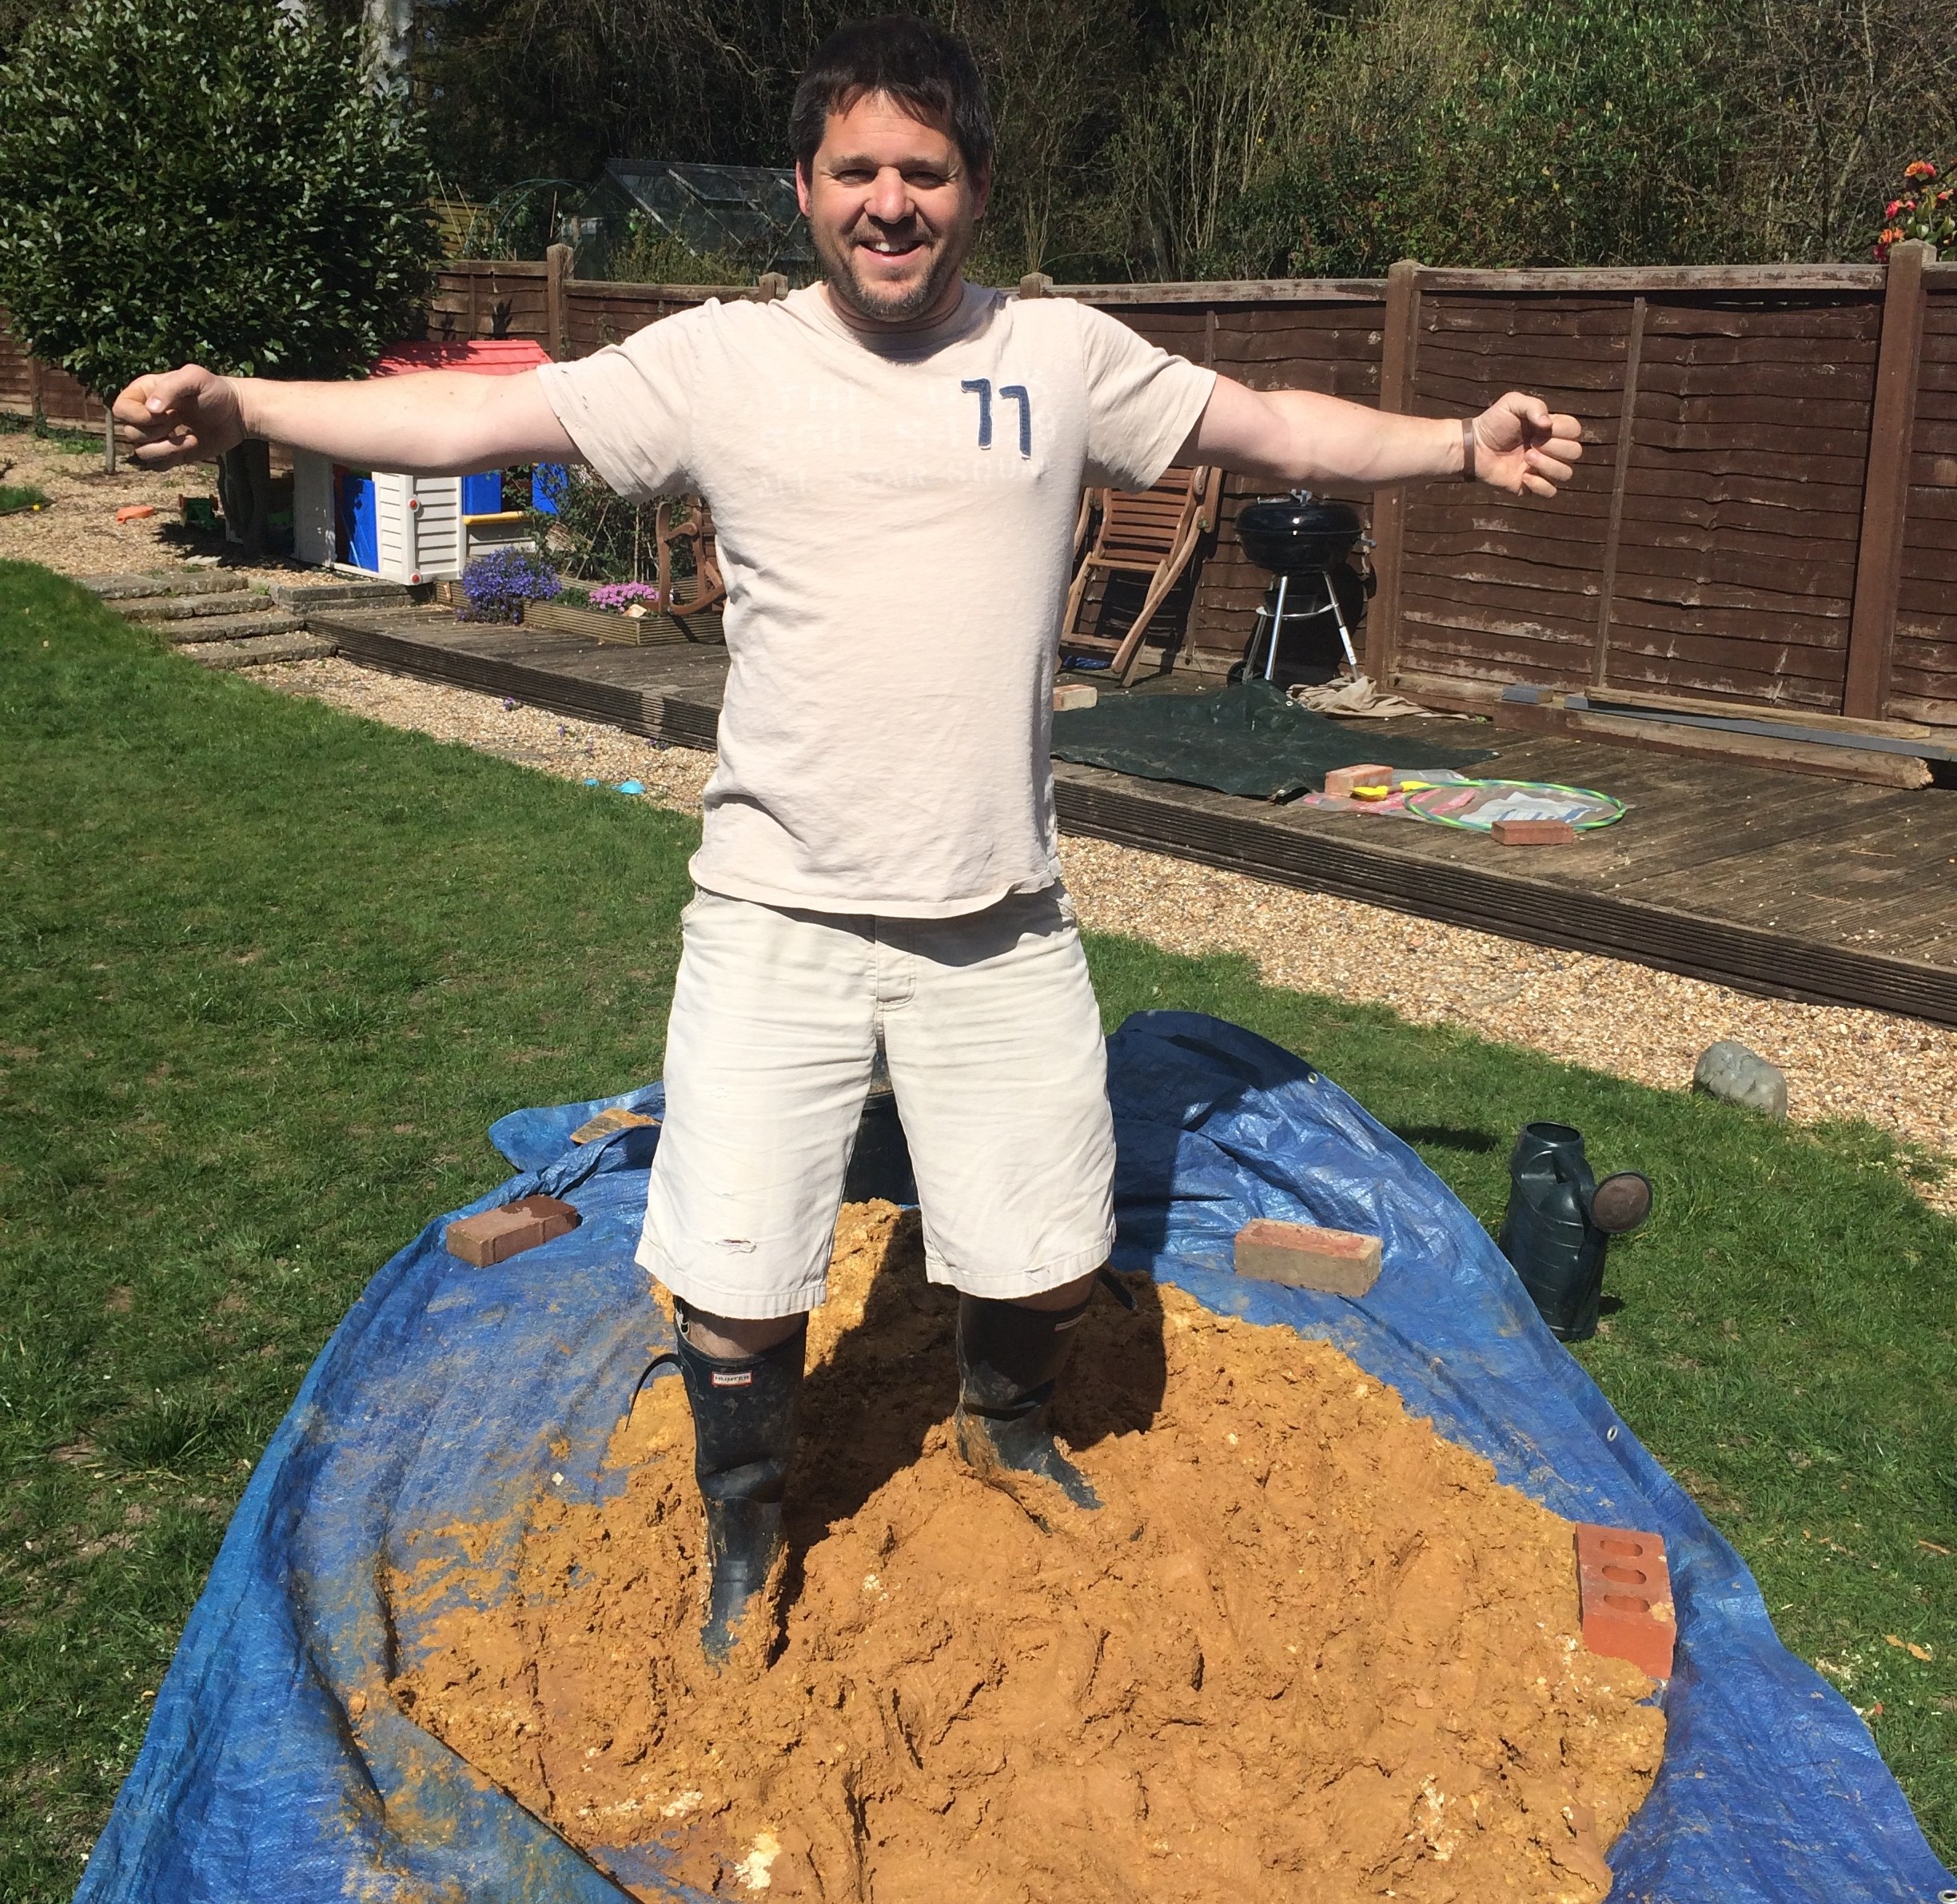
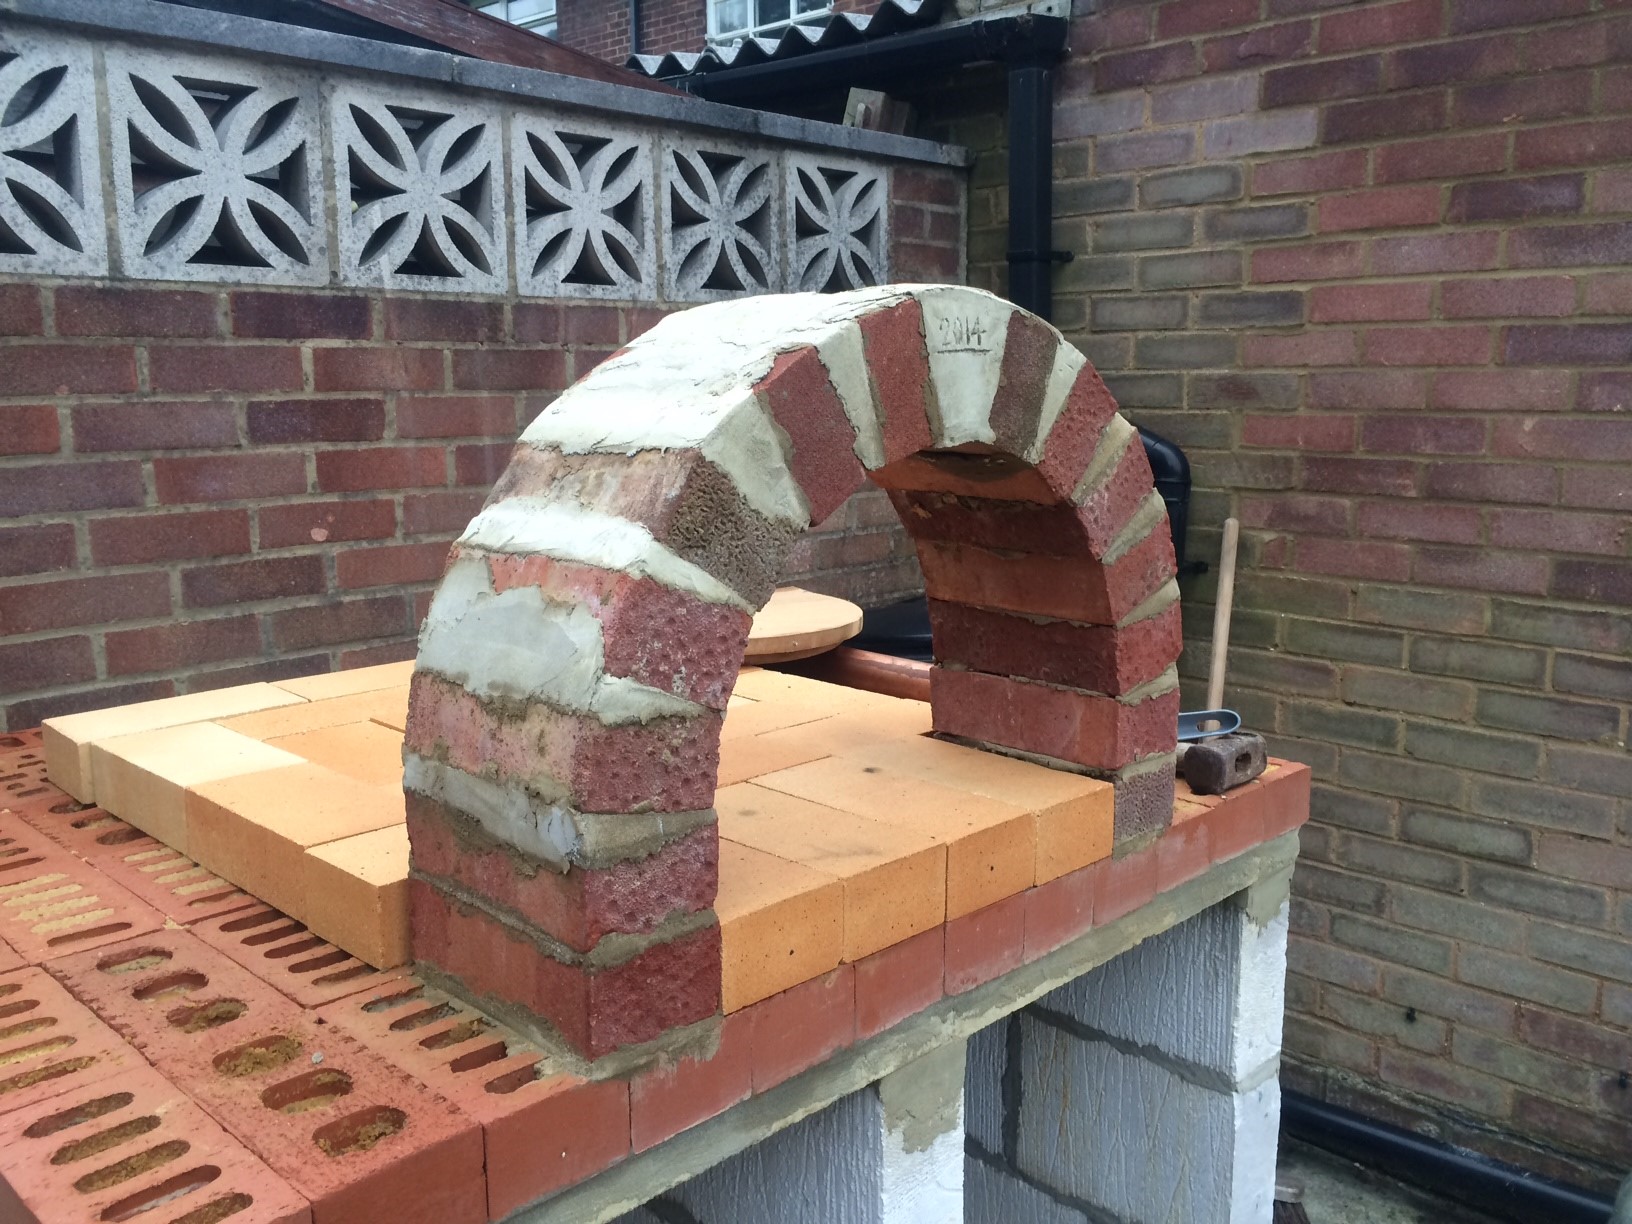
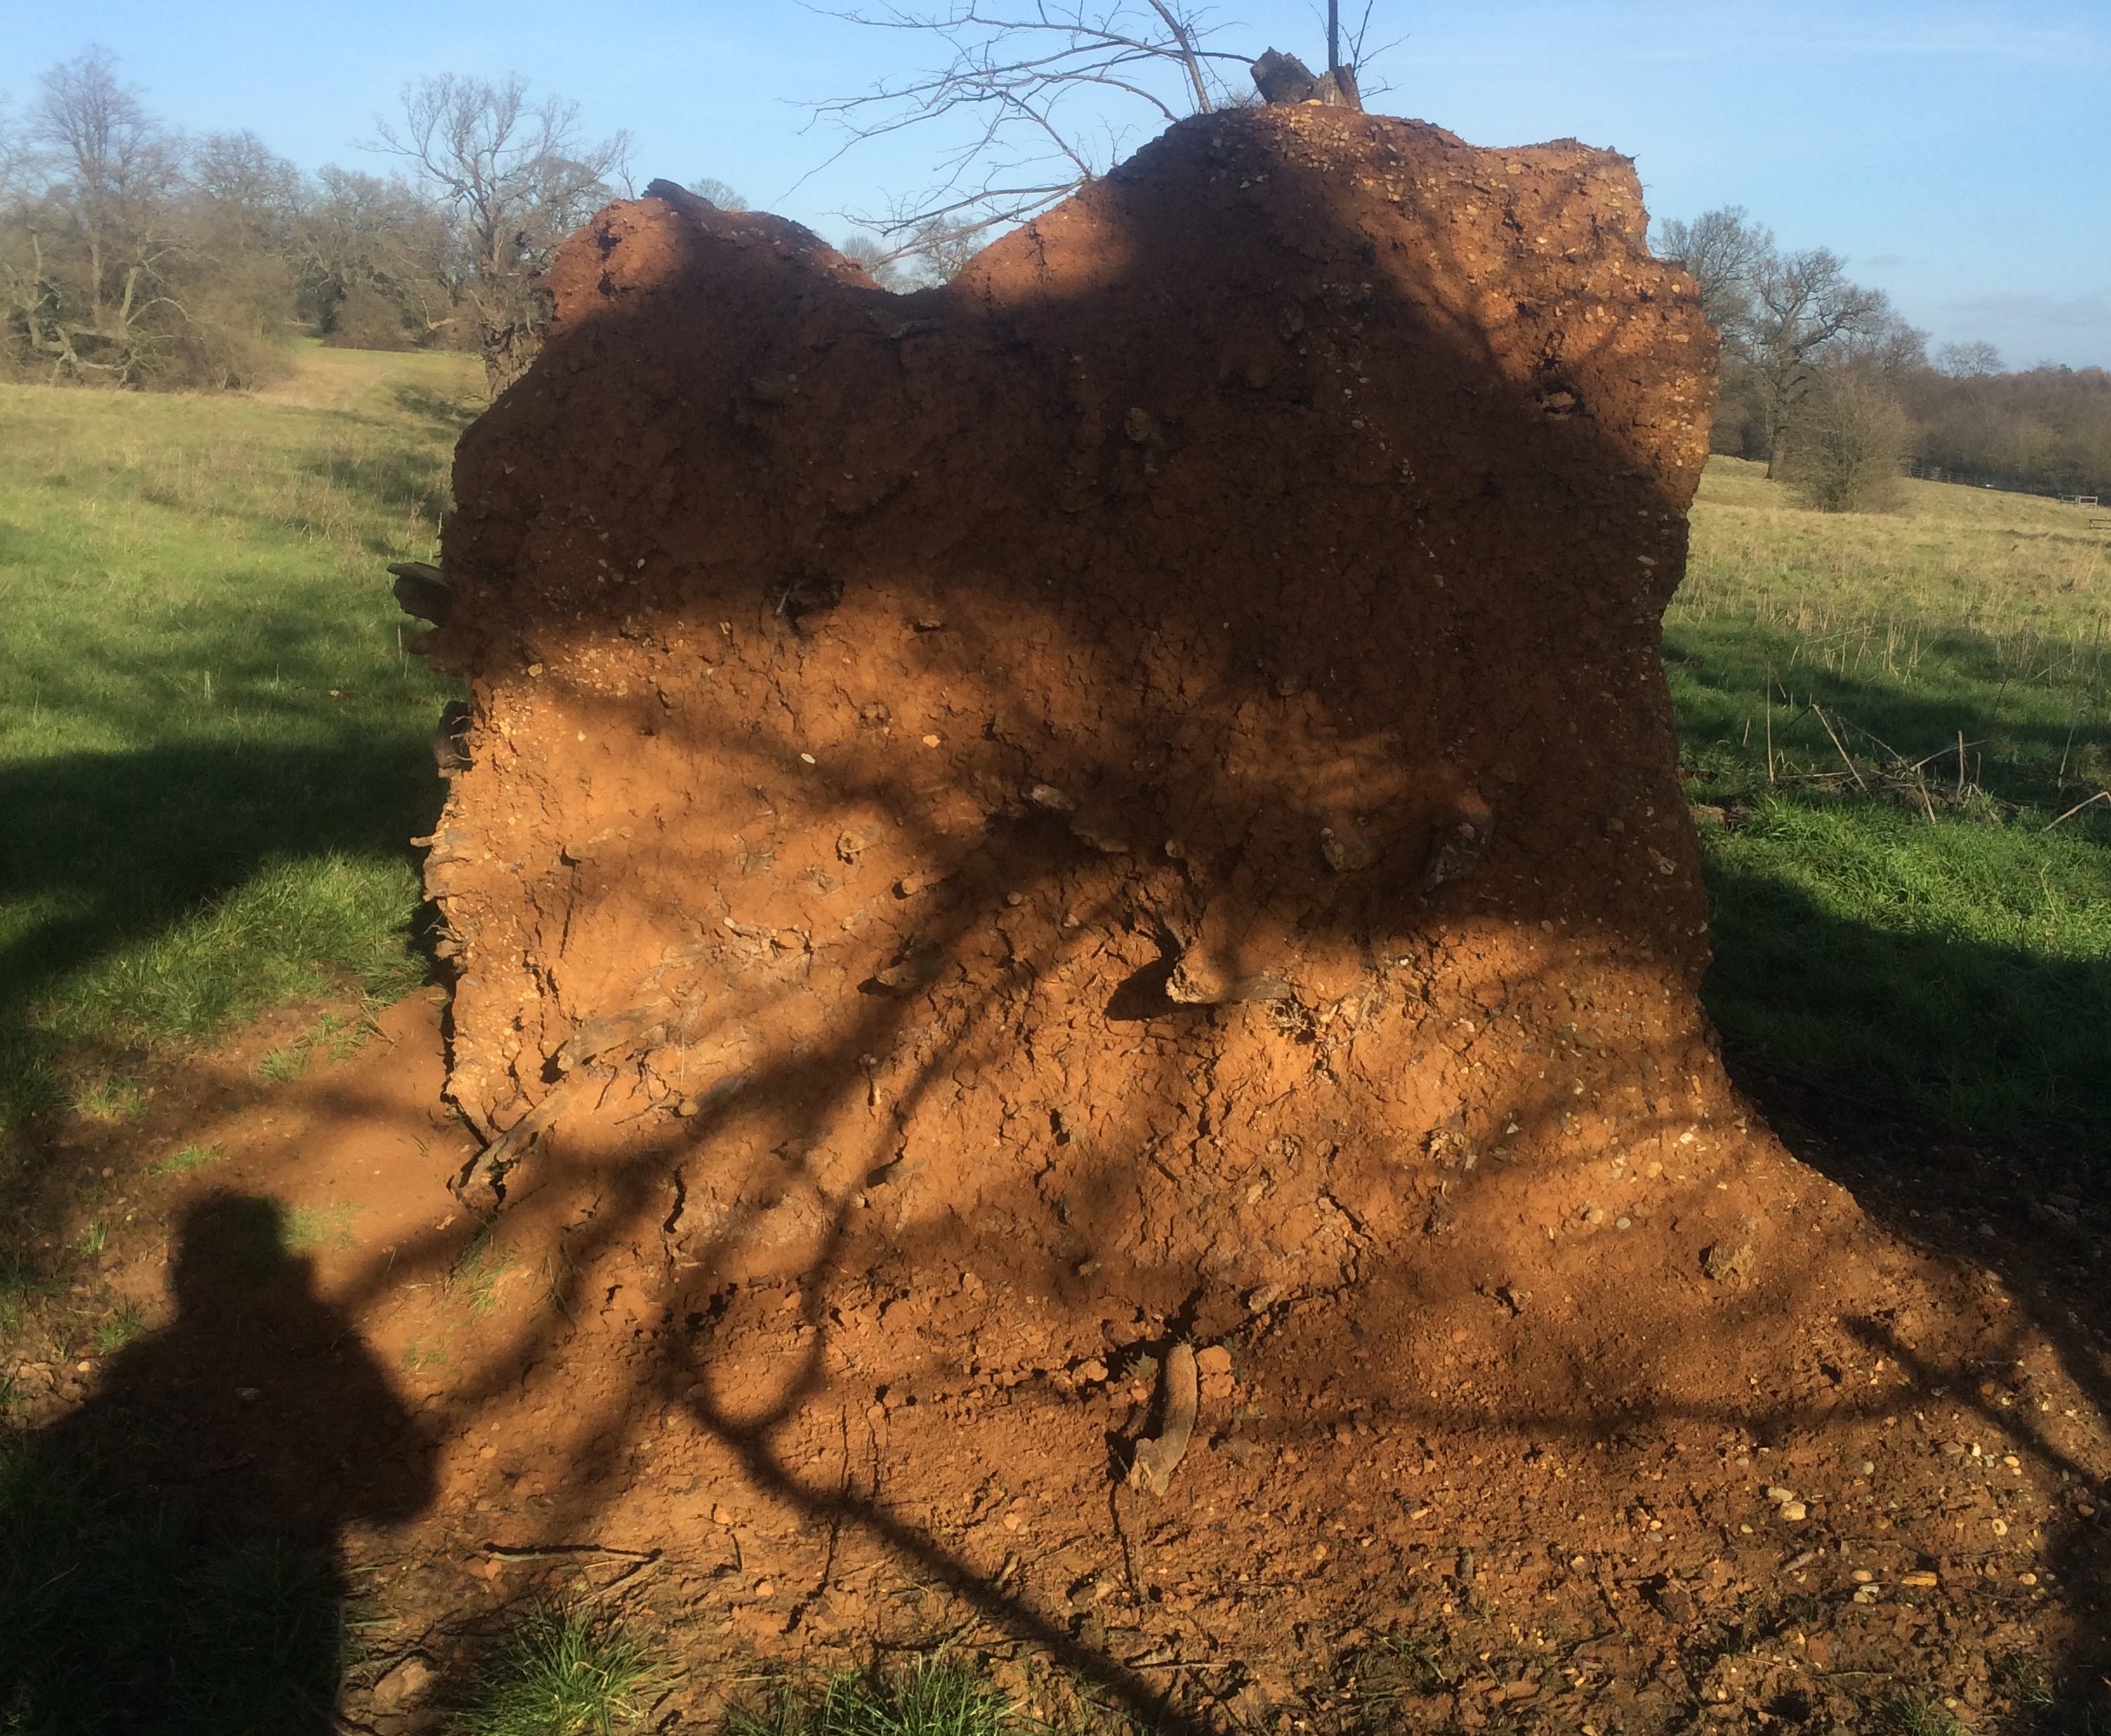
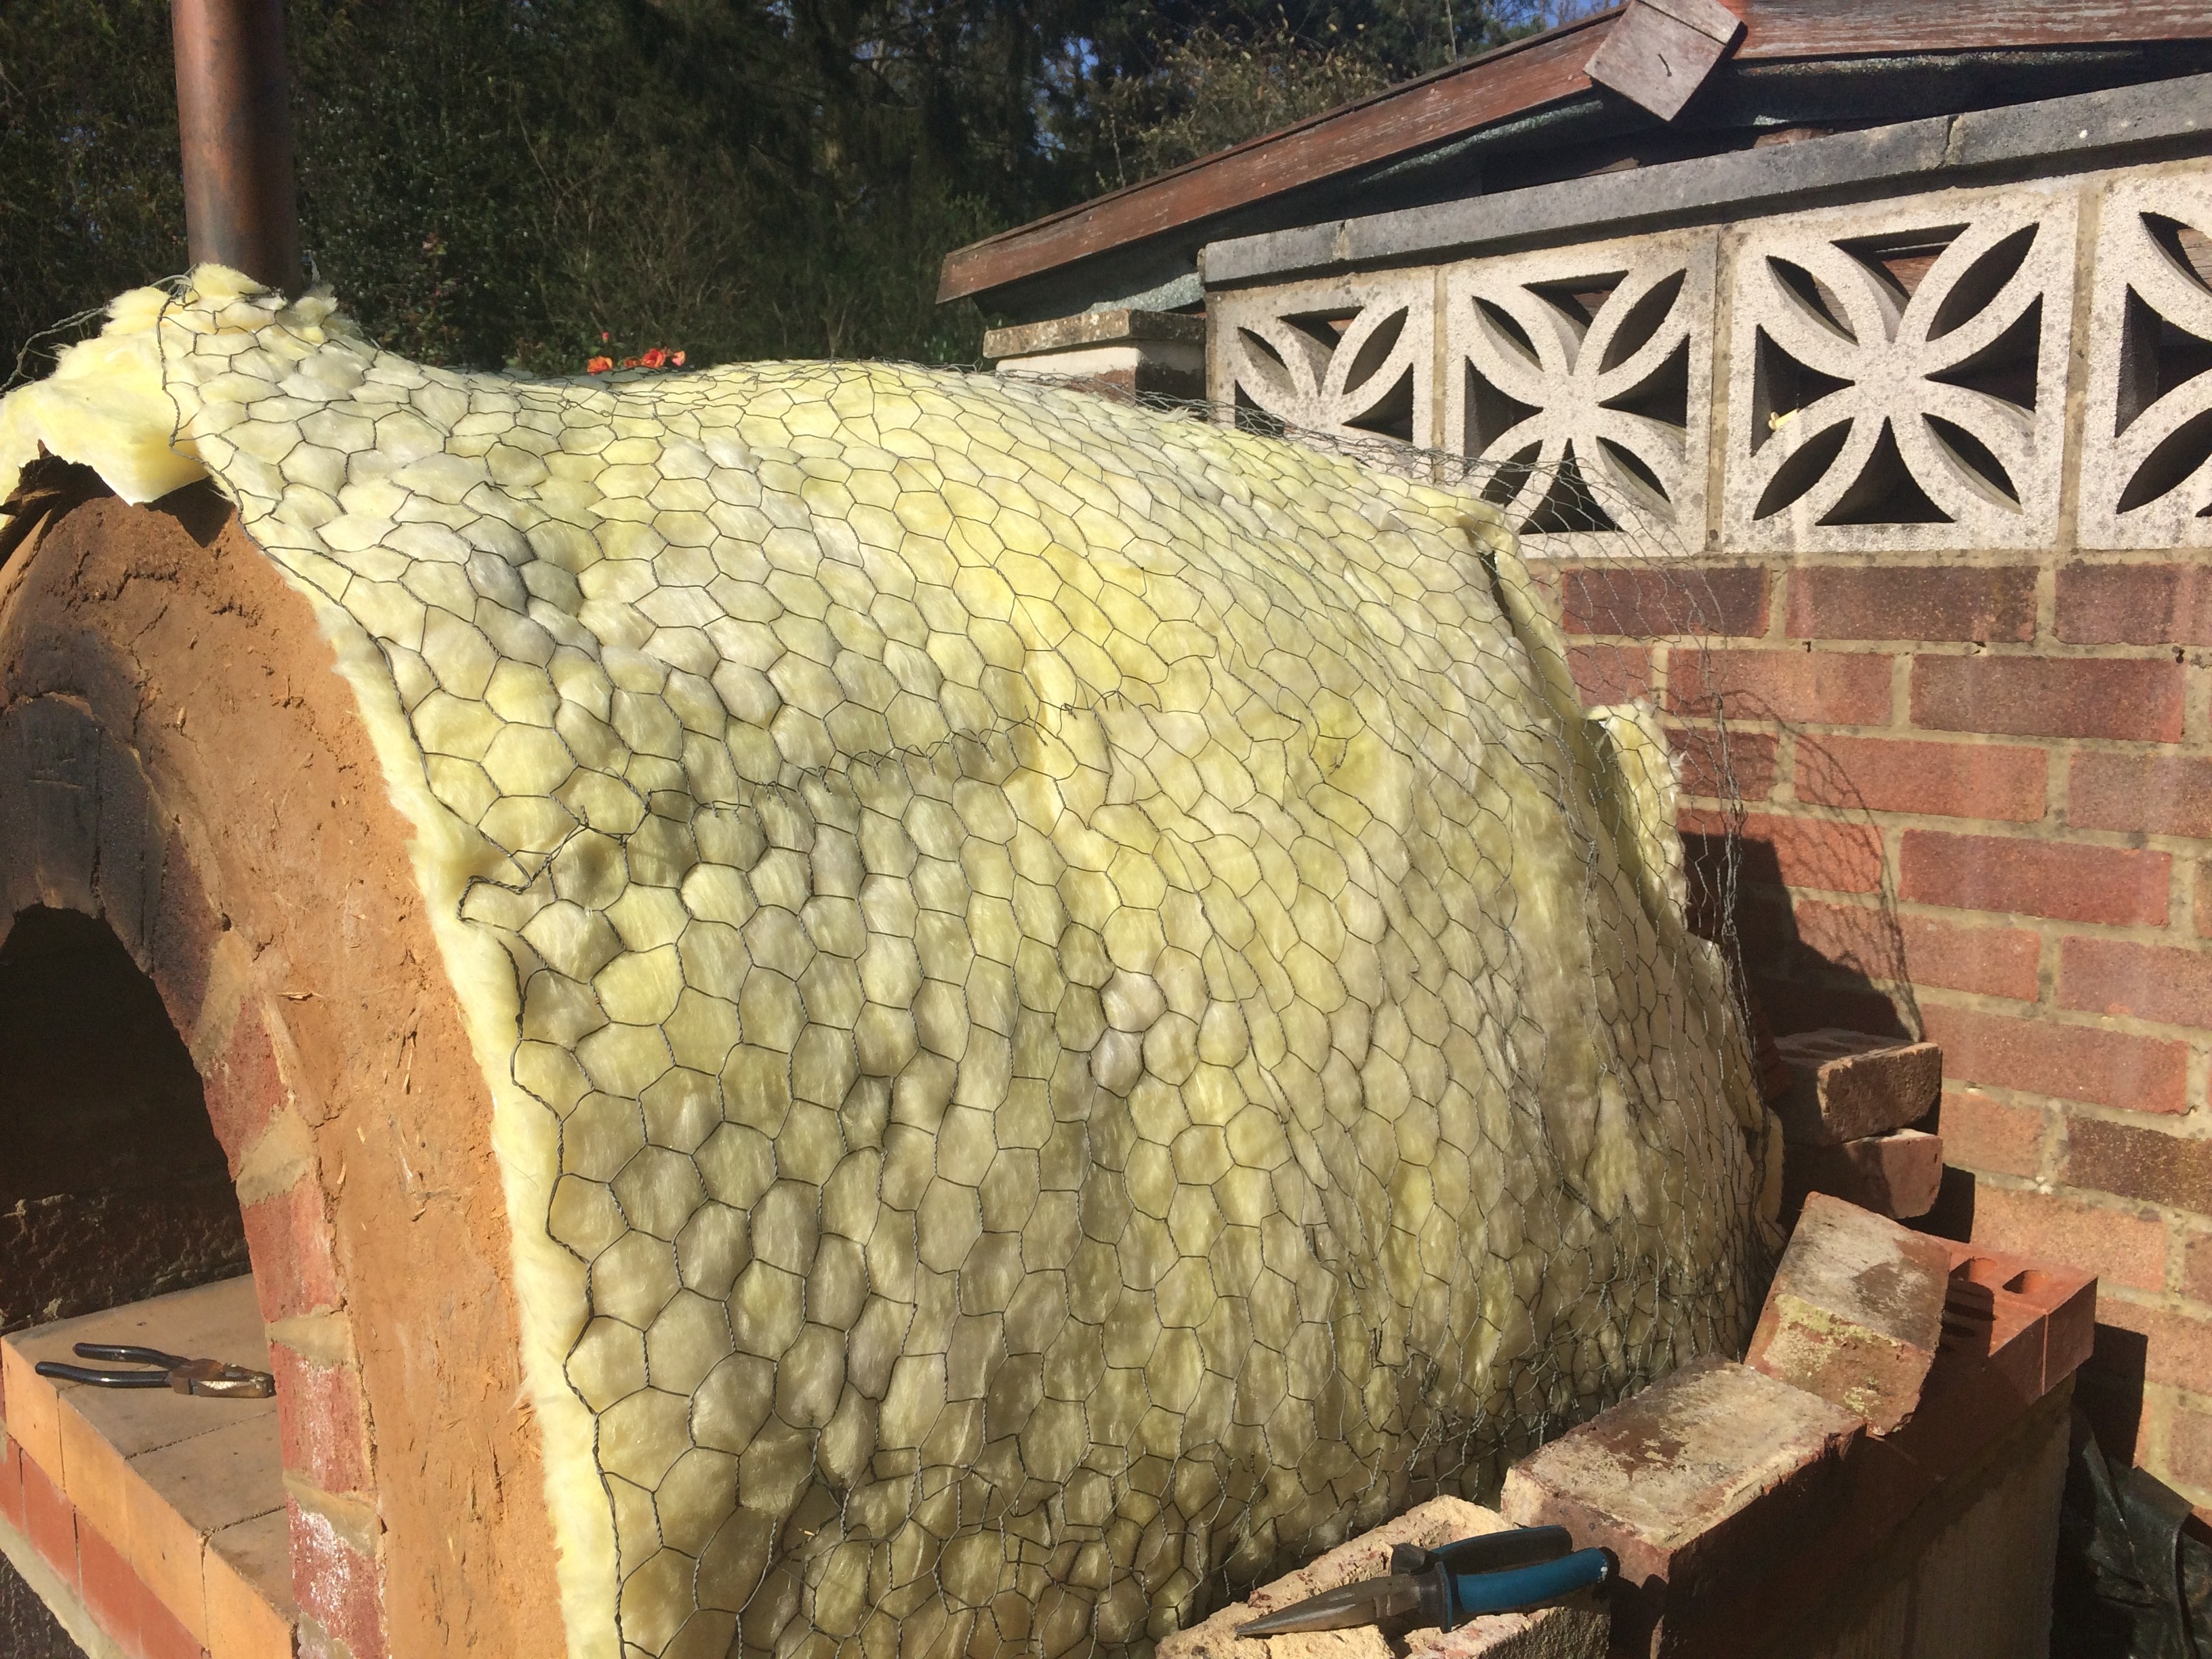
It’s just a joy to know that over 70% of the materials used to make it were reclaimed bricks or clay dug out of my very own backyard.  Can’t get much more sustainable than that except maybe grow the straw!

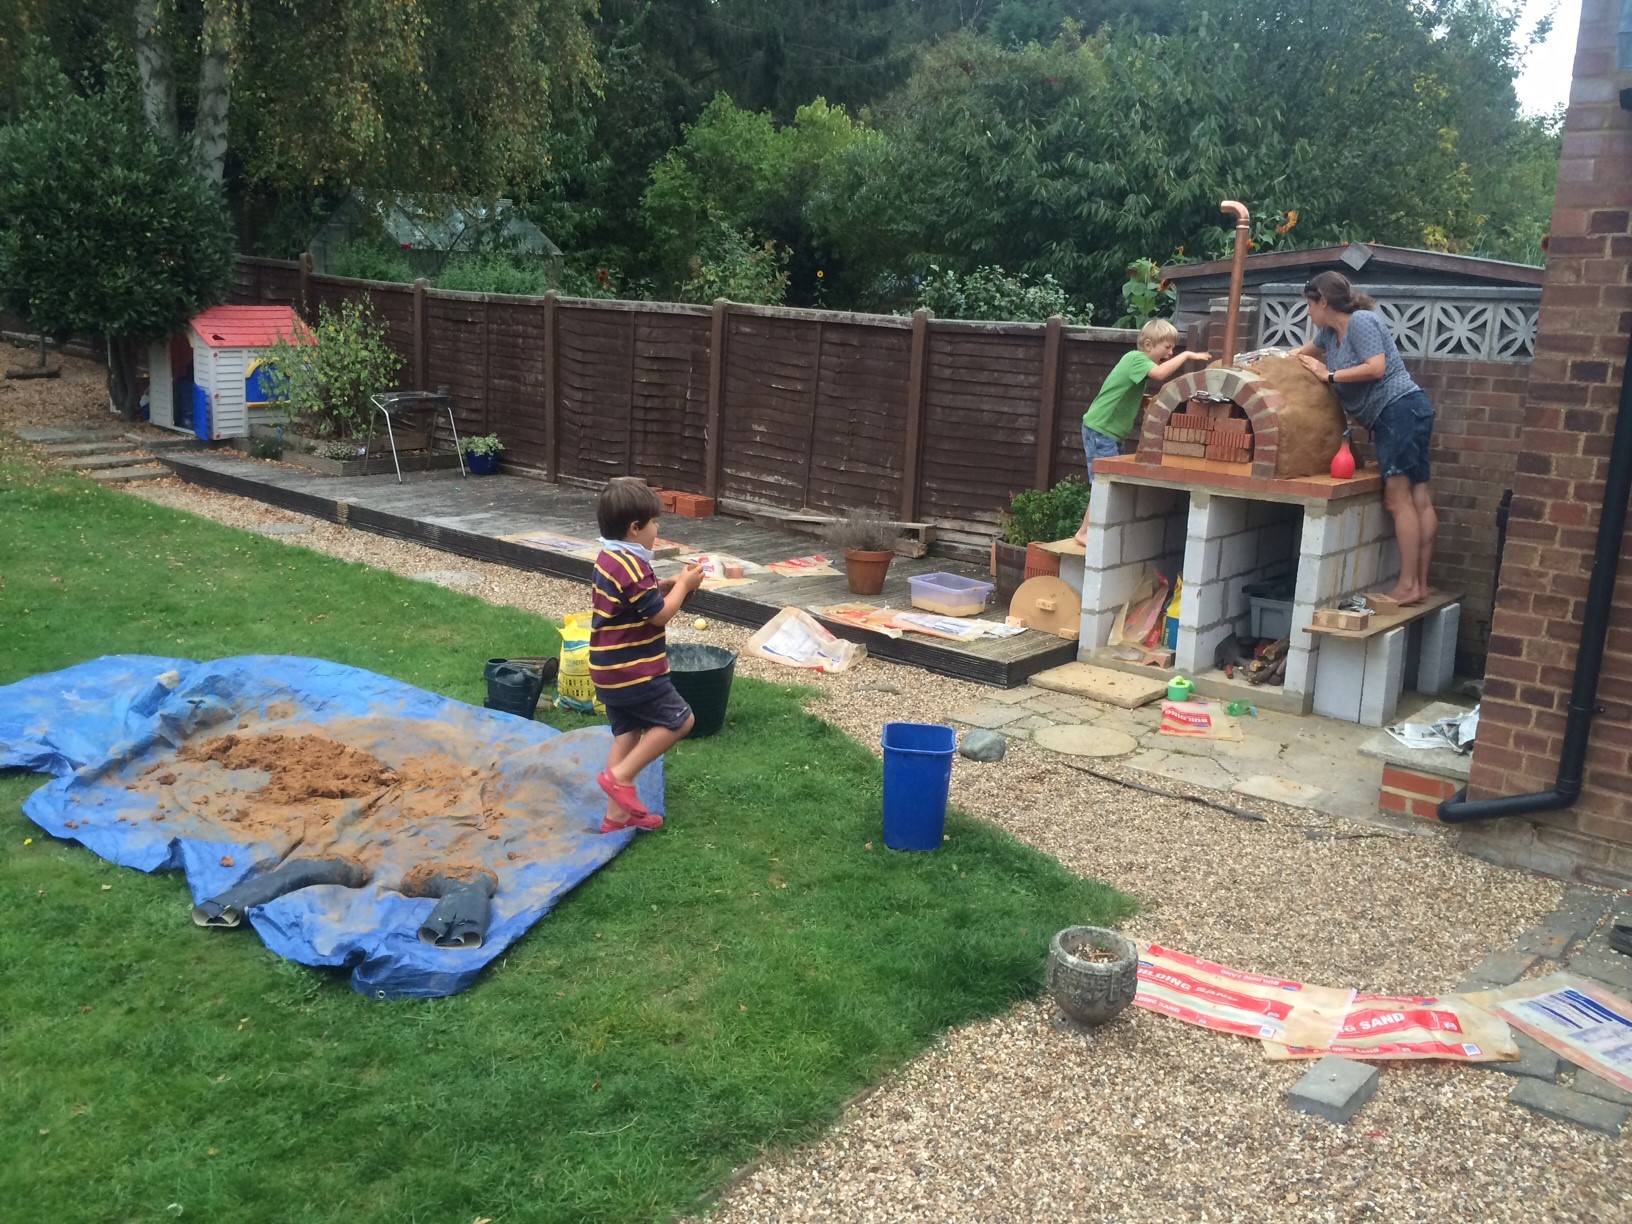
It was a real labour of love and so many people were willing to pitch in and helped with the initial first and subsequent layers.  Without their help, it would have taken another two months of work.  It was a real community builder and friendship maker.

Another thing that I am chuffed about is that I’ve received so many photos from people all over the world who have used the detailed instructions in my eBook and built their own.  It’s quite amazing and heart warming.

New Backyard Clay Oven Video

Anyway, I thought that it was high time to improve on my original clay oven video.  I wanted to add some narration and provide additional insight into how I made it.  So I made an update version, with a “Where is it now?” section to complete the original “How To” video.

So dear reader, here it is.  The new Build Your Own Backyard Clay Oven update video.

It was fun to make and now features on my new YouTube Channel for The Greening of Gavin.  If you want to be the first to see any new videos please subscribe to the channel, as I don’t always get around to embedding them into a blog post until much later in the week.

Enjoy the narration and feel free to share it far and wide.  I won’t mind at all! 😉

Will this article help someone you know? If so help them out by sharing now!

  • Click to share on Facebook (Opens in new window) Facebook
  • Click to share on X (Opens in new window) X
  • Click to share on LinkedIn (Opens in new window) LinkedIn
  • Click to share on Reddit (Opens in new window) Reddit
  • Click to share on Pinterest (Opens in new window) Pinterest
  • Click to share on Tumblr (Opens in new window) Tumblr
  • Click to print (Opens in new window) Print
  • Click to email a link to a friend (Opens in new window) Email
  • More
  • Click to share on Pocket (Opens in new window) Pocket

Filed Under: Cob Oven, Sustainable Living

My Clay Oven – Tom Brandt’s Personal Story

July 16, 2015 @ 07:00 By Gavin Webber Leave a Comment

Over the last couple of years, I have been offering advice via email about building clay ovens to anyone who asked or wanted clarification about particular instructions within my eBook “Build Your Own Backyard Clay Oven“.  I did this because I love to share my sustainable living projects, and also want them to enjoy the social aspects of having a pizza party and having like-minded friends share the clay oven love!

One of those potential clay oven builders that I’ve been helping has been Tom Brandt who lives in St Albans, United Kingdom.  Once he finished his project and had cooked his first pizza, I asked him if he would like to share his story.

Tom Brandt

Tom Brandt

Tom agreed without hesitation, so without further ado, here is his story.


#Brandtpizzaparty

Having just moved to a larger house with a big garden, and keen to begin a project with my children building something, I happened to watch a Jamie Oliver cookery show in which he was extolling the virtues of cooking in an outdoor oven.

Arch brickwork

Arch brickwork and plinth

It just so happened that he was also selling the same oven the as he was cooking in for approx. £1300 (approx $2730 Aussie dollars) which I felt was an extortionate amount of money for materials you could just dig out of the ground! As I did more research online I found Gavin’s Youtube film which I viewed on several occasions before purchasing his excellent e-book.

The kids making the sand dome

The kids helping with the sand dome

So I set about our pizza oven project in May 2014 with the aim of sourcing all of my materials for free where possible. I began by looking through local skips, asking friends for old ‘odds and ends’ they may have left over in their gardens/garages and got friendly with the site foreman at my School which just happened to be going through a major building project. I also stumbled across an uprooted tree in a field local to my In-laws which gave me a ready supply of clay.

The clay tree!

The clay tree!

Over the course of the early summer months I managed to complete the block work with help from my three young sons before the long summer holidays allowed me to concentrate on building the oven itself, when time allowed. Again, the boys, aged 8,6 and 3 enjoyed helping whether it was creating the inner sand mound, stomping on the cob or applying the cob to the various layers.

First layer of cob

First layer of cob

A busy family life and some poor weather dictated that, by the start of the English winter, I knew it would not be finished. I consulted with Gavin and after his advice, I decided to mothball the project until the following spring.

Nearly finished clay oven

Nearly finished clay oven ready to cook in

It was only in April 2015 when I finally got around to completing the last thermal mass cob layer and with sufficient drying time, a small fire allowed the first garlic bread pizza to be cooked.

Insulation Layer

Insulation Layer

After that, an additional layer of thin loft insulation, a chicken wire mesh and the final coat of render have been applied.

In May we welcomed our first guests to enjoy pizzas with us and we have had a steady stream since!

Tom with his boys

Tom with his boys

We are still learning and improving each time and are planning to cater for 20 at the beginning of August. This project has been much talked about amongst our groups of friends with many keen to be updated on progress and looking forward to their first pizza! An added bonus of creating a project I feel proud of is the wonderful social gatherings that have resulted from it.

Pizza in the oven

Pizza in the oven

Obviously, there have been some costs involved and Ebay and the local builders merchants have supplied everything else needed. In total, I reckon I have brought the whole project in for under £150 which is 12% of Mr Oliver’s retail price.

Not bad really for something that I have enjoyed tremendously and I couldn’t have done it without Gavin’s excellent guidance and support throughout.


Thanks Tom for the kind words and the great story!  You certainly saved a ton of money by making it yourself as well as the exclusive bragging rights of being in self-built backyard clay oven club.

Well done!

Will this article help someone you know? If so help them out by sharing now!

  • Click to share on Facebook (Opens in new window) Facebook
  • Click to share on X (Opens in new window) X
  • Click to share on LinkedIn (Opens in new window) LinkedIn
  • Click to share on Reddit (Opens in new window) Reddit
  • Click to share on Pinterest (Opens in new window) Pinterest
  • Click to share on Tumblr (Opens in new window) Tumblr
  • Click to print (Opens in new window) Print
  • Click to email a link to a friend (Opens in new window) Email
  • More
  • Click to share on Pocket (Opens in new window) Pocket

Filed Under: Cob Oven, Cooking, Sustainable Living

Birthday Shenanigans

May 25, 2015 @ 22:10 By Gavin Webber 14 Comments

What a brilliant weekend!

Yes dear reader, it was my birthday, so I celebrated in true sustainable living style.  I taught others some new skills and made our own food.

Firstly, it was making cheese with Ben.  I had been meaning to teach him how to make cheese for a while, so I took the opportunity to direct him in the making of Queso Fresco.  It is a very simple cheese to make and can be eaten the same day.

Ben makes Queso Fresco

Stirring the milk

So firstly we watched the video tutorial that I created for Queso Fresco, and that helped him better understand the process.  I explained what each of the ingredients did and what stage of the process everything is added.

Then we got stuck into it.  I was totally hands off during the process, except to correct or show him a technique to make things easier.  I must admit, he was a great student and asked lots of relevant questions.

IMG_0094

Ben really enjoyed himself.  Just look at the concentration on his face as he handles the curd into the mould!

IMG_0100

I reckon that I have created a baby curd nerd.

IMG_0102

And a happy little curd nerd at that!  Once the cheese was pressed, it looked something like this.

Queso Fresco

Queso Fresco

Absolutely delicious and as the name implies, very fresh.  Everyone in the family loved it and as I type this, there is not much left.  Ben has been snacking on it!

Now if you want to make this cheese yourself, you can grab the recipe for Queso Fresco over on Little Green Cheese for free.

That cheese making session took us to about 2pm.

As we were having pizza alfresco that evening as a birthday treat, I lit the cob oven to prepare for cooking.  Here’s the fire I made whilst enjoying a home-brew or two.

Backyard Clay Cob Oven

My backyard clay cob oven

It takes about 3 hours to get up to full heat, so while I was nursing the fire, it was time for the chooks to have a bit of a run around the garden.

Edwina 2

Edwina 2

Not the best shot, but they move so quickly.  They all had a dig around the garden and did most of the weeding for me, for which they were rewarded with lots of juicy earthworms.

Once the cob oven was up to temperature, I showed my daughter Amy and her partner Lawrence how to cook them just right.  There is certainly a knack to getting the pizza perfectly cooked on top and bottom.  Lawrence mentioned that he is now a wood-fired pizza convert and it will be hard to eat pizza cooked any other way.

Now for something new.  Kim made up some dessert pizzas.  Some with salted caramel and topped with banana and strawberries, and my personal favourite, the apple pizza.

Apple Pizza

Apple Pizza

It was a normal pizza base with salted caramel sauce, topped with thinly sliced apples, sprinkled with rapadura sugar and cinnamon.  Into the slightly cooler oven (250°C) for 5 minutes for the apple to bake, and then a minute on the oven floor to brown it off.  Kim added some leftover banana and strawberries, but it probably didn’t need it.

It tasted just like warm apple pie!  These dessert pizza are definitely on the menu from now on when we next flash up the cob oven.

Well that was about the day done.  We all had fun and I especially enjoyed teaching Ben how to make cheese.  He has asked to help out with my next cheesy creation.  Who knows, you might just see him featured in my next cheese making video tutorial!

Will this article help someone you know? If so help them out by sharing now!

  • Click to share on Facebook (Opens in new window) Facebook
  • Click to share on X (Opens in new window) X
  • Click to share on LinkedIn (Opens in new window) LinkedIn
  • Click to share on Reddit (Opens in new window) Reddit
  • Click to share on Pinterest (Opens in new window) Pinterest
  • Click to share on Tumblr (Opens in new window) Tumblr
  • Click to print (Opens in new window) Print
  • Click to email a link to a friend (Opens in new window) Email
  • More
  • Click to share on Pocket (Opens in new window) Pocket

Filed Under: Cheese, Cob Oven, skills

Next Page »

Search This Blog

Follow my work

About Gavin Webber

About Gavin Webber

An Ordinary Australian Man Who Has A Green Epiphany Whilst Watching A Documentary, Gets a Hybrid Car, Plants A Large Organic Vegetable Garden, Goes Totally Solar, Lowers Consumption, Feeds Composts Bins and Worms, Harvests Rainwater, Raises Chickens, Makes Cheese and Soap, and Eats Locally. All In The Effort To Reduce Our Family's Carbon Footprint So We Can Start Making A Difference For Our Children & Future Generations To Come.

Delve Into the Archives

Visit Our Online Simple Living Shop

Little Green Workshops

Top Posts & Pages

Hot Chilli Chutney
Curing Black Olives
Home Made Bread Rolls
The Seven Stages Of Change
How To Remove Scaly Leg Mites
Black Aphids On Garlic
2 Fruit Marmalade
Outdoor Solar Shower
Tips for Growing Citrus in Pots
The Ant and the Grasshopper

Recent Awards

Recent Awards

Local Green Hero

Categories

Favourite Daily Reads

Debt Free, Cashed Up, and Laughing

The Off-Grid Solar House

Greener Me

The Rogue Ginger

Little Eco Footprints

Down To Earth

Surviving the Suburbs

Little Green Cheese

Eight Acres

The Witches Kitchen

TGOG Readers On-line

Carbon Offset website

Copyright - Gavin Webber © 2026