With the slow death of the old Blood Plum tree, and the need for a new storage shed for the ever-growing green business, it was time for a garden renovation. You know, just like a backyard blitz but slower!
Due to some issues with my hands (arthritis creeping into my thumb joints, I had to get some help to complete it all. Mick the Handyman and his wife Anne were hired to put down a slab, erect the new shed, and cut down the plum tree and tidy things up a bit. The condition was that they reuse all the materials from garden beds they were moving to make new beds and structures.

Chook house #1 when first built
So lets start at the beginning. This first photo is way back in 2009 when my son Adam and I had just finished the original Chook House. This was well before Cluckingham Palace was built behind it.
As you know, Ben and I dismantled this structure in March, and the what remained was just a vacant space.
Demolished Chook house
I had started to cut down part of the old plum tree, but my hands just hurt way too much. I needed help to do all the things I wanted to achieve in this part of the garden. I wanted the tree fully removed, and replaced with a nice area to sit, and a new garden bed in which to plant a couple of espaliered fruit trees.
So work began in early May 2016.

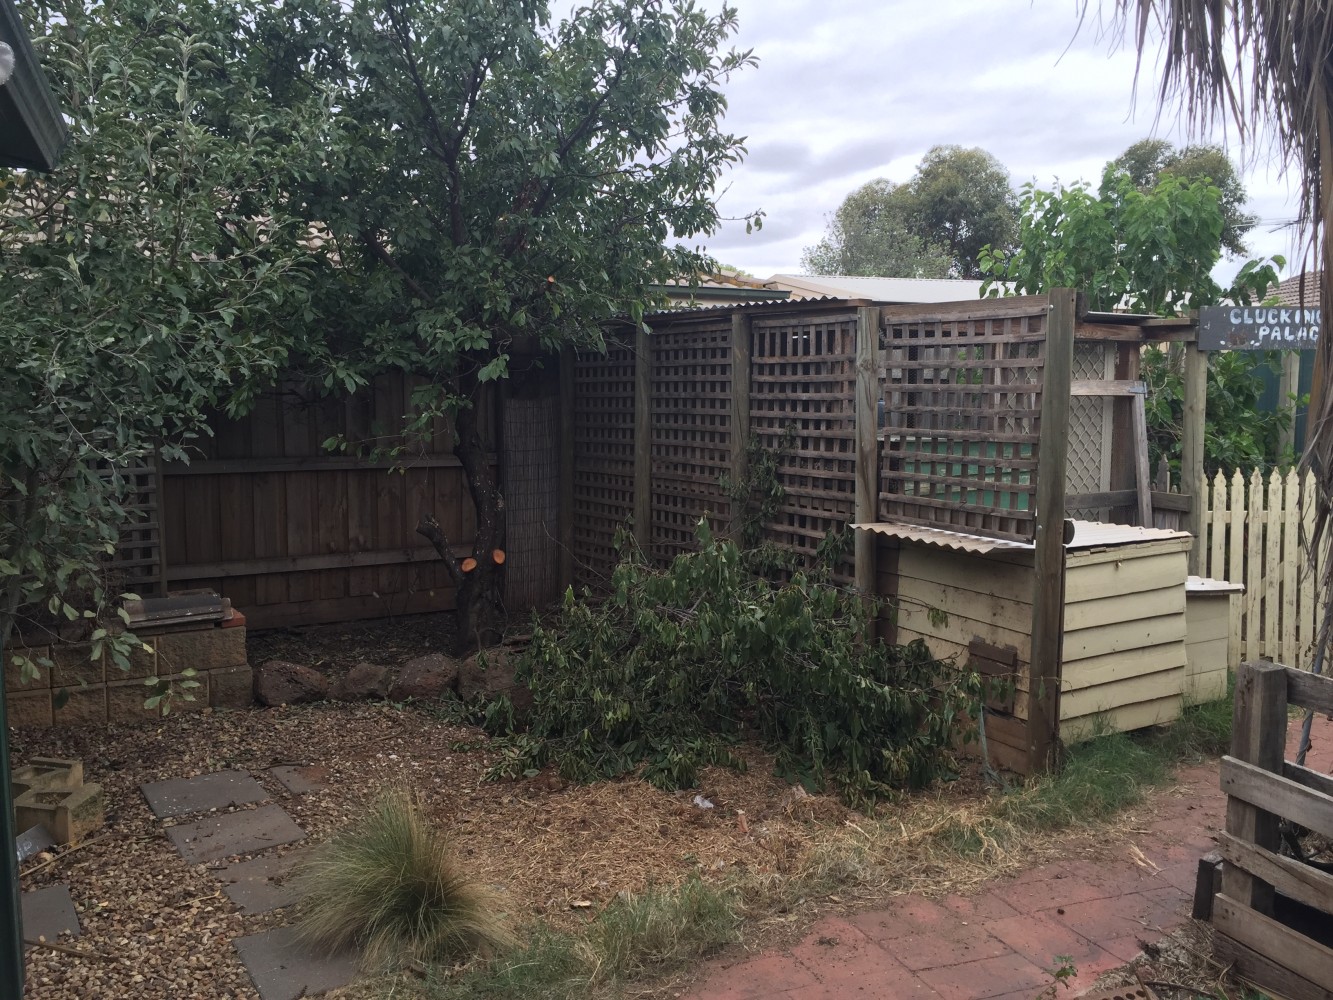
Plum tree cut down
The area was cleared and the tree was cut down. After this photo was taken the stump was removed as well.
Now for the shed area.

The old raised garden bed with trellis circa 2010
This photo was taken in 2010, after a had planted in some cabbages and broccoli. It was quite an under utilised space, so we decided that was could make better use of it by moving everything down the yard a bit. This including reuse of the trellis and brick work in the area where the plum tree once stood.

Ground preparation for new shed.
So once all the trellis, stone and beds were removed, the ground was prepared for the new slab on which the shed would be built. Not very green I know, but we investigated a wooden floor for the shed, but it would have rotted within a few years. This being a stock shed for the business, I wanted it waterproof.

New garden beds
Anyway, the garden bed was rebuilt behind where the shed now stands. All the soil, bricks and wood was reclaimed and reused to make these. Thankfully, nothing went to waste, and any unused soil was placed in my front yard veggie beds.
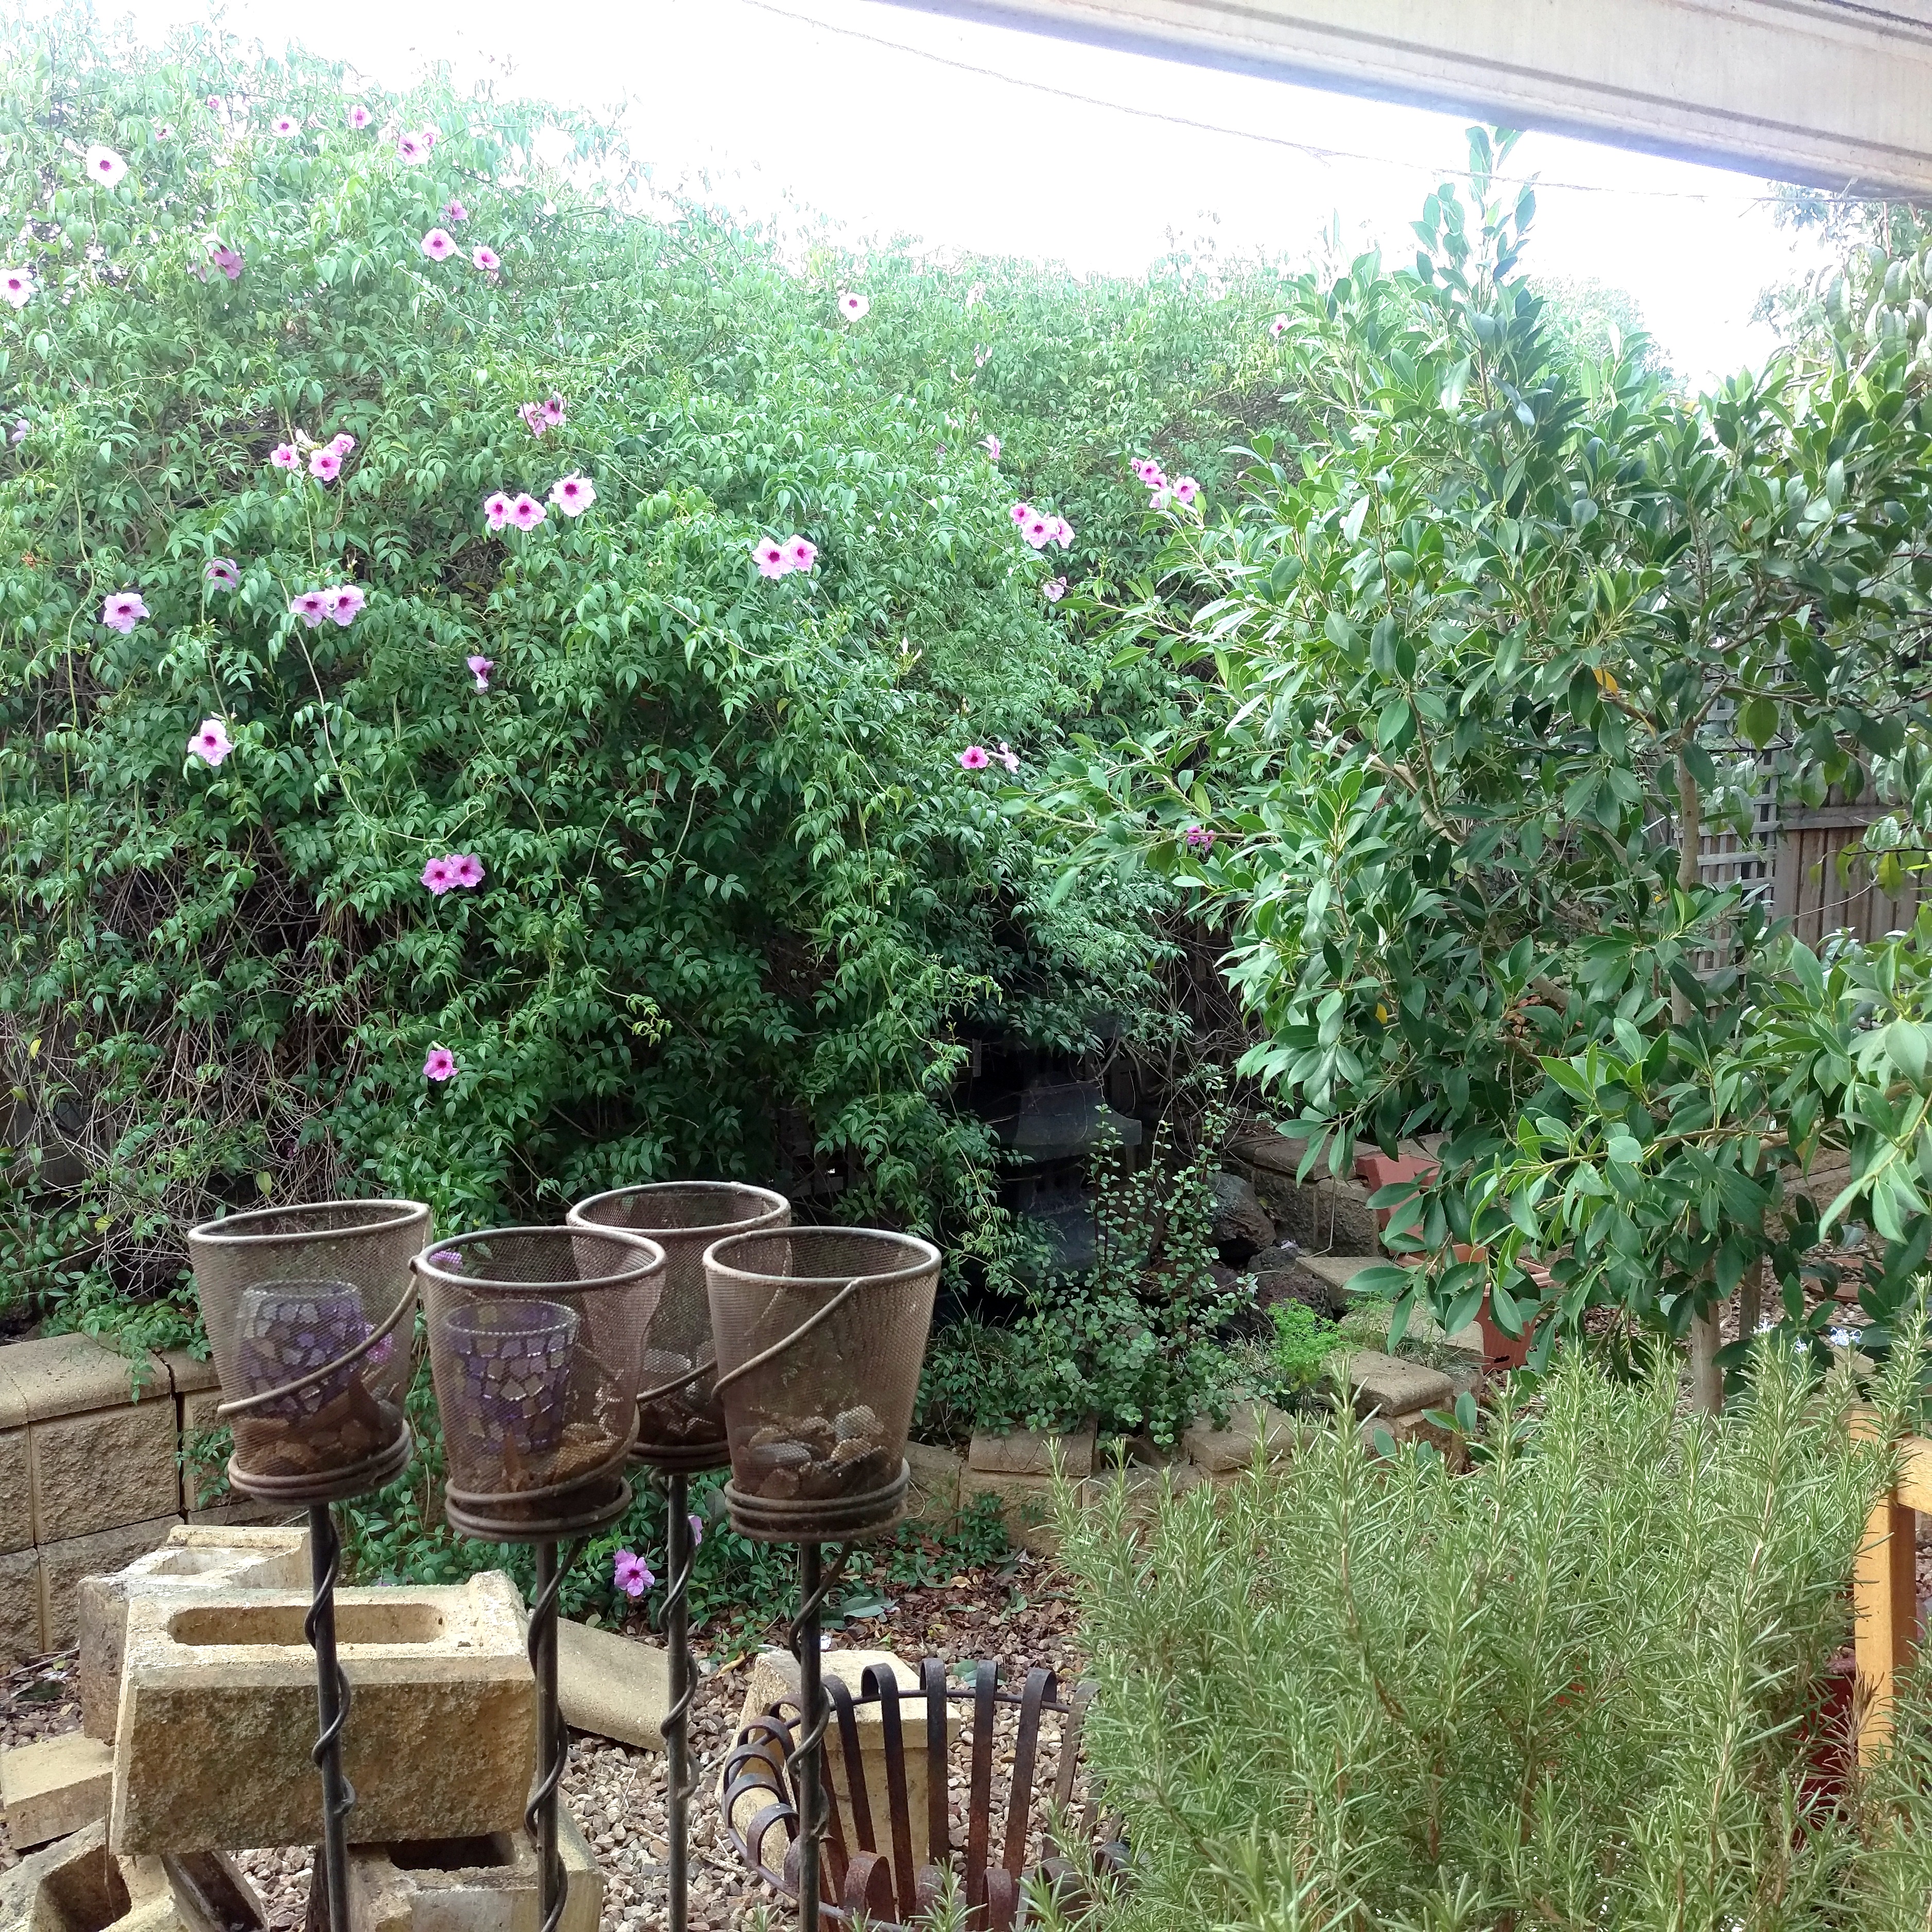
Overgrown Fountain. It’s in there somewhere!
Also the jasmine had taken over the beds and we lost the fountain somewhere within it. This needed trimming to regain a beautiful space.
After some much-needed pruning, the fountain reappeared in all its glory.
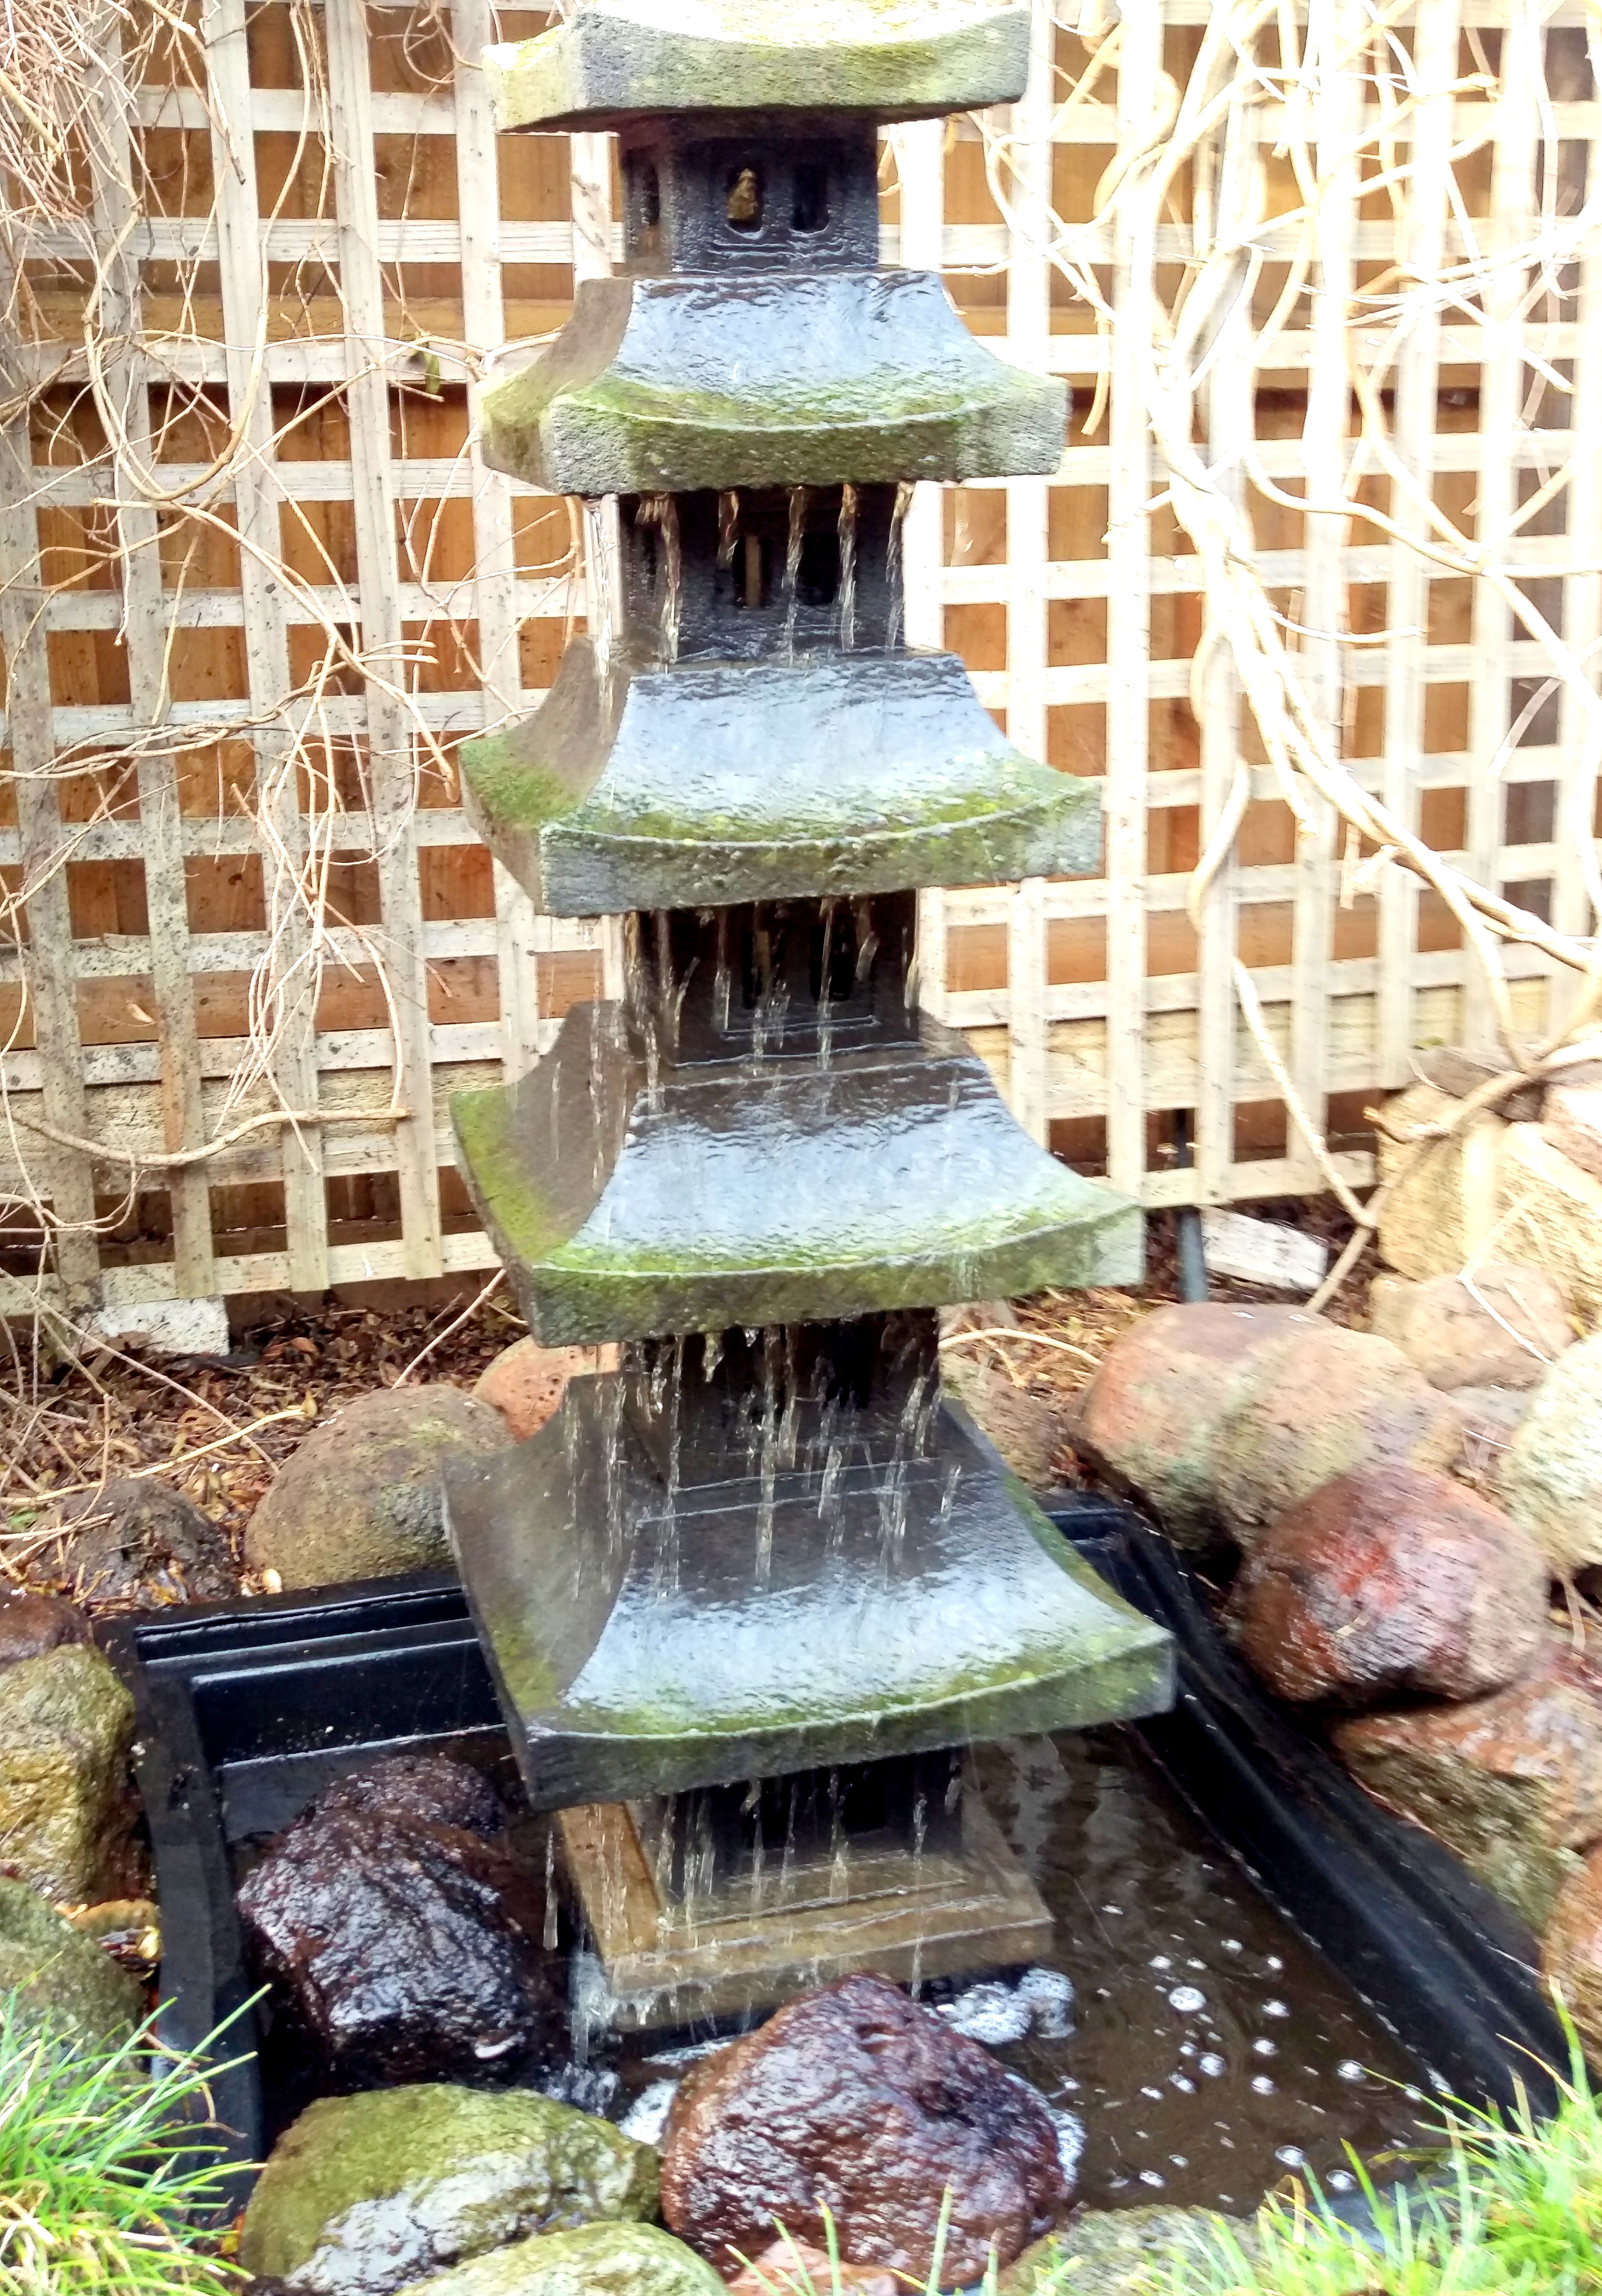
Rediscovered Fountain
The pool that the fountain stood in was full of decaying leaf matter, so I had to don some long rubber gloves and remove about 5 buckets of gunk. Once refilled the fountain worked perfectly! We refilled it from the rainwater tank and it looked amazing.
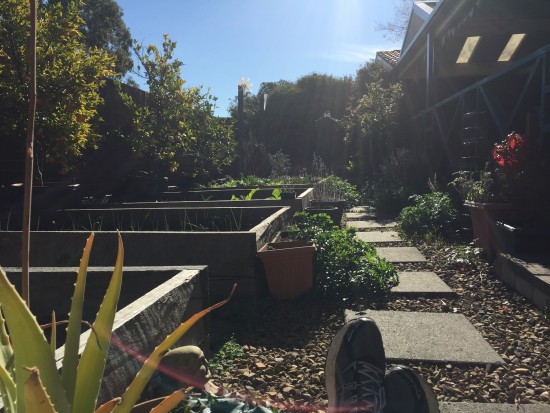
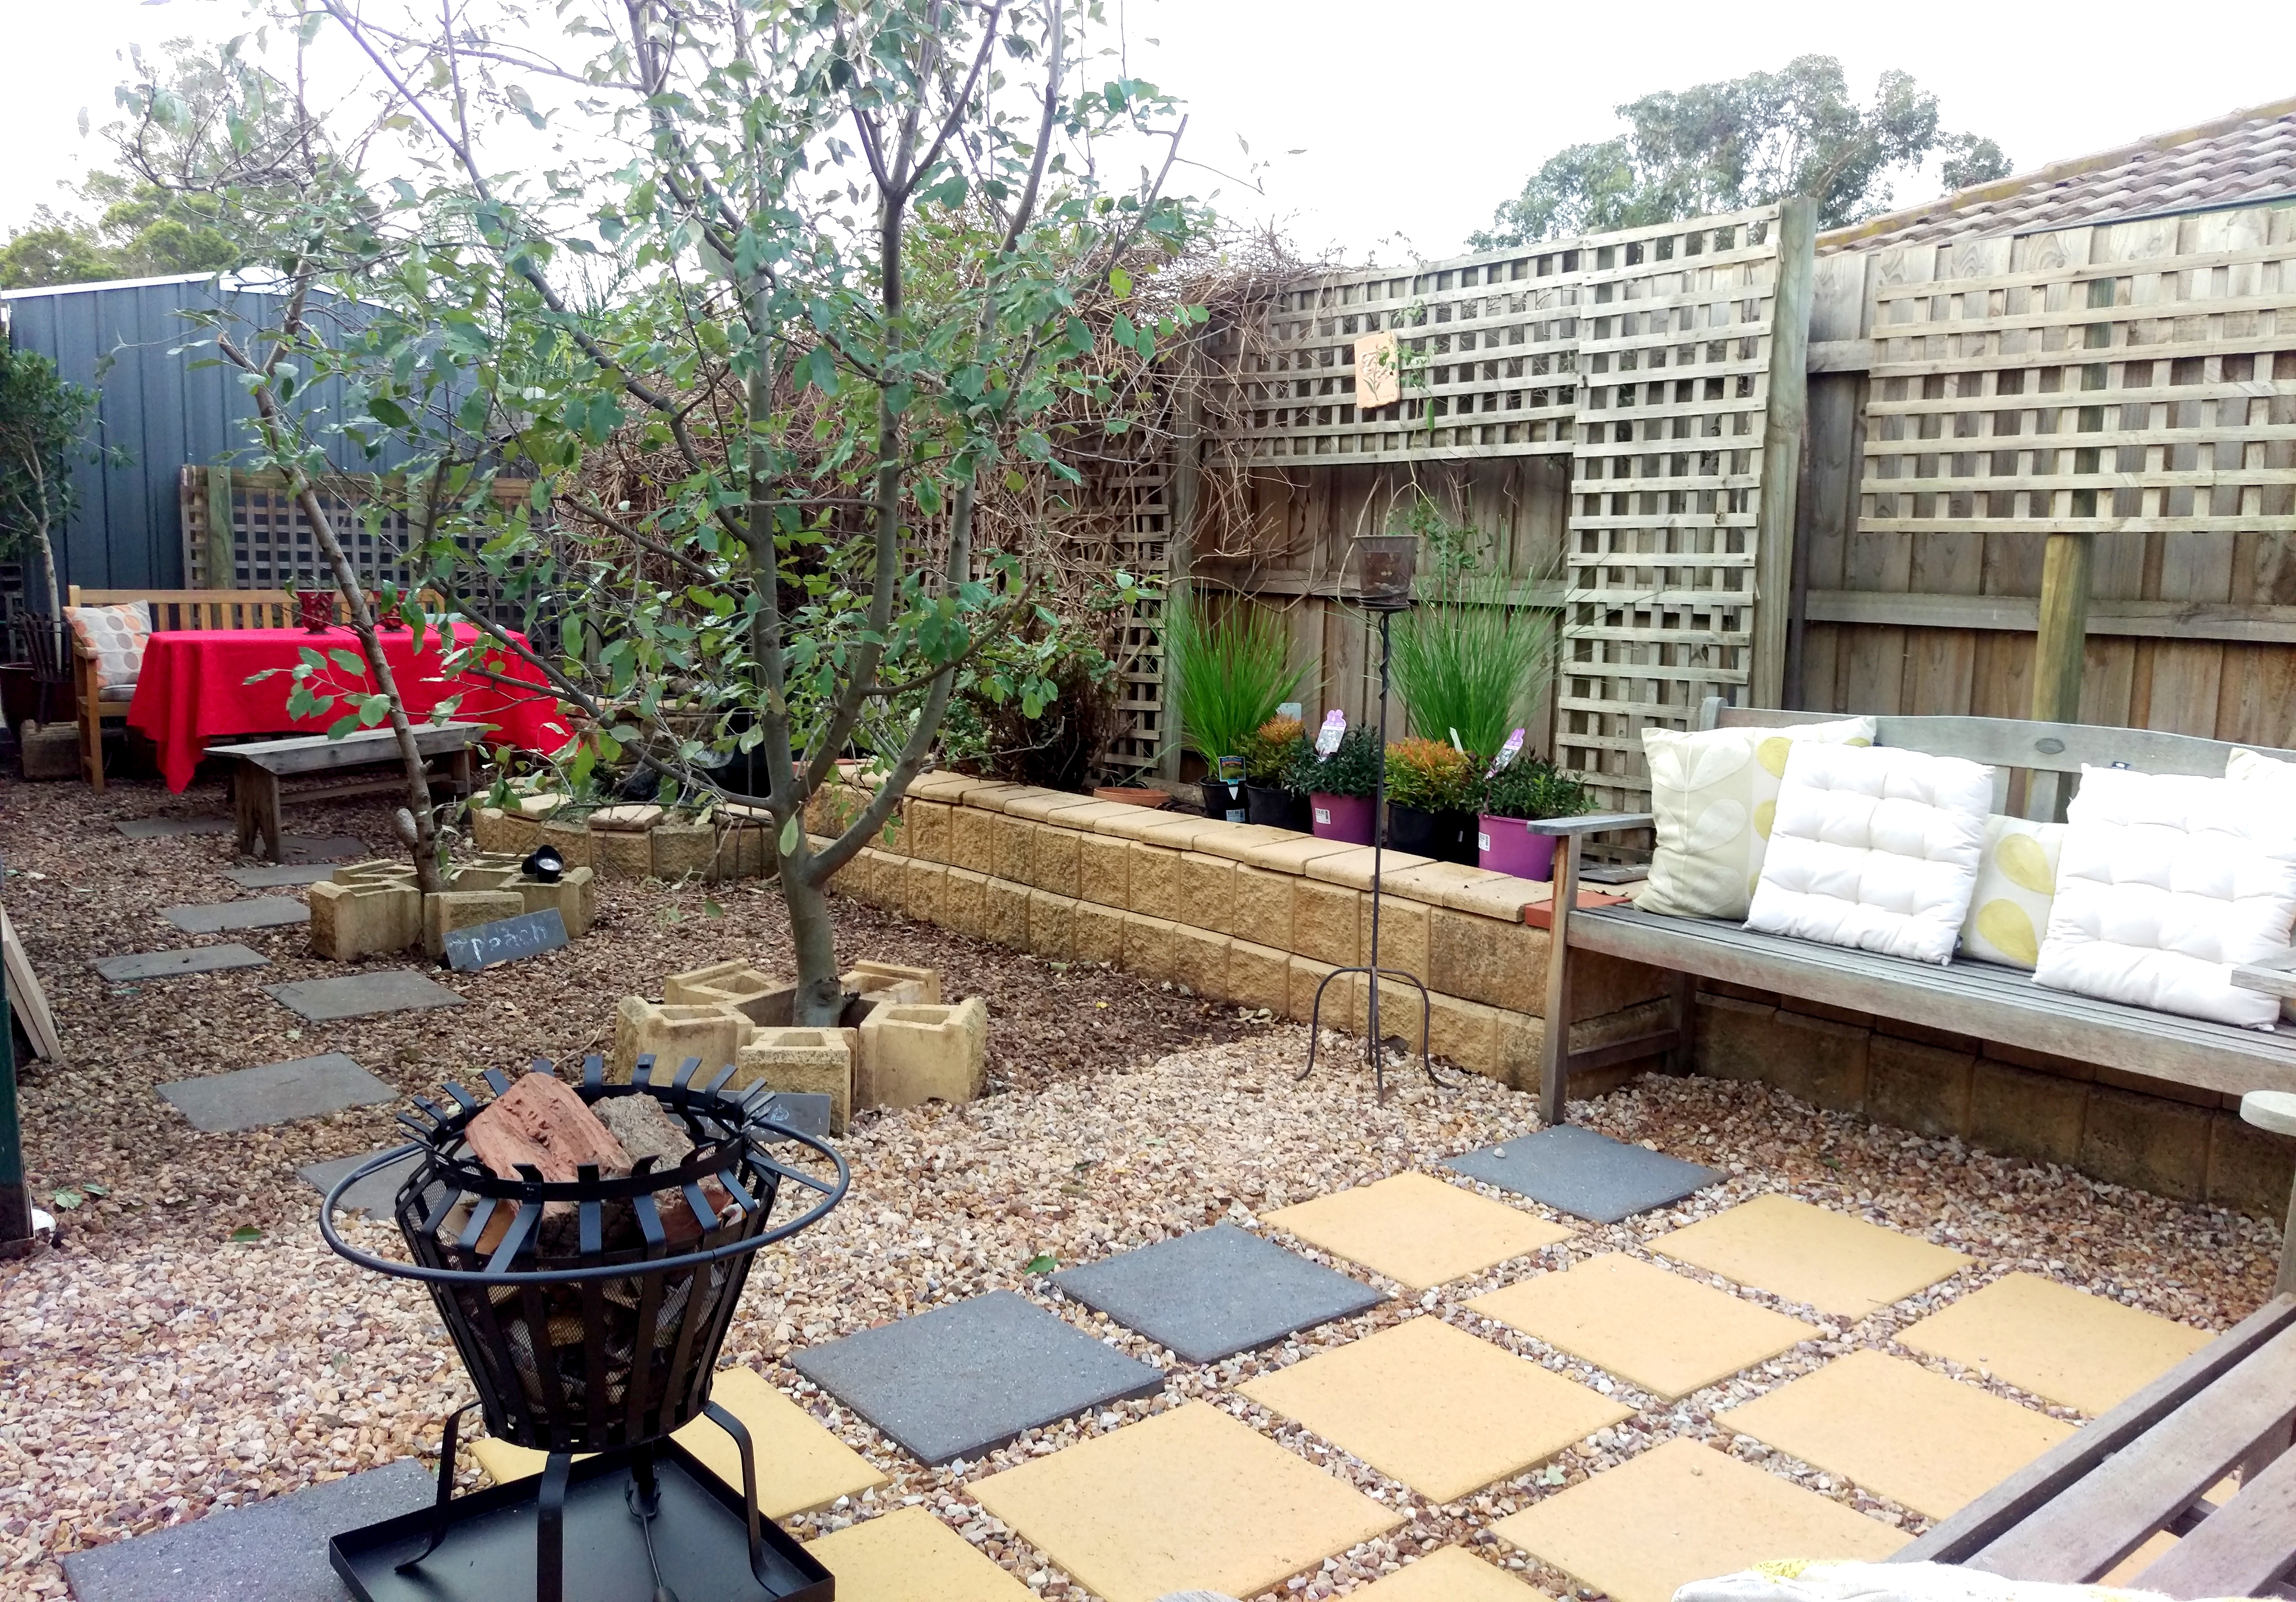
So with the new beds in place this is what it all looked like.

We could see the potential, but it wasn’t quite finished.
We had some left over pavers and a pile of stone, so asked Mick to do a nice bit of landscaping. Behind the far bench is a new garden bed built from retaining bricks that they removed from where the new shed now stands. That’s where I’m putting one of the espalier fruit trees. I’m putting the other one where the tarp is in the photo.
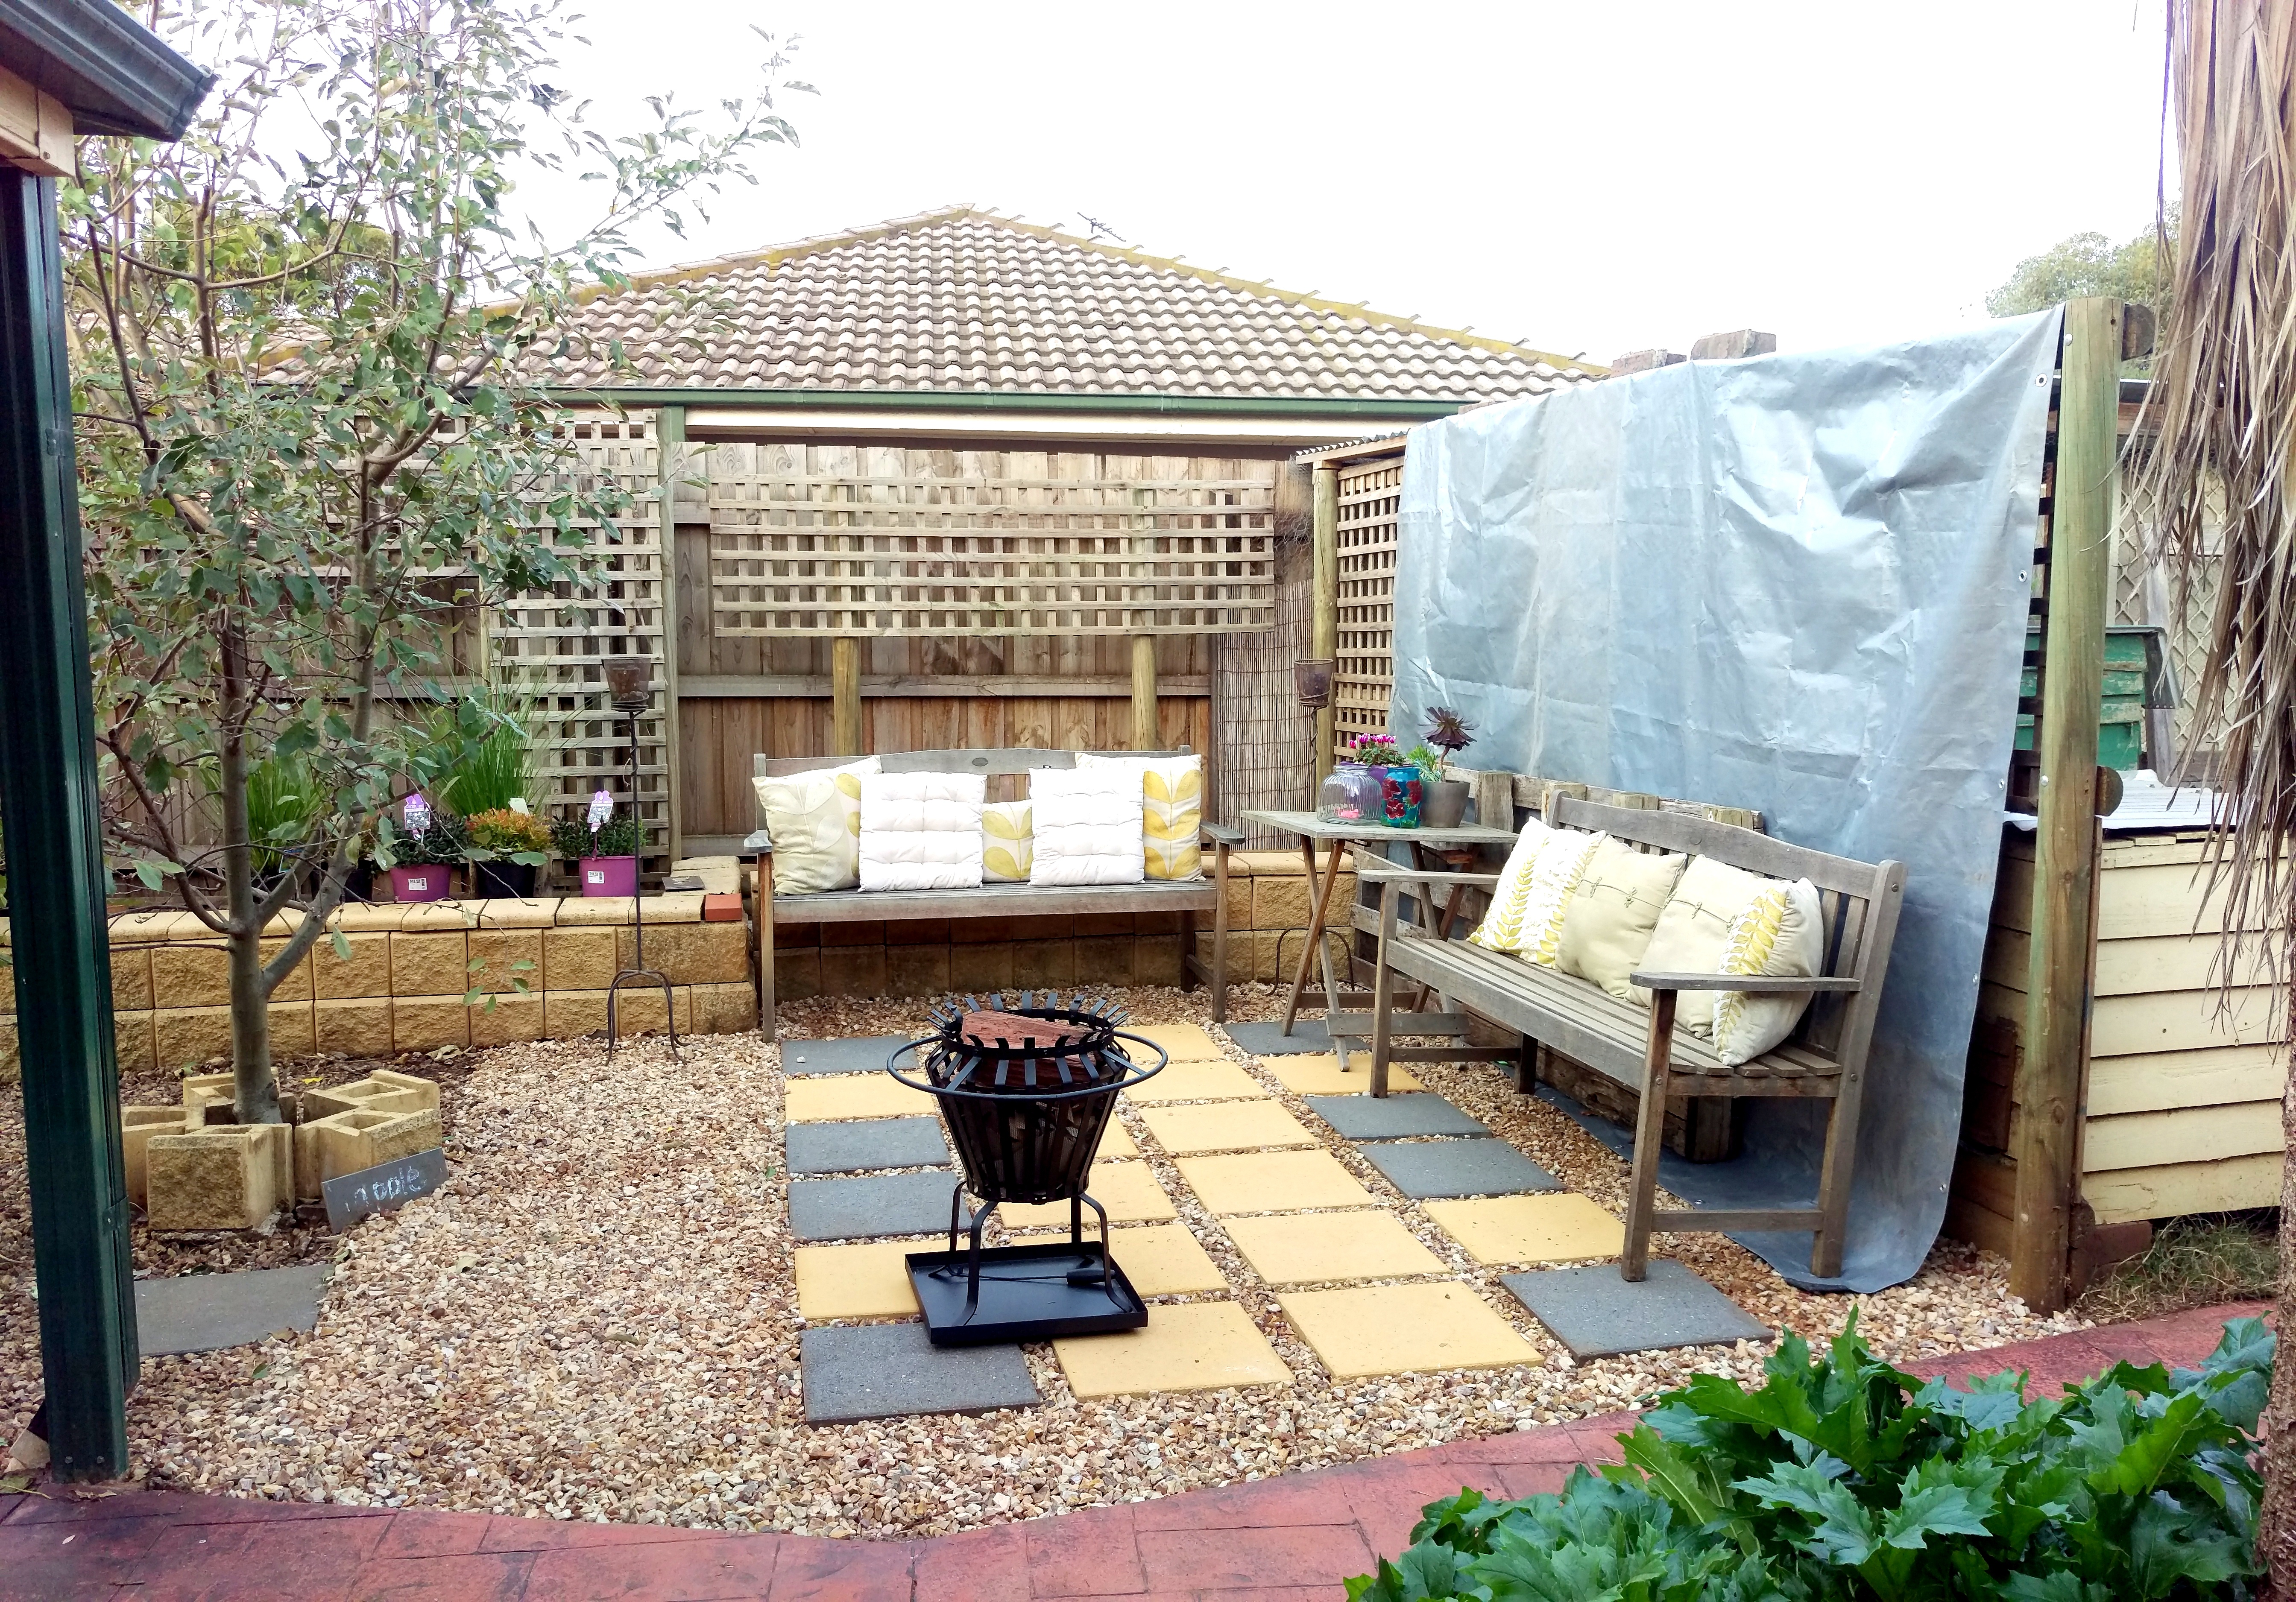
Looks pretty good. I even gave the Jonathan Apple tree a prune as well.
The big tarp was strung up there because I didn’t want to smoke out the chooks when I lit the brazier!
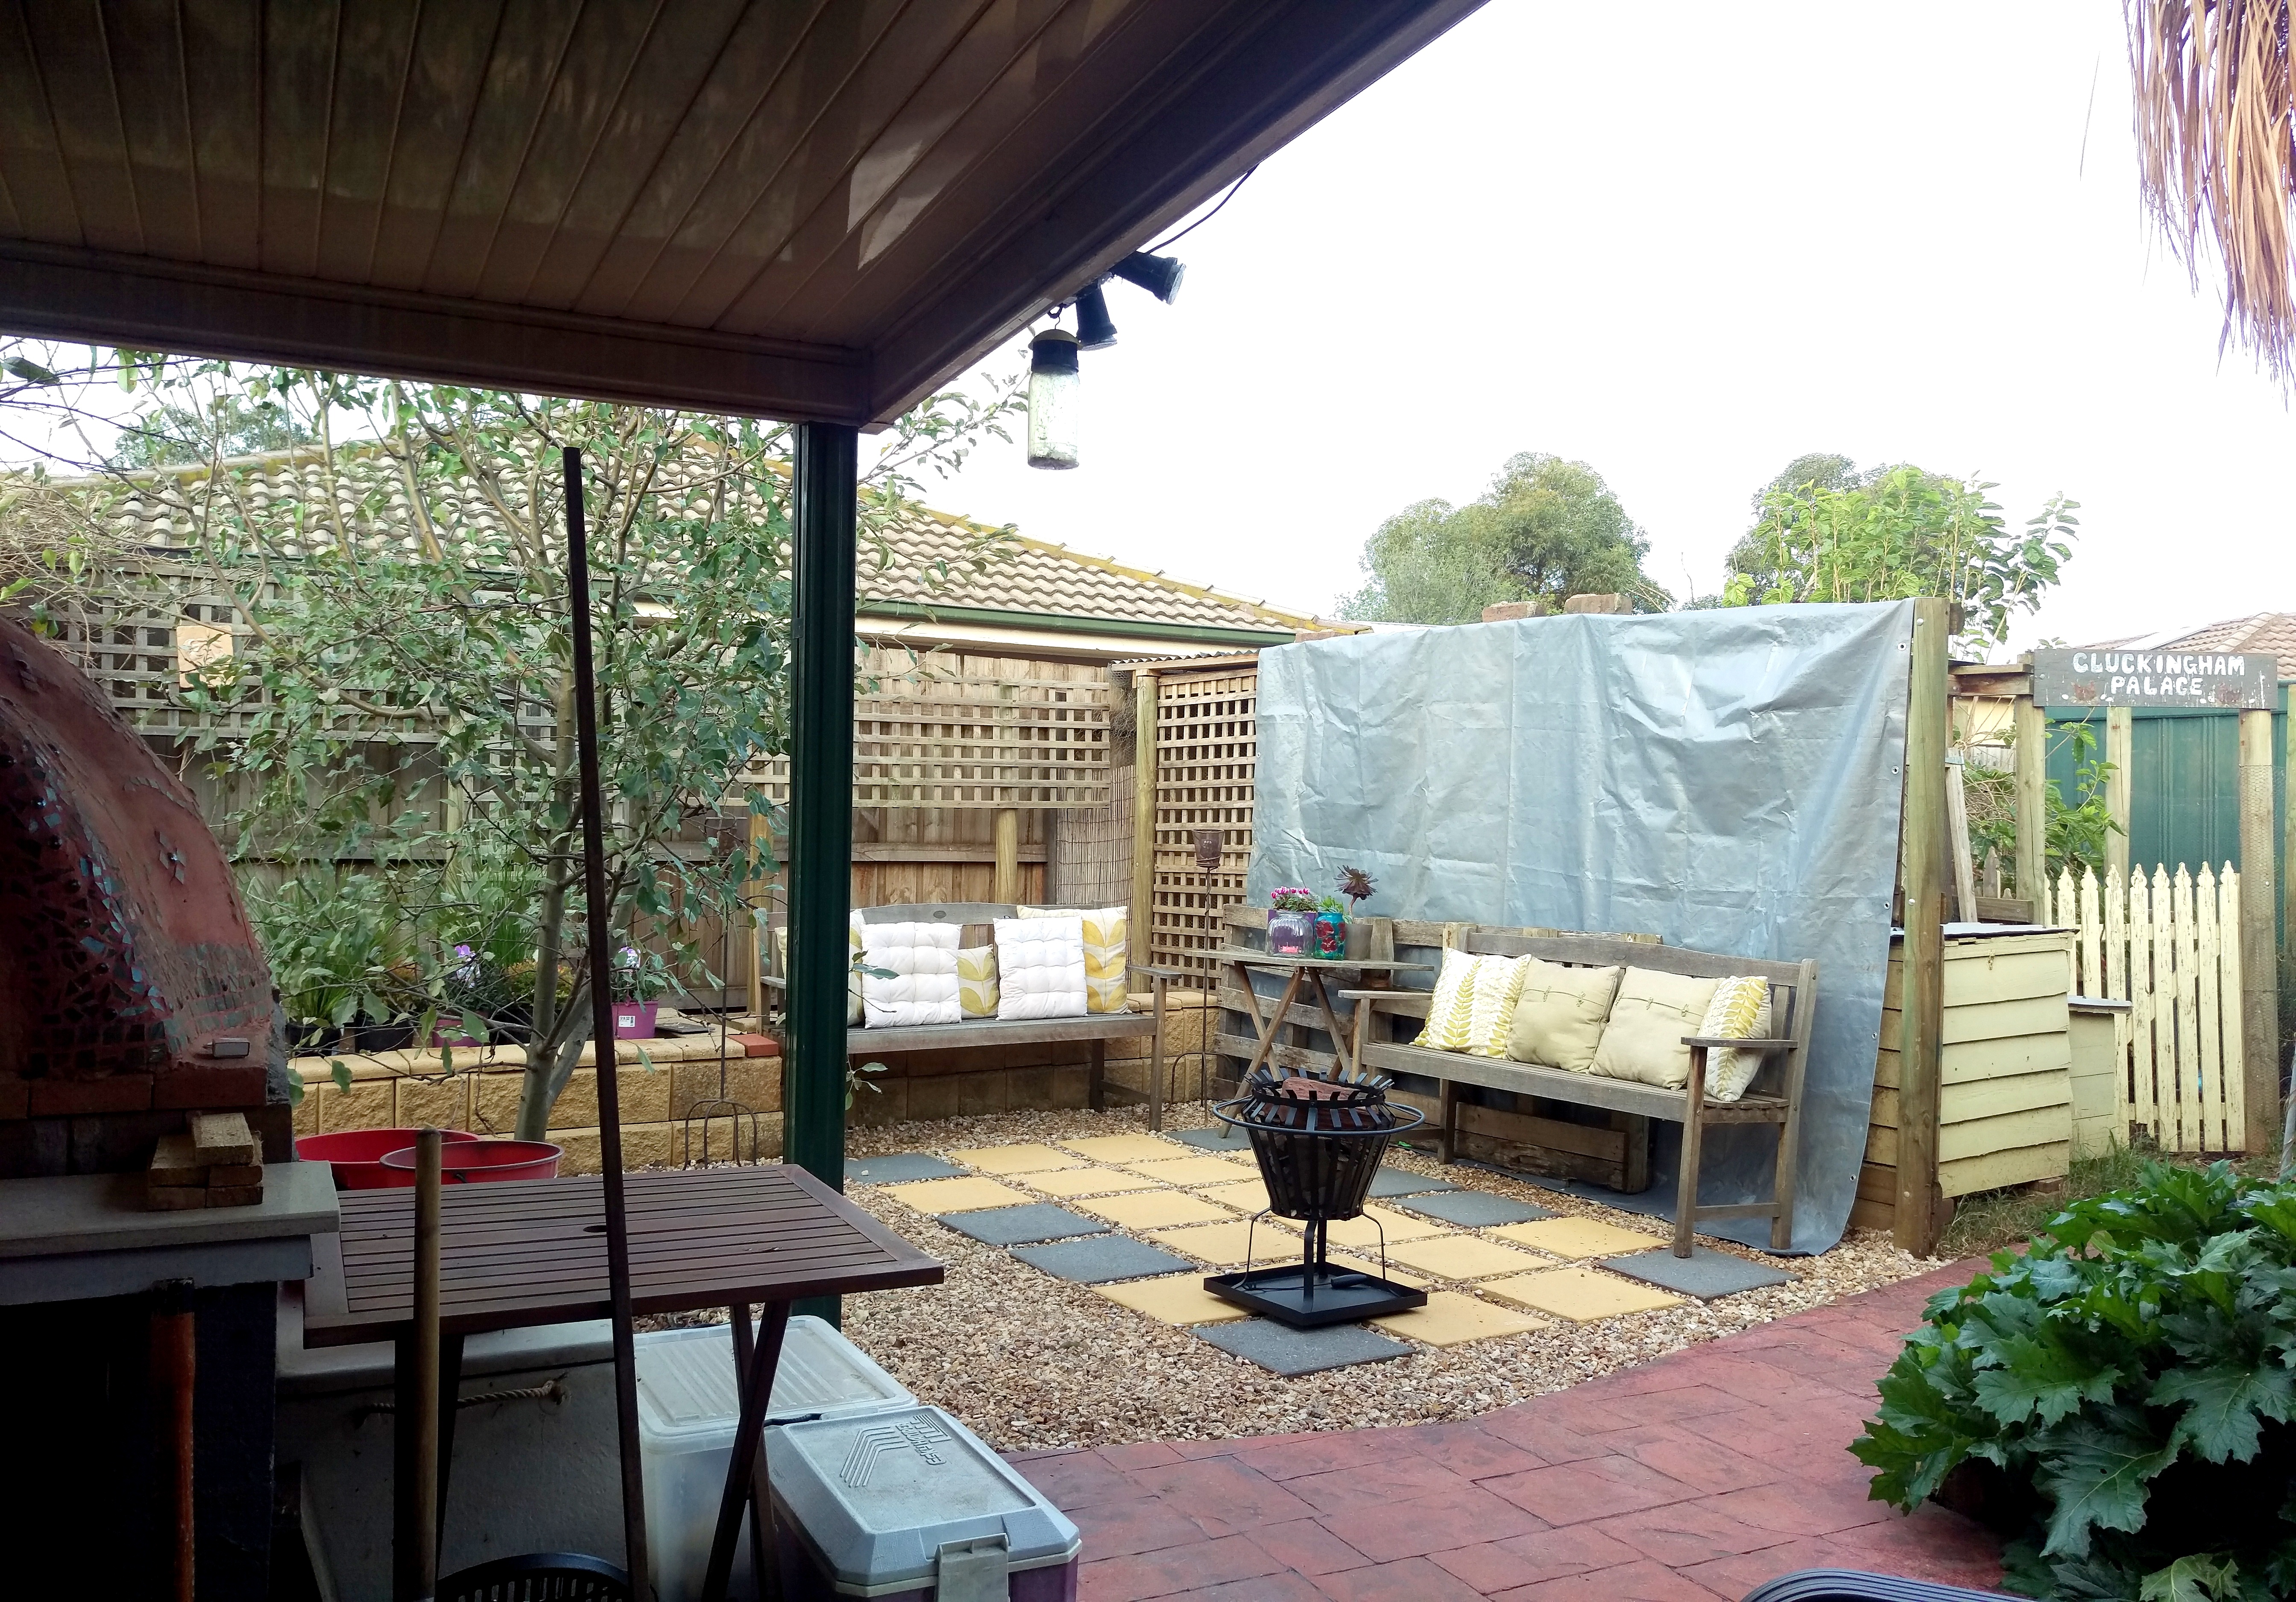
Area fully landscaped
Here is some context, looking from the pizza oven area. You can just see the entrance to Cluckingham Palace in the background.
Looking towards the new shed.
Looking towards the front yard, you can see the new shed and a fully landscaped garden. We just have to throw a few plants in the new garden beds this weekend and it will look amazing.
I also had to heavily prune the ANZAC Peach tree as it was growing over the roof. I cut of one of the two main limbs in the hope that it springs back and grows straighter this time.

Gav and a well deserved beer!
I was so happy with the finished result, I decided to throw a birthday party for myself and have a well deserved home-brew beer that I’d been saving for the occasion. Definitely a nice way to celebrate.
Whilst Mick and Anne did the majority of the work and were paid for it, Ben and I pulled down the chook house and Kim and I did the clean up afterwards and made it all beautiful. As I get older and busier, I am finding that I am in the need of more hired help. I can’t do it all like I once used to.
The only material brought in was the concrete for the slab and the shed. All other materials were reused in the construction of the new beds and areas. Now that’s a garden renovation! I think it is a job well done and is now a great place to relax in the sunshine whilst watching chooky antics!
I’m looking forward to showing you the garden beds when they are planted out with native shrubs and how I am going to espalier the transplanted fruit trees.
But that’s another story!