Last weekend, I built another wicking bed, this time a little larger than the first one. I had to dismantle the first wicking bed that I built to make a space for the Cob Oven, which was a shame, because I am just starting to run out of space!
I cheated a little and bought some kit garden beds from Bunnings, because I just did not have the time to make them up. I managed to get them for $50 each and stacked them two high. They are made from Ammoniacal Copper Quaternary (ACQ) treated pine which does not contain Arsenic like normal CCA treated pine. Safe for garden beds.
Here are a few photos of Jake (my daughter Megans boyfriend) and I making the bed.

The beds are already built at this stage. It was as simple as following the instructions.

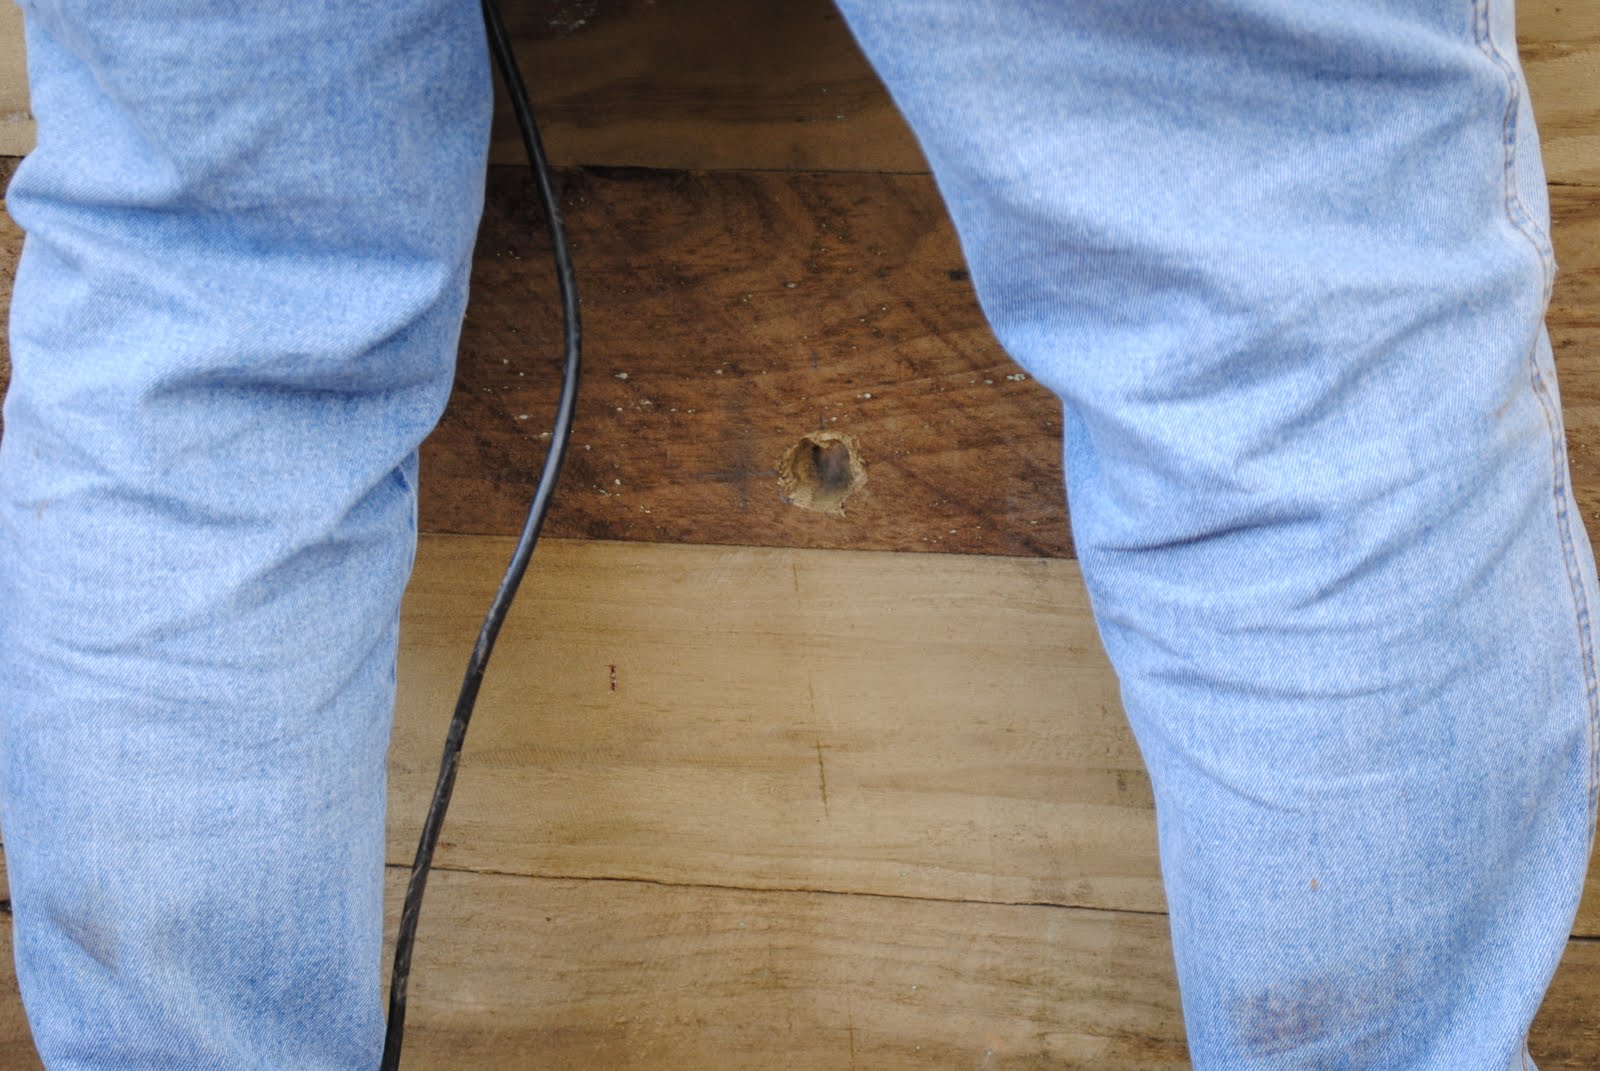
Then we stapled the liner into place. It is thick builders plastic. Then I laid down the ag-pipe and fixed it in place. The pipe was long enough to form a big U shape. (sorry for the blurry photo)

We filled it up with sand that was left over from the cob oven.
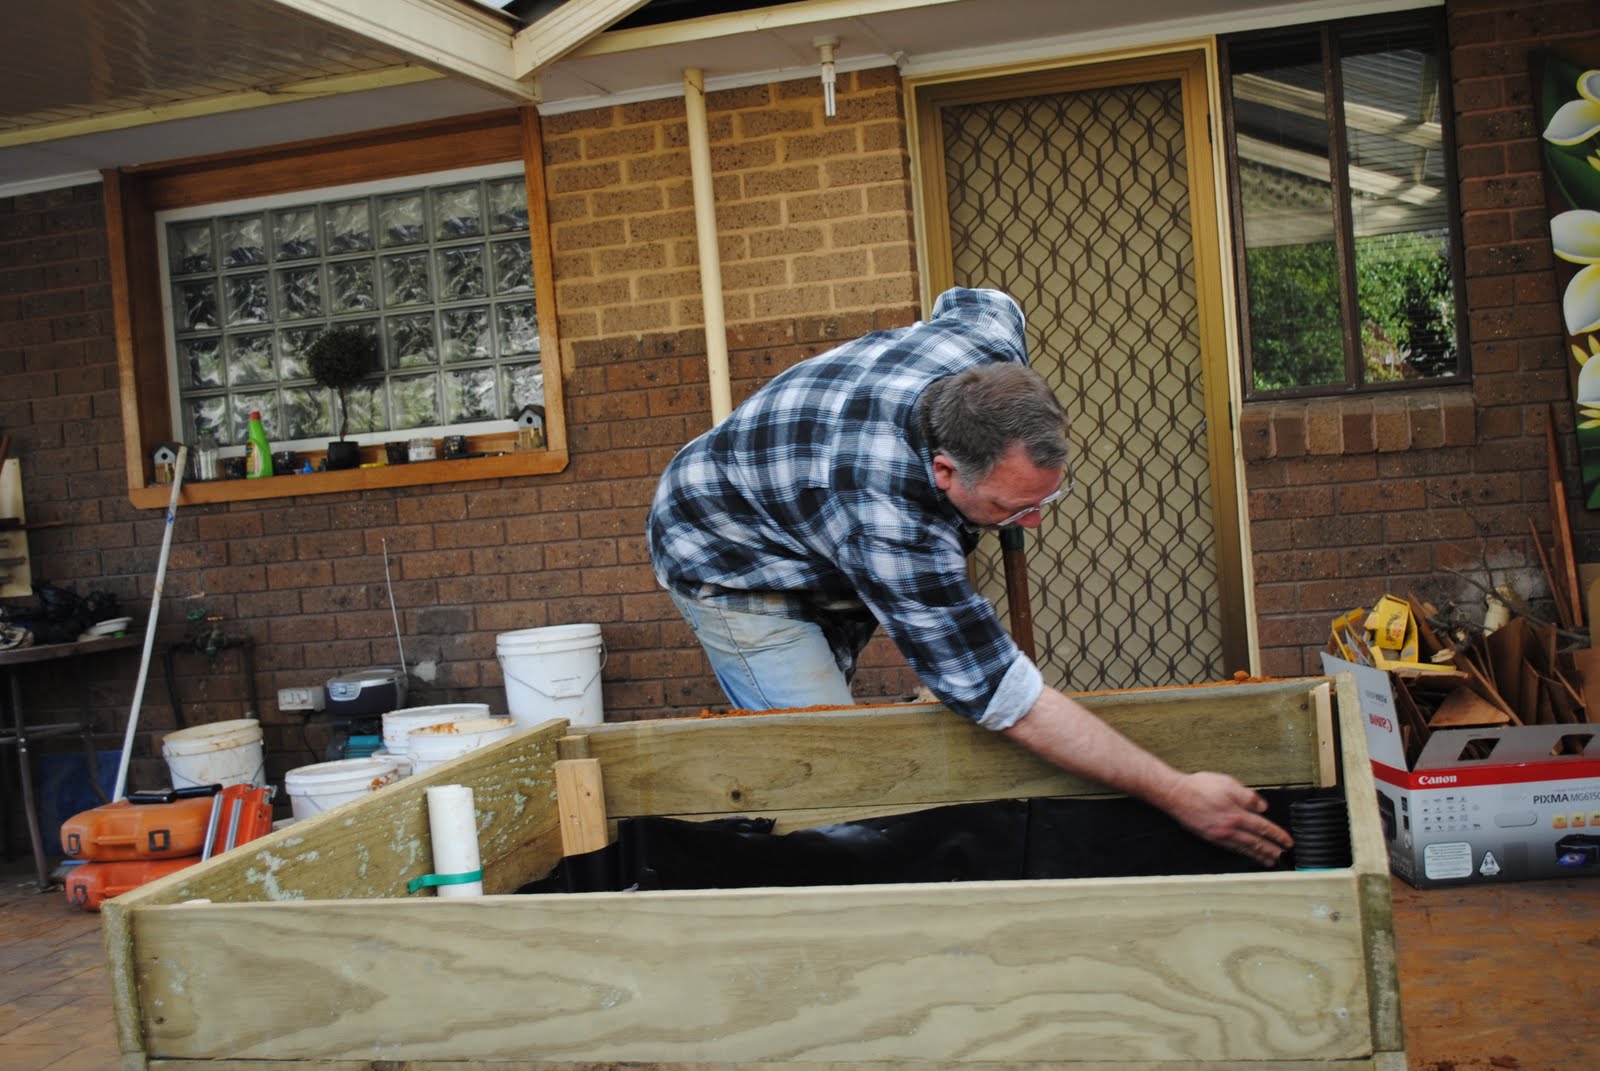
Just checking that everything is still fastened.
Then I drilled a hole with a spade bit to put in the overflow pipe. It is just below the top of the plastic and I banged in a short length of 20mm plastic electrical conduit that I had laying around.
I then laid an old cotton blanket that was folded in half to separate the sand reservoir from the compost lay that I then added. The blanket (you can use expensive geo-textile) stops the sand and compost from mixing, but still allows the water to wick through. Then I added water through the pipe to let it settle and then topped up the compost where it had subsided.

Once the bed was wet, I planted out some celery, mizuna, rocket and rainbow chard. This will be our summer salad bed. It all grew well in the previous wicking bed as they are all thirsty plants, especially the celery. Looking forward to the first harvest. I should only have to water it about twice a week in the heat of summer and may even get to plant a second crop.
 |
| Teddy likes the new veggie patch! |
Has anyone else made a wicking bed lately?
We have been busy building wicking beds too!
We bought the treated timber, but when asked, the store owner couldn’t guarantee that it was safe, so we have decided to use corrugated iron on the inside.
Looks great, Gavin 🙂
We have started reclaiming the front yard (aka jungle that was once ‘manicured’) to plant edibles 🙂 and as I think you mentioned elsewhere, going with dwarf fruit trees where we can.
Enjoy that summer harvest! 🙂
Thanks for sharing, Gav. This is certainly something I would like to try when I get home to my own yard.
Inspirational again.
I was just researching these last night…I’ve been thinking about making some for my yard too….Well done!
If the purpose of the blanket is to separate the sand from the compost, shouldn’t you use something that is water permeable, but won’t break down like cotton? I would have thought the cotton will rot down (mmmm, fertiliser!) over the next few months and after that the compost and sand will mix?
9m worth!
Great post Gav.
Was the sand river or brickies? I imaging it would need river, but it looks like brickies. Also, did you cover the oveflow pipe to stop the soil (or sand at that height?) washing out?
Cheers
@ Tania. I bet they work well in your dry climate. Good idea on lining them with the corrugated iron.
@ Kristy. Dwarf root stock has worked well so far for me. Lots of fruit, but not much height.
@ BM. These types of beds are really easy to make. We put it together in about 1.5 hours.
@ Narelle. Wicking beds are great if you sometimes forget to water. You only need to water about once a week, and all the salad greens stay really crisp. You can even pick them in the heat of the day!
@ Frogdancer. Well done.
@ Melinda. Well, you have unravelled my cunning plan :). Yes it will rot down over time, but I am hoping that it doesn’t matter too much. My first wicking bed didn’t have anything separating the sand from the compost and it worked great. After the second planting a little bit of sand started to mix with the compost, but no problems occured.
@ Adam. I did use brickies sand, and ideally, washed sand would have been better from experience, however the workshop I attended used brickies sand, and their wicking bed is still working fine. Much of a muchness really. I covered the overflow with a bit of cloth and some string, bit like a filter to stop the sand washing out.
Gav