We all have tight spaces around our yards. You know the ones. It’s the little nook or cranny that gets some sunlight during the day that is lying dormant, overgrown with weeds. Others may just have a little space that has been allocated for an outdoor living area.
Believe it or not, these areas are perfect for growing a large range of food, mostly in containers, or in existing landscaped garden beds.
Not all vegetables need full sunlight, in fact some actually suffer or bolt to see when they get too much. Lettuce varieties are a good example. They love partial sun and a couple of hours are all they need.
But, I am getting ahead of myself. Here are three ways to start growing in small spaces.
Growing in Containers
Just about anything that can hold soil can be used to grow food as long as you can ensure adequate drainage. You can reuse some of the most unlikely items such as old buckets, laundry tubs, Bathtubs, or make your own portable planter boxes. Of course you can buy large pots as well but sometimes cost is an issue. I tend to stay away from plastic pots because they don’t biodegrade, and exposure to UV light makes them brittle and break. I have many glazed clay pots of various sizes, the larger the better. The larger the pot, the less likely the soil will go dry in between watering.
While we are talking about soil, the nutrients in potting mix tend to become exhausted after each season, so before replanting, I refresh it with a couple of handfuls of homemade compost and a handful of blood and bone or pelletised chicken manure then dampen with water. I ensure that it is well mixed and rested for a week before planting in seeds or seedlings. By using this method we have healthy potted herbs or vegetables every year.

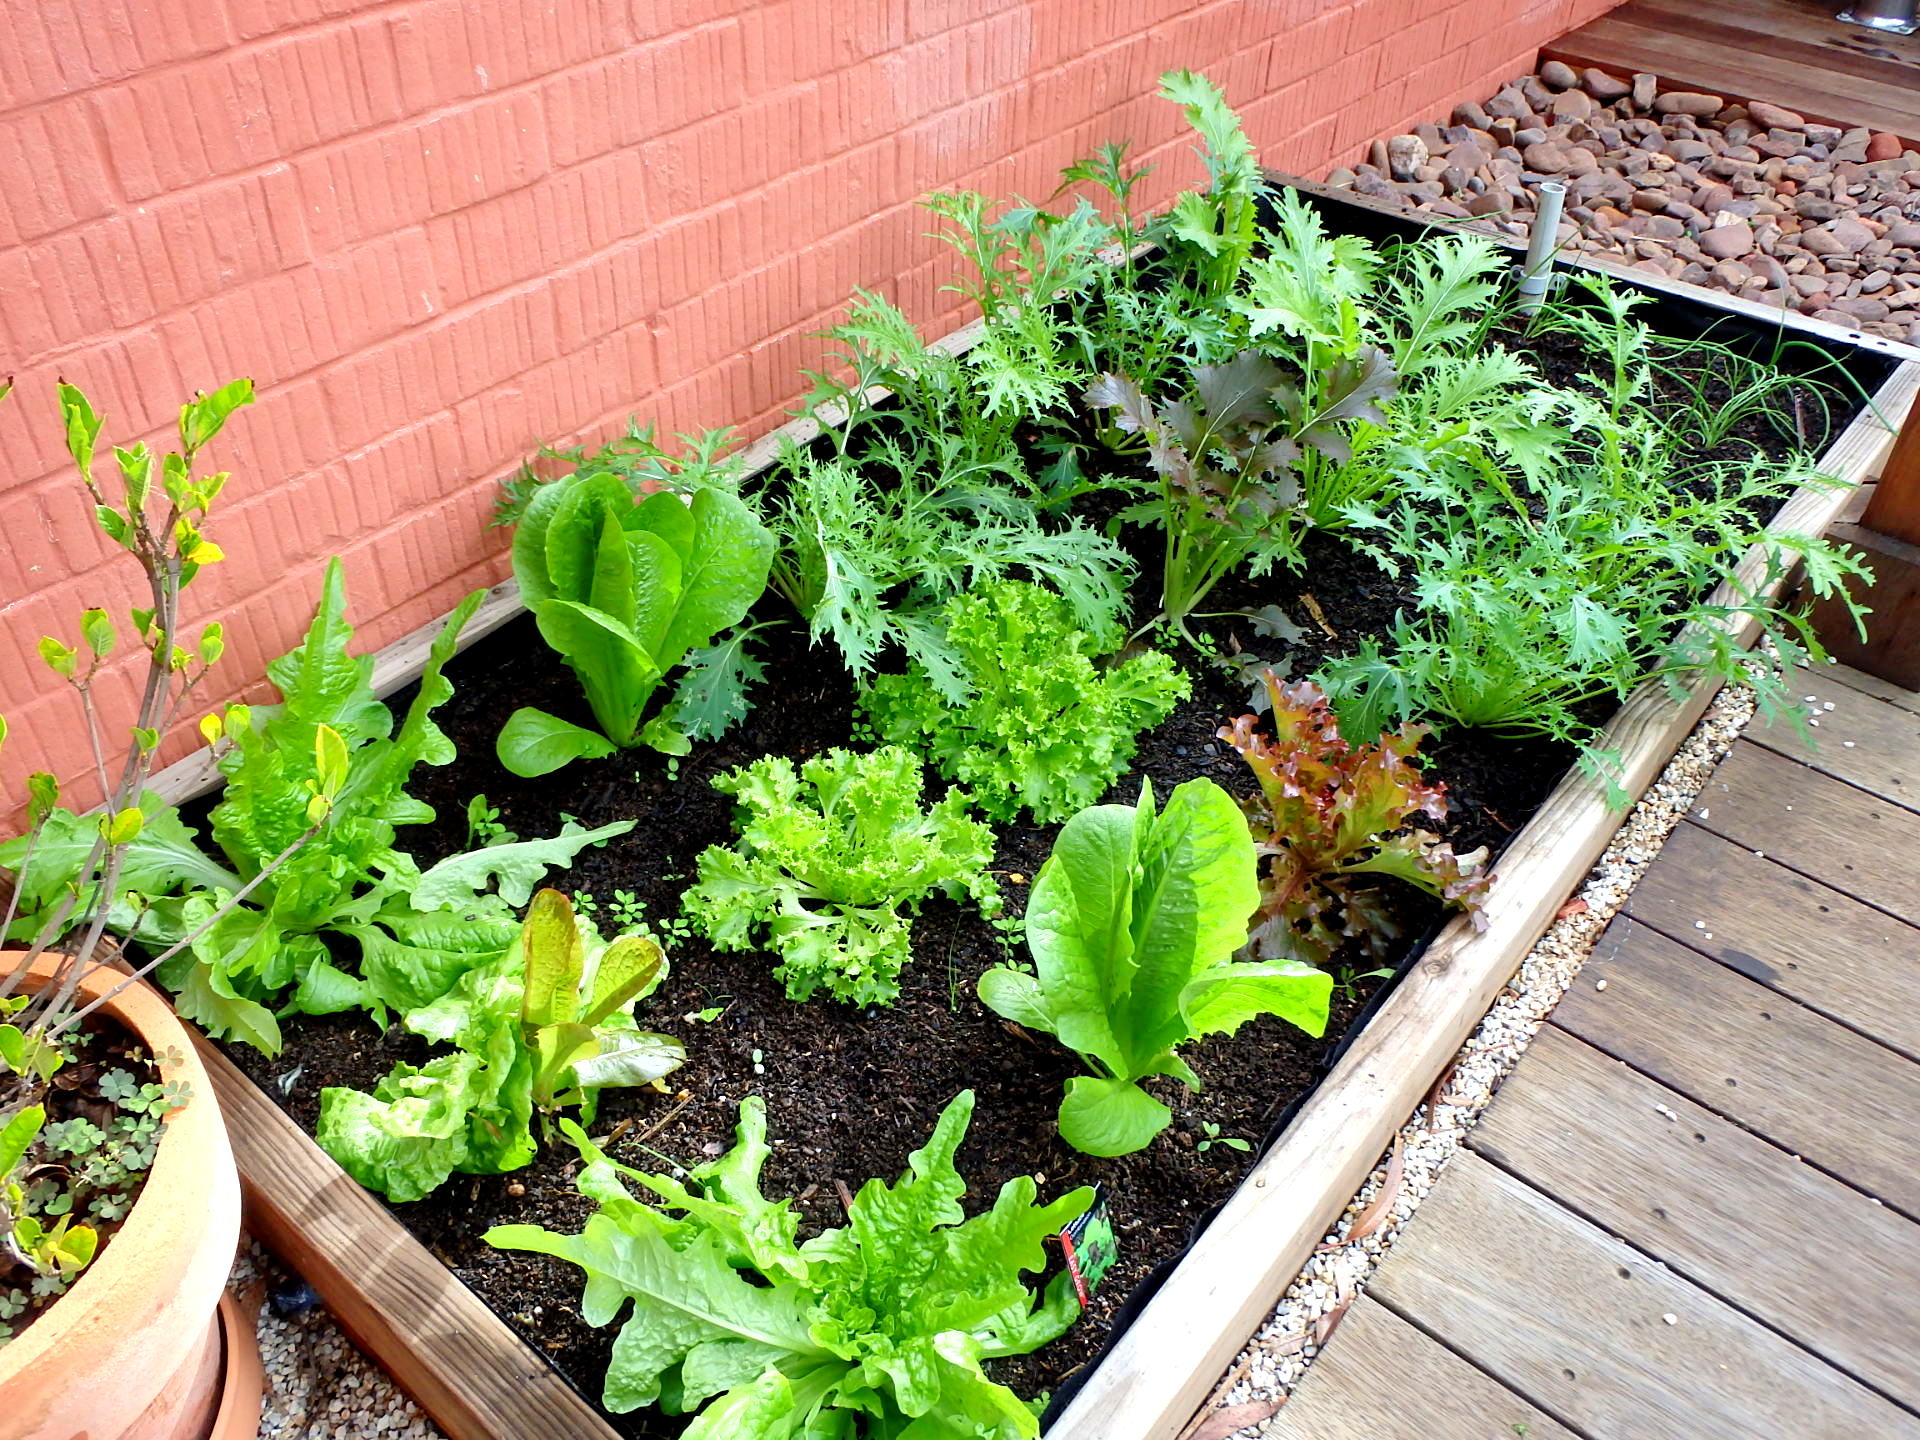
Herbs in a row
We also grow citrus in large pots, but I will cover that in part 5 of the series when I cover fruit trees.
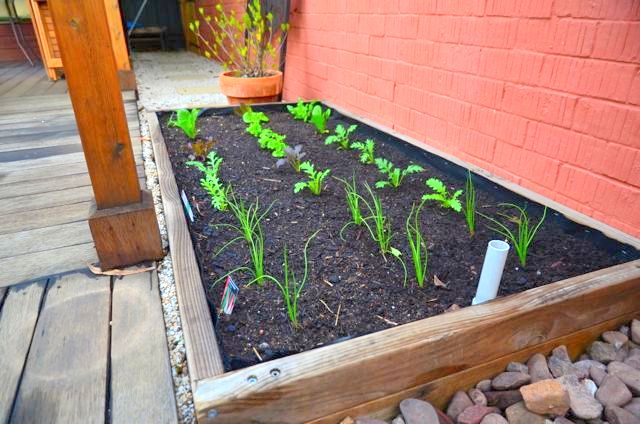
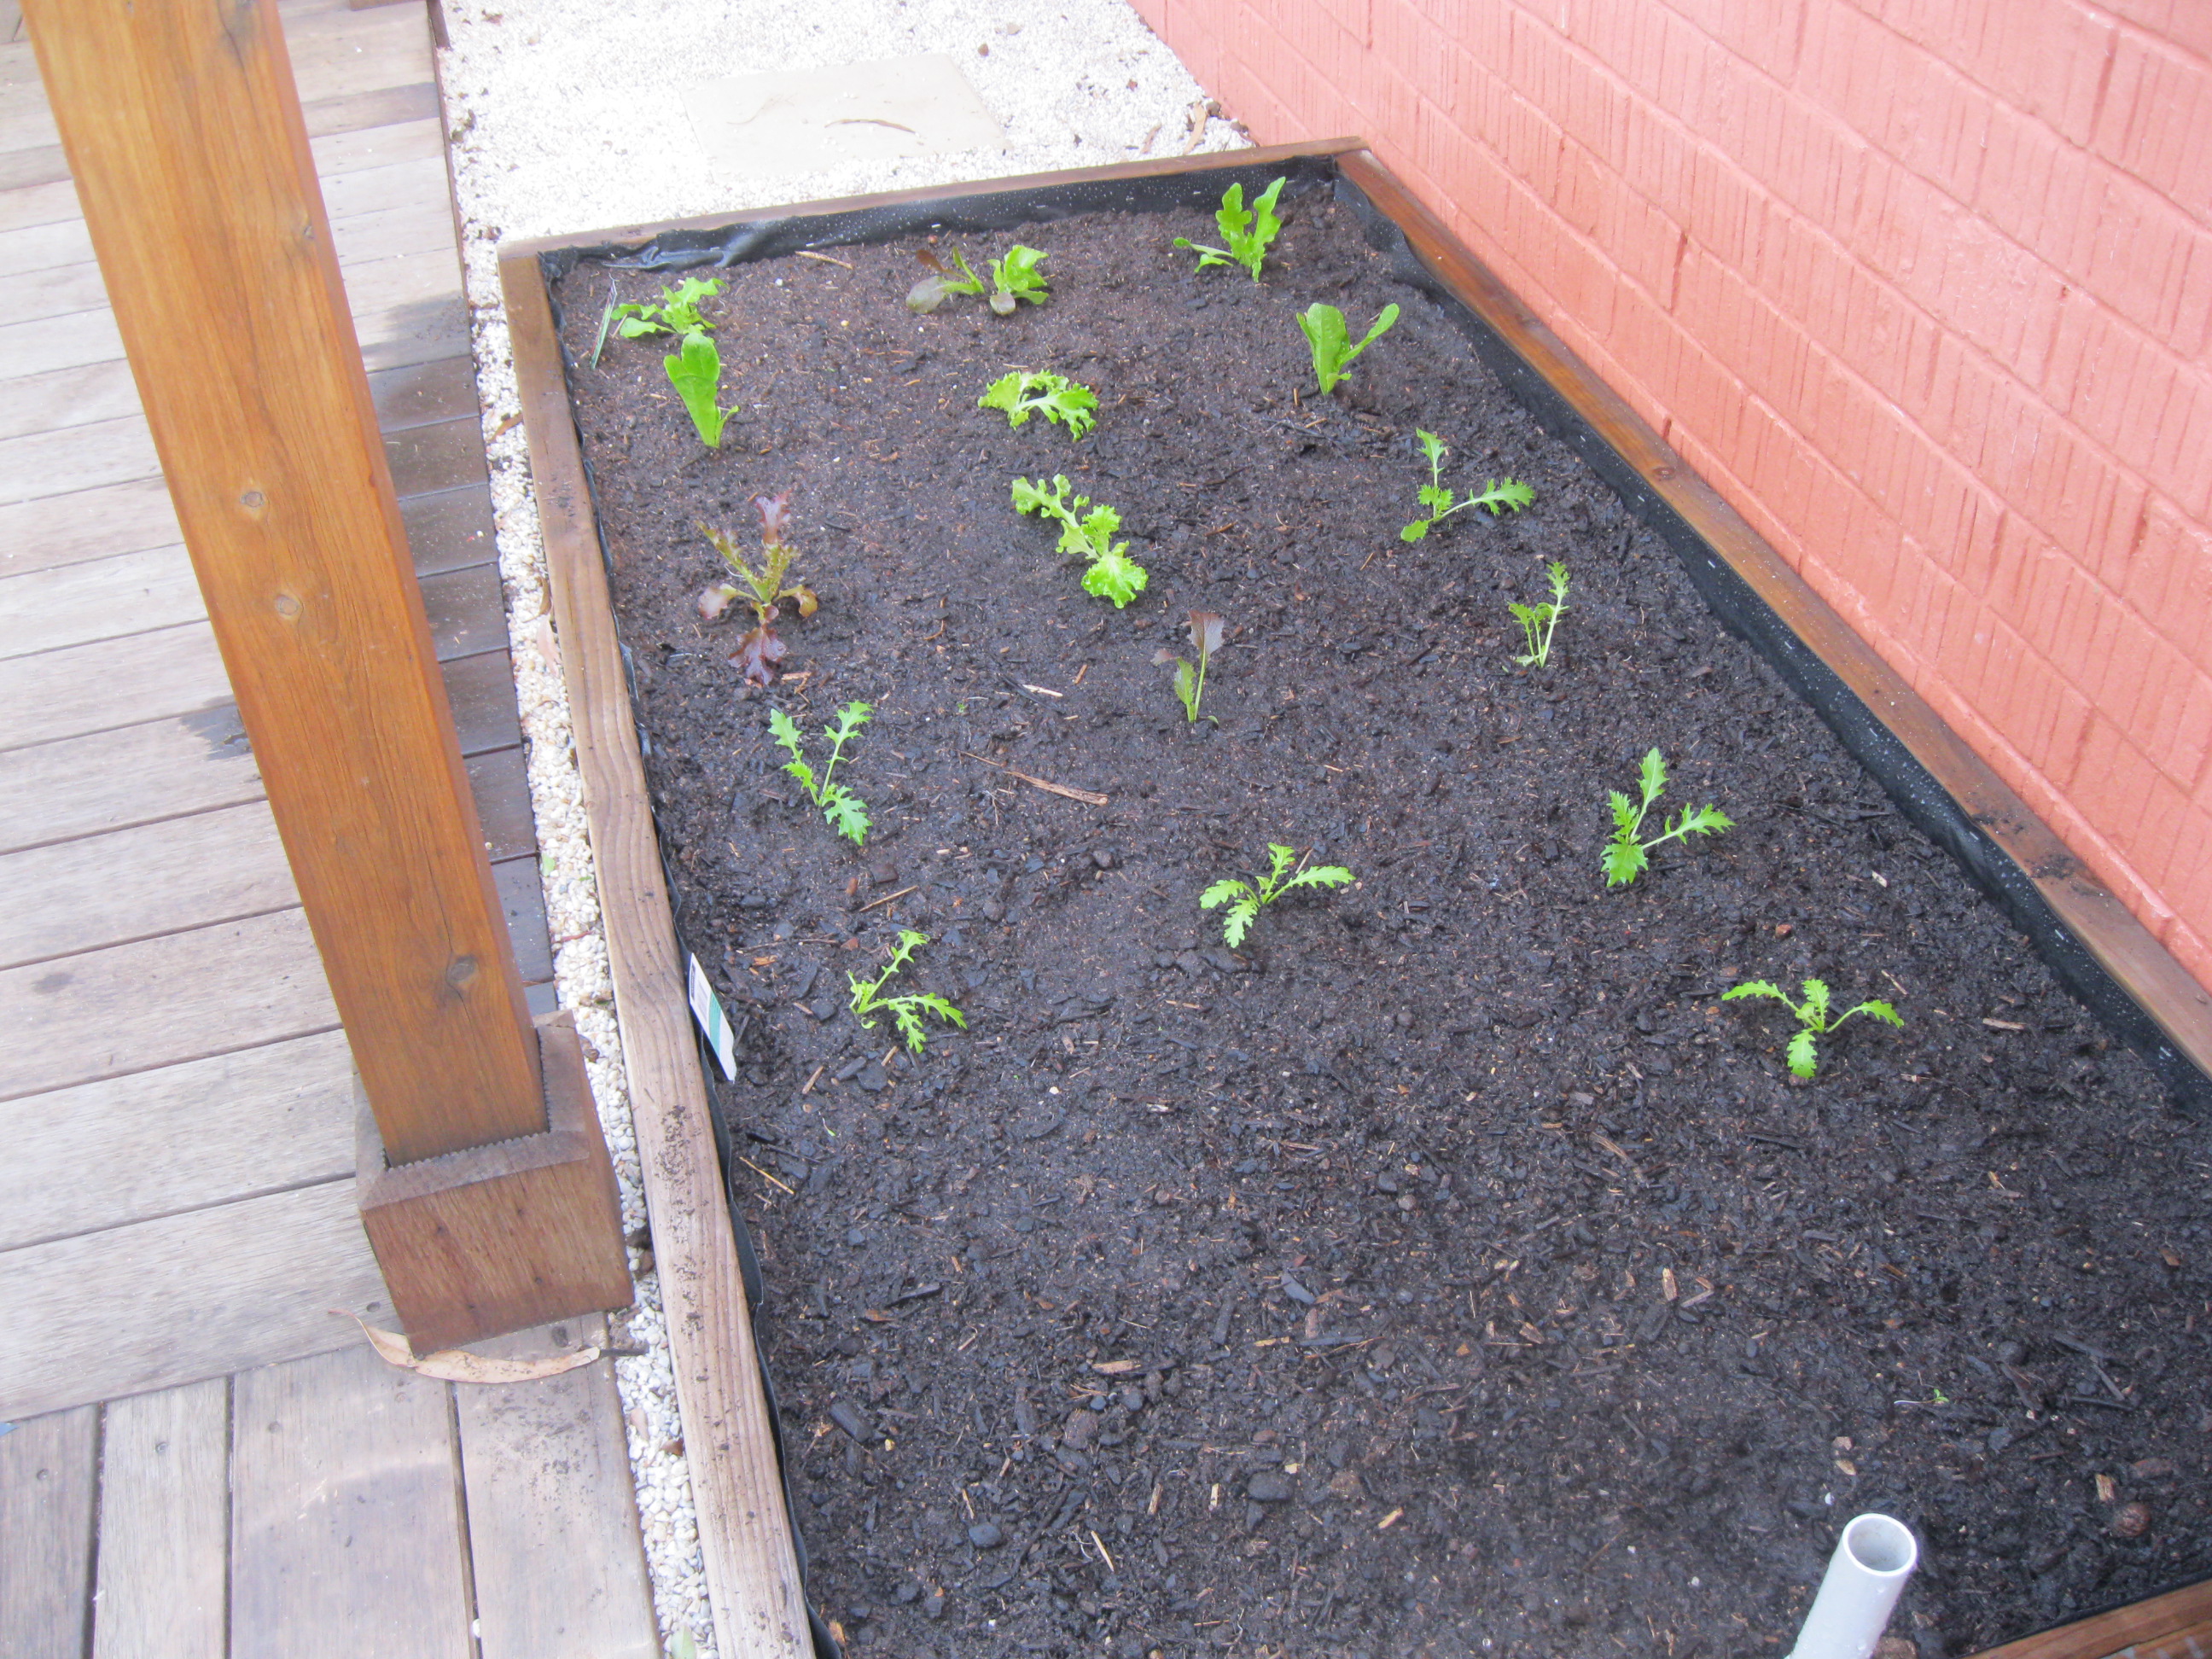
Mini wicking beds
Wicking beds are becoming increasingly necessary in our hot dry climate. With little spring rains, we have to use methods that preserve and minimise water usage, all the while keeping crop yield steady. Portable wicking beds are very simple to make, and prevent your soil medium from drying out.
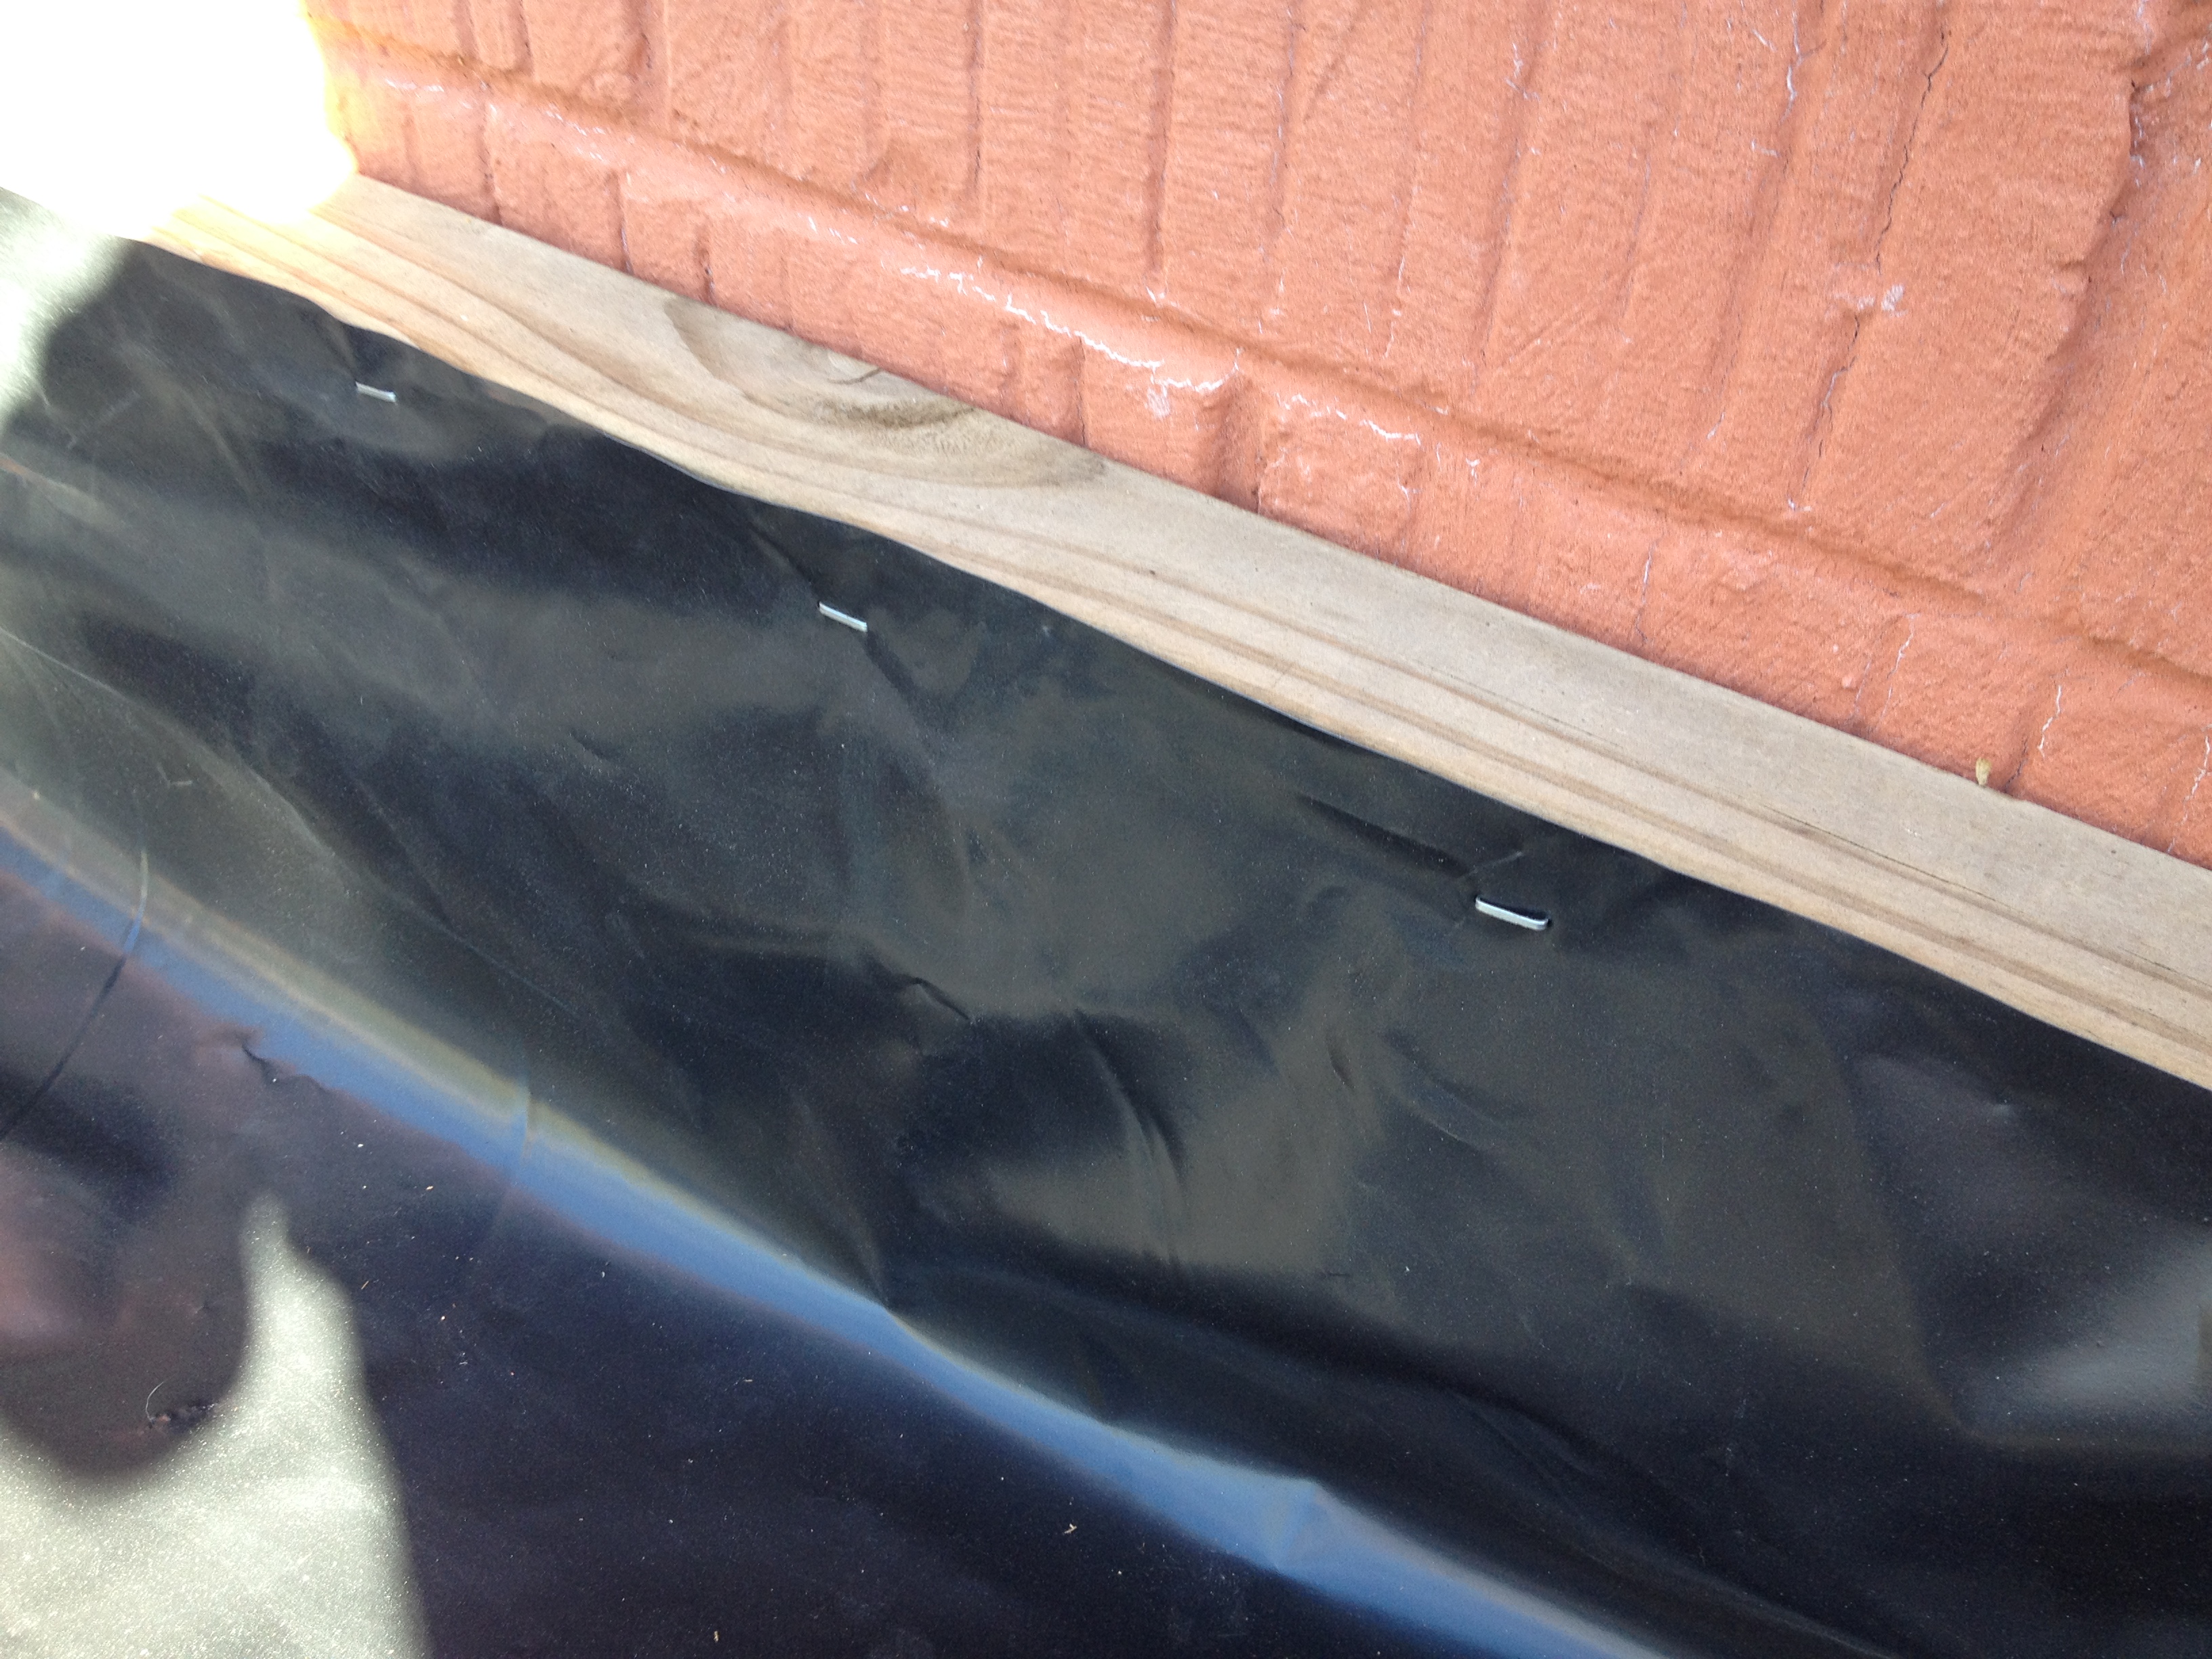
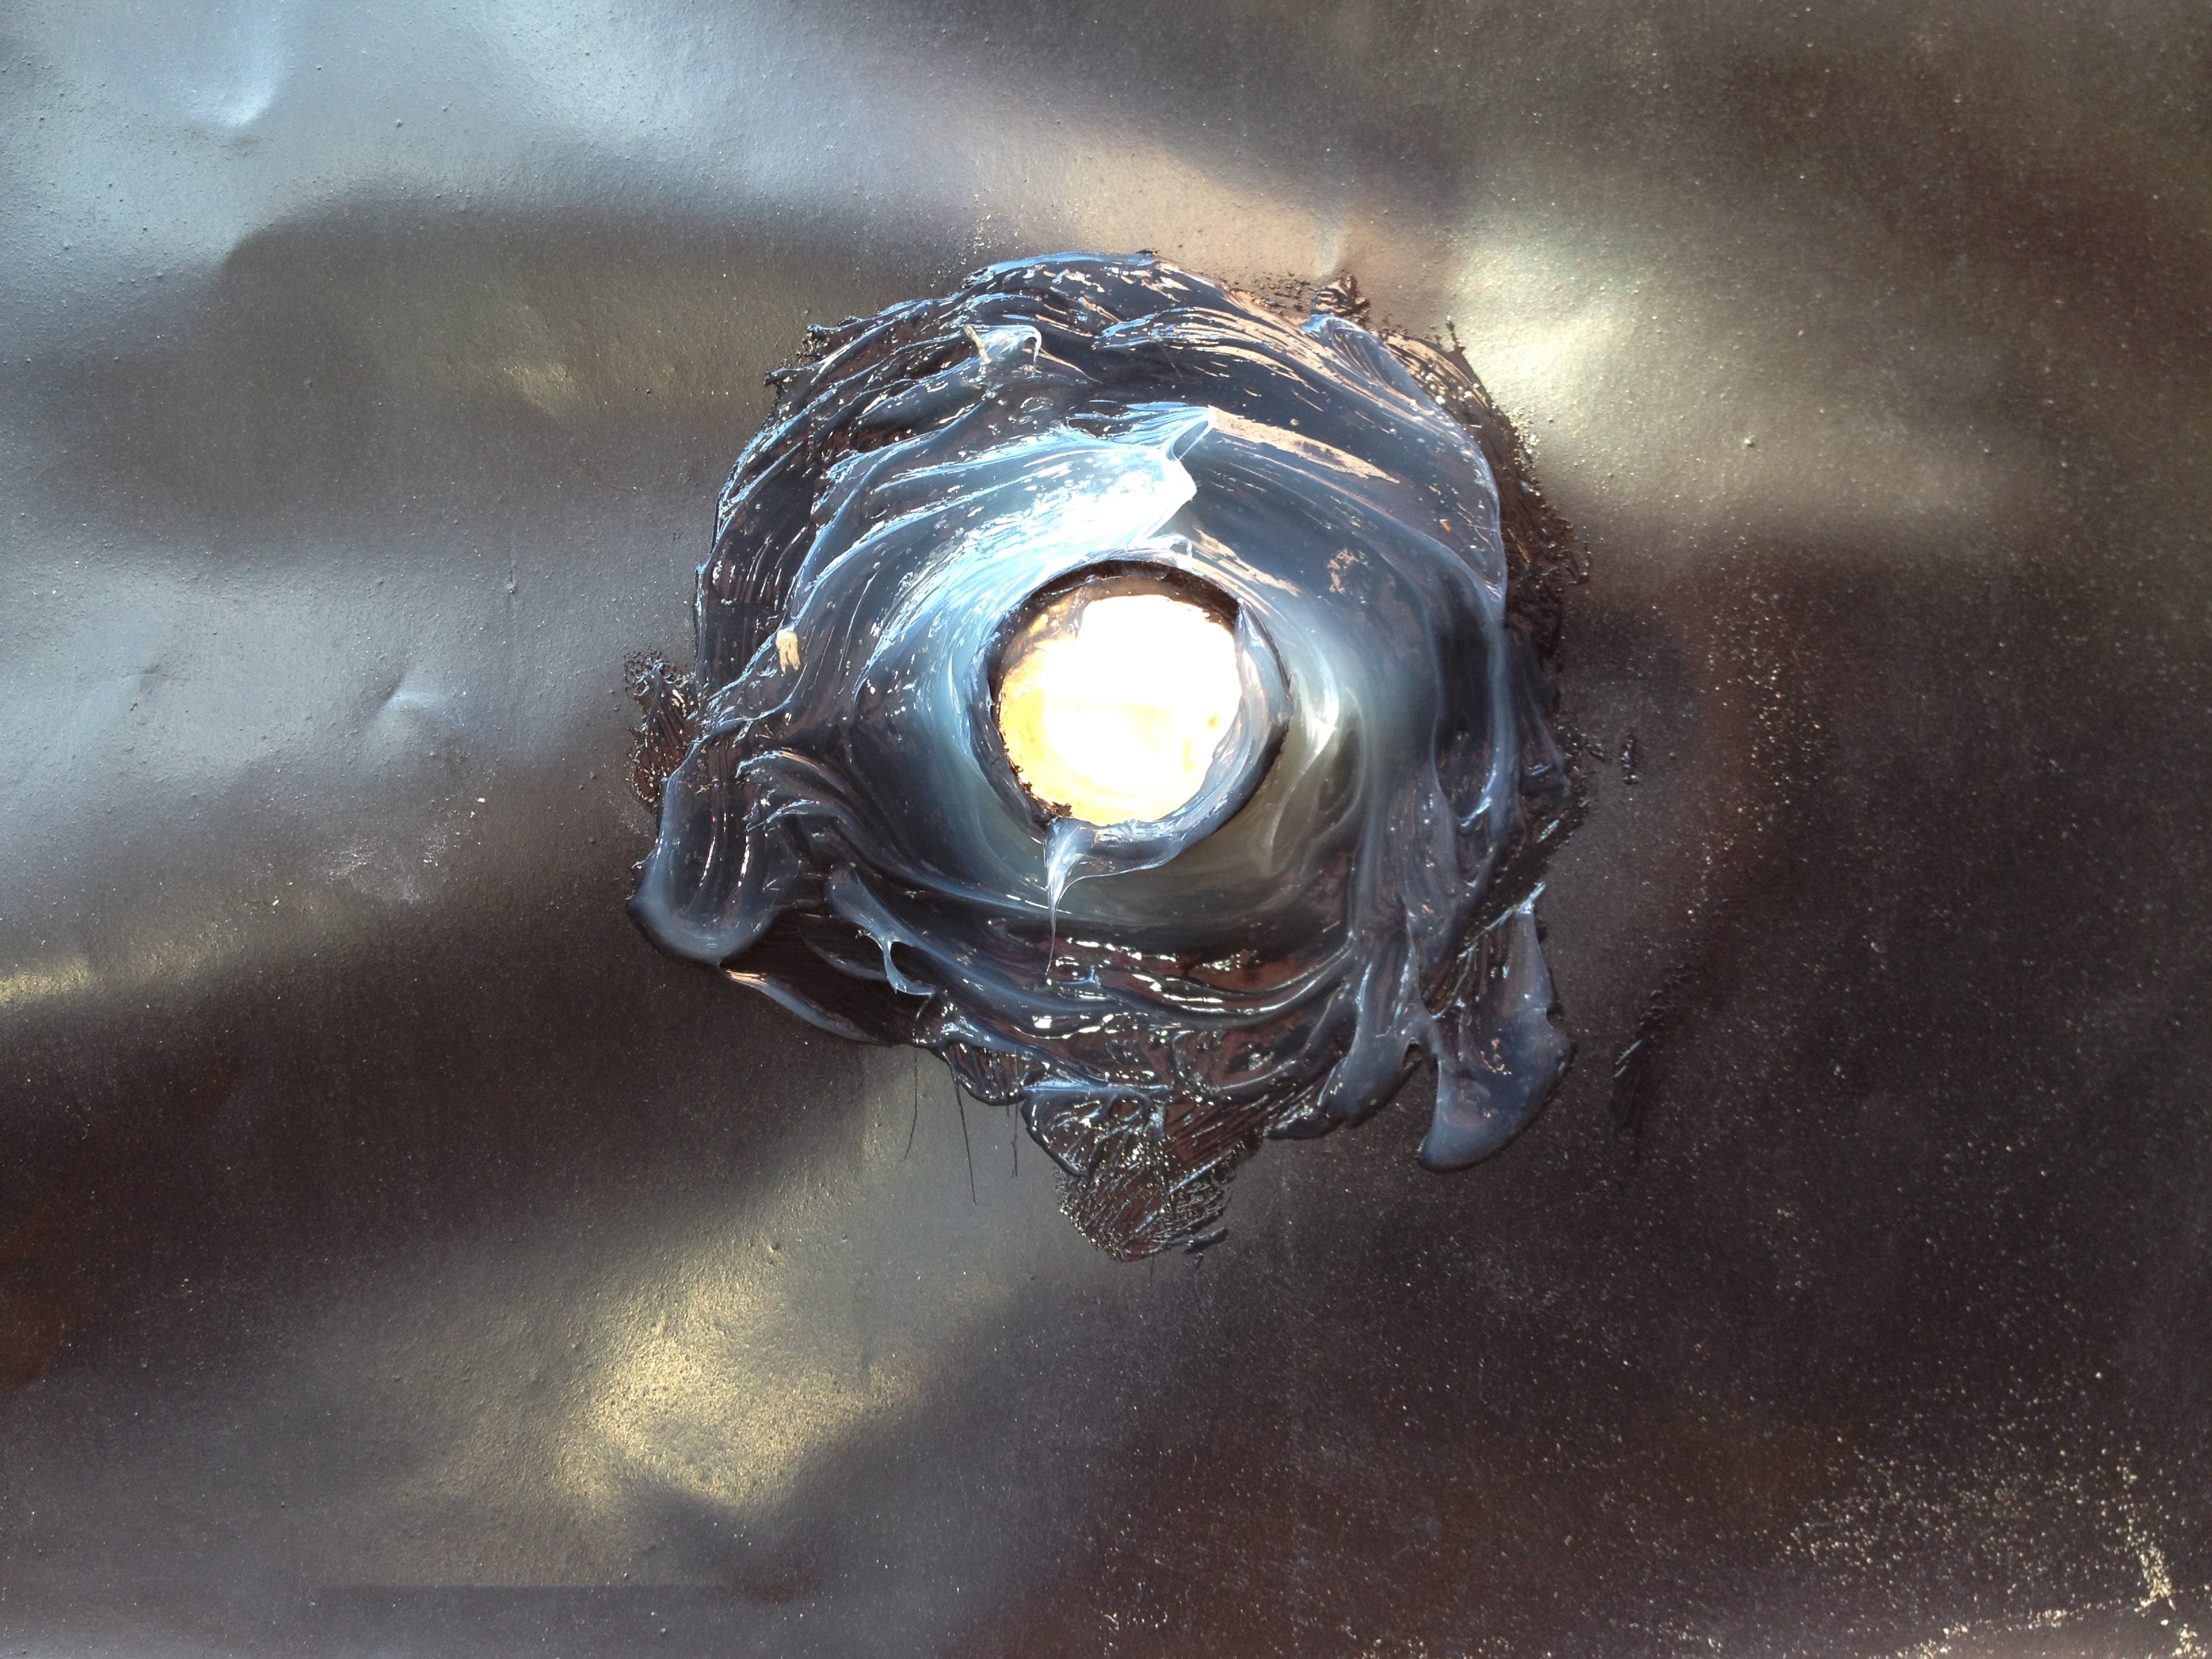
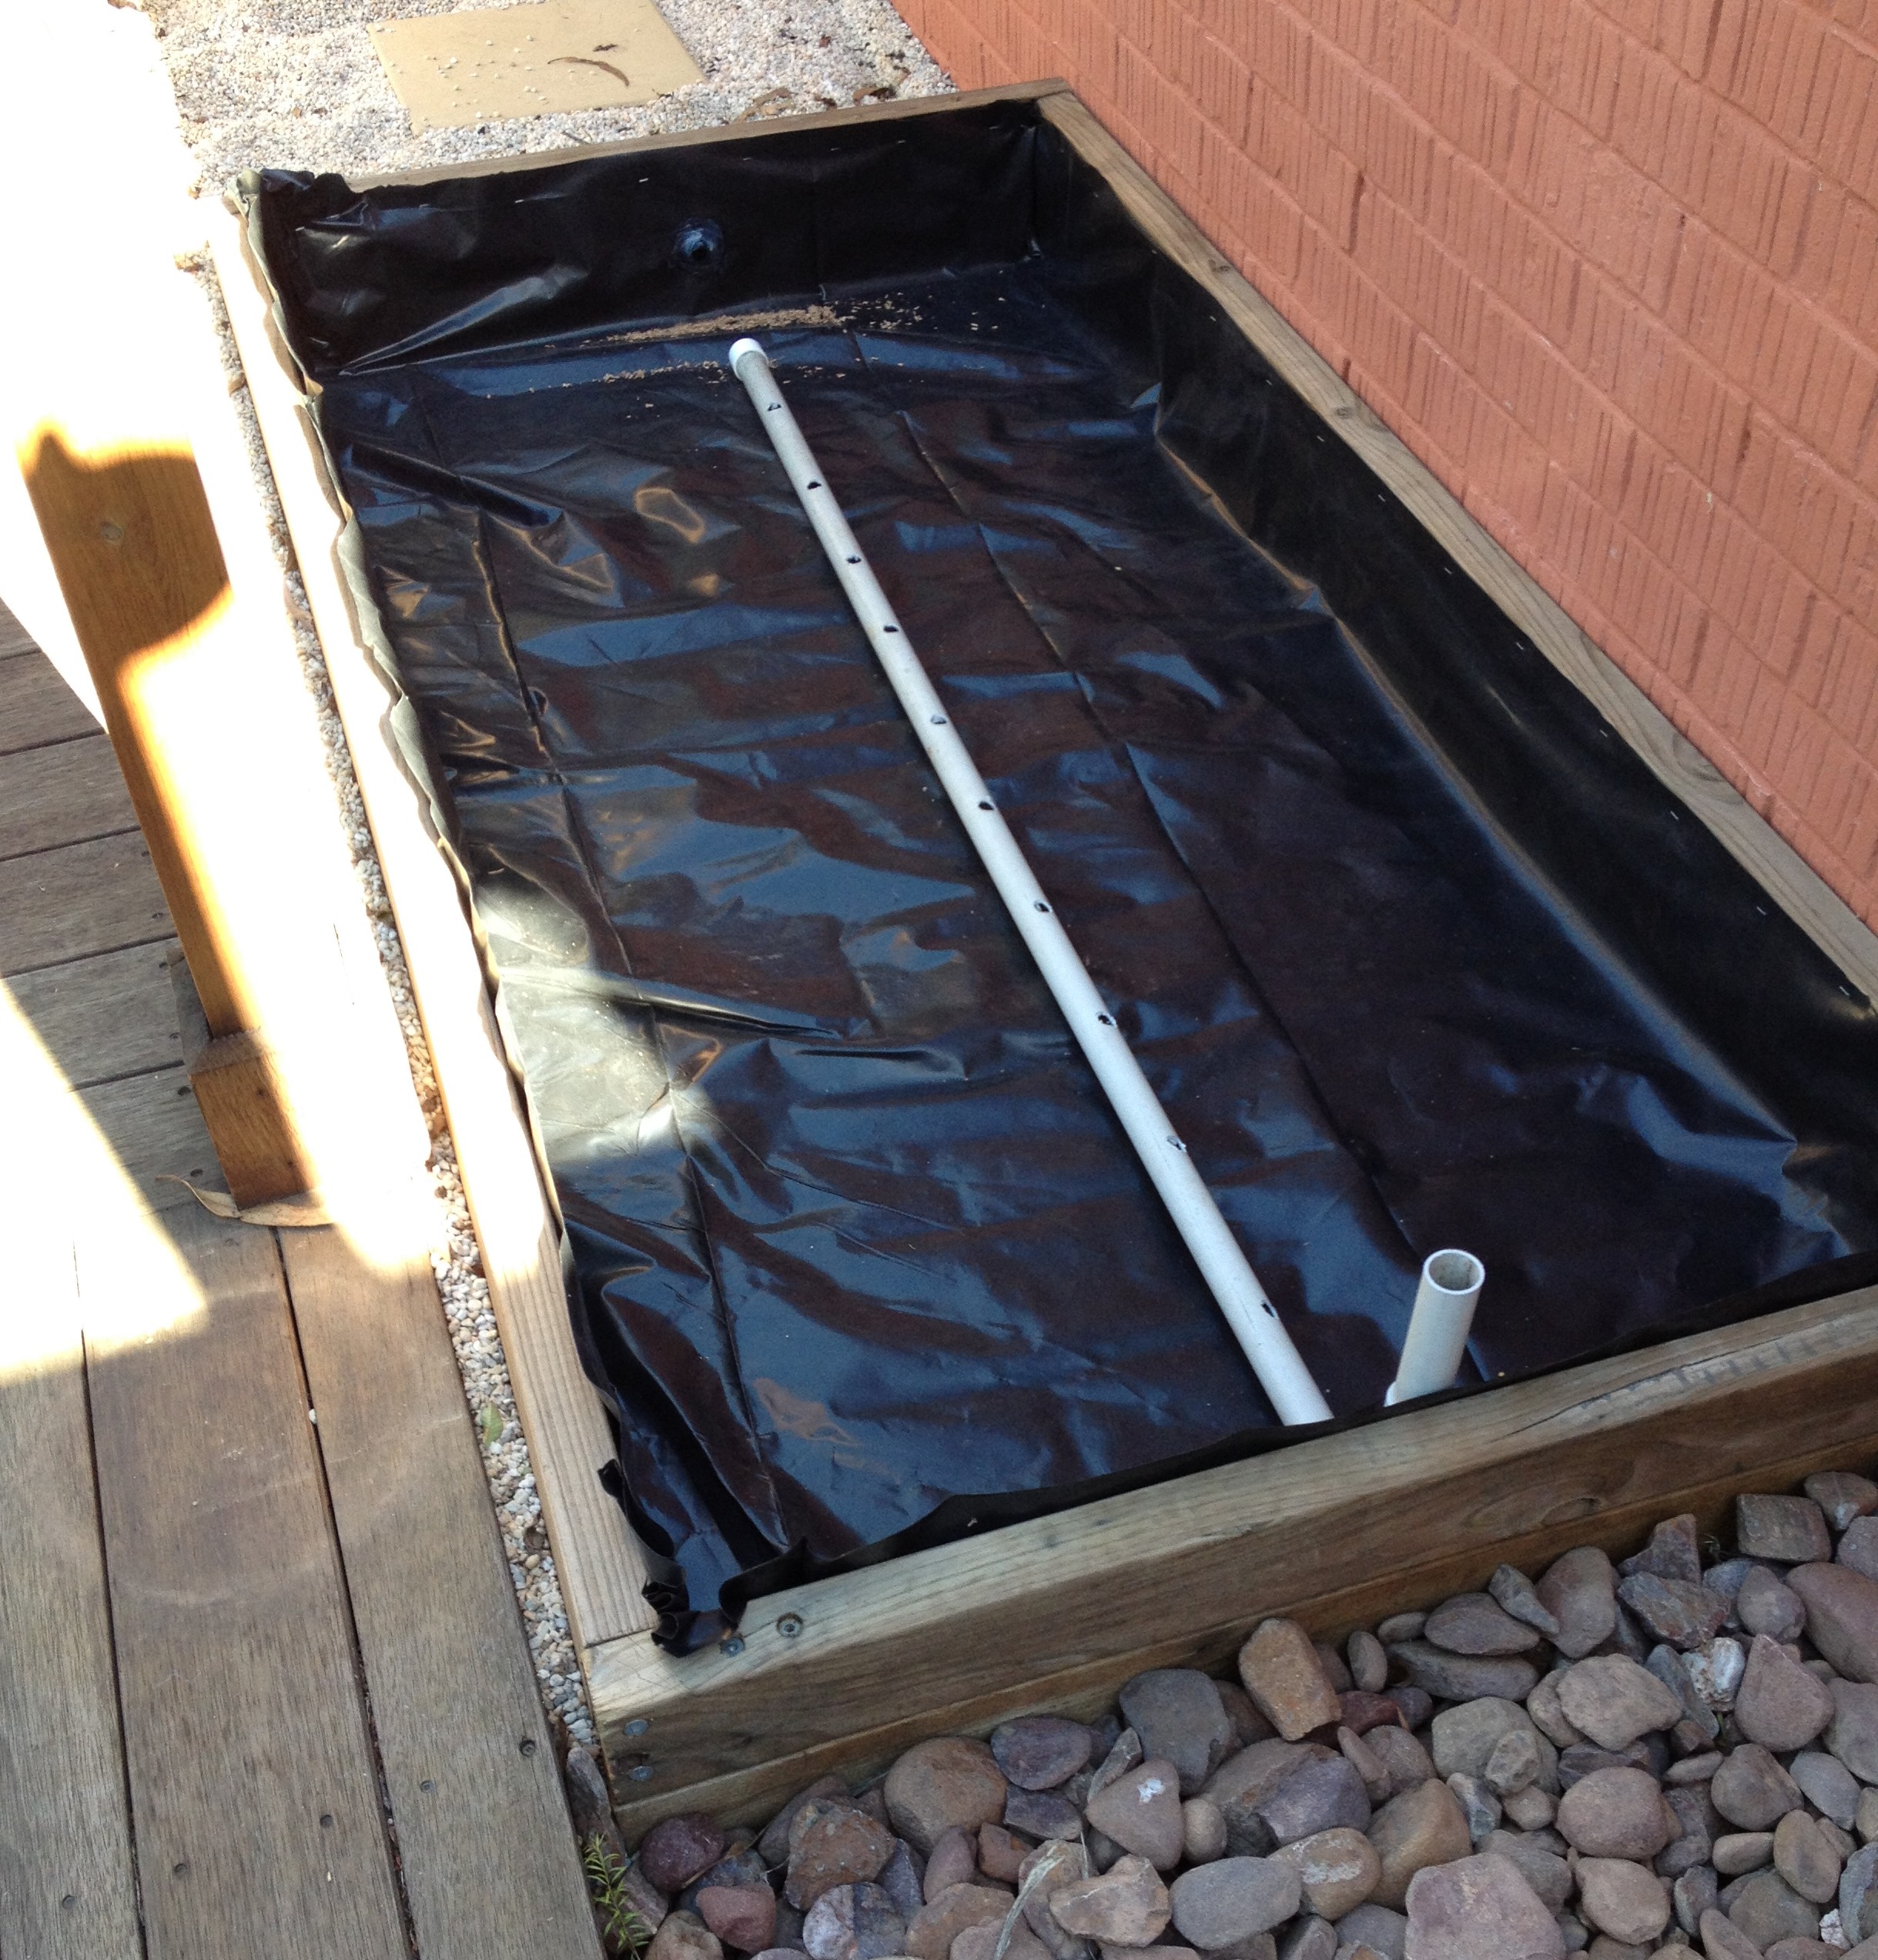
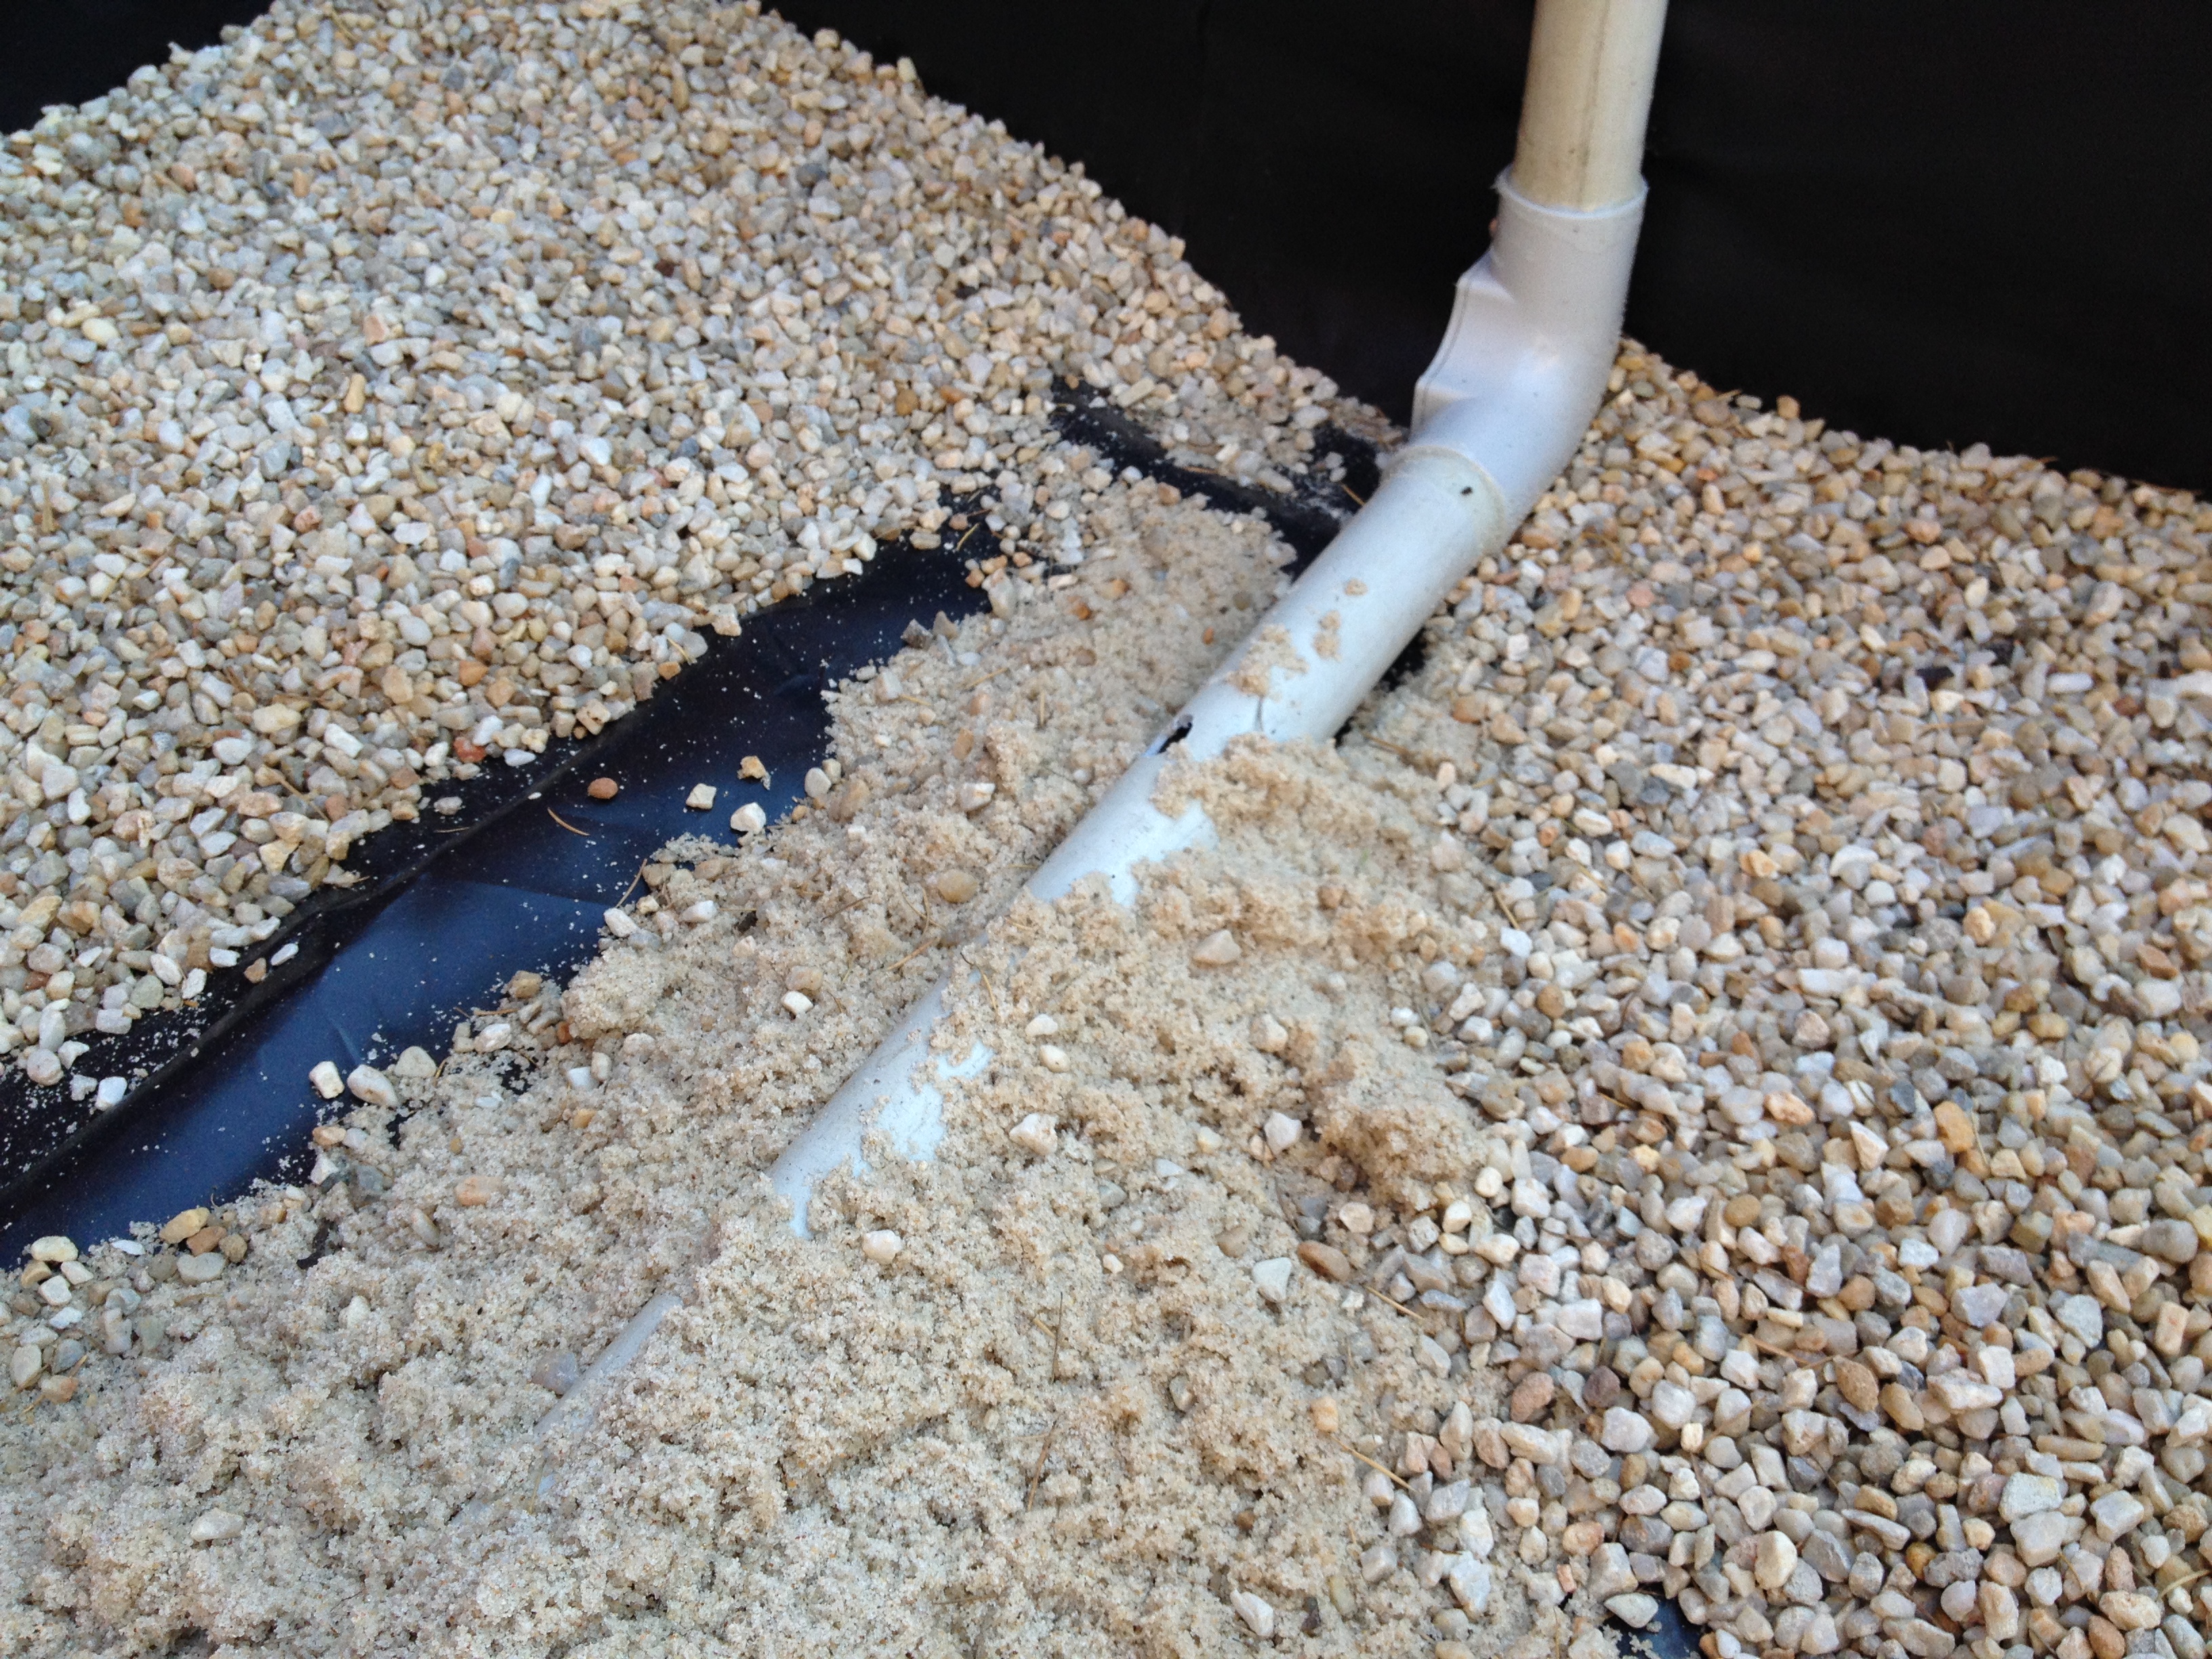
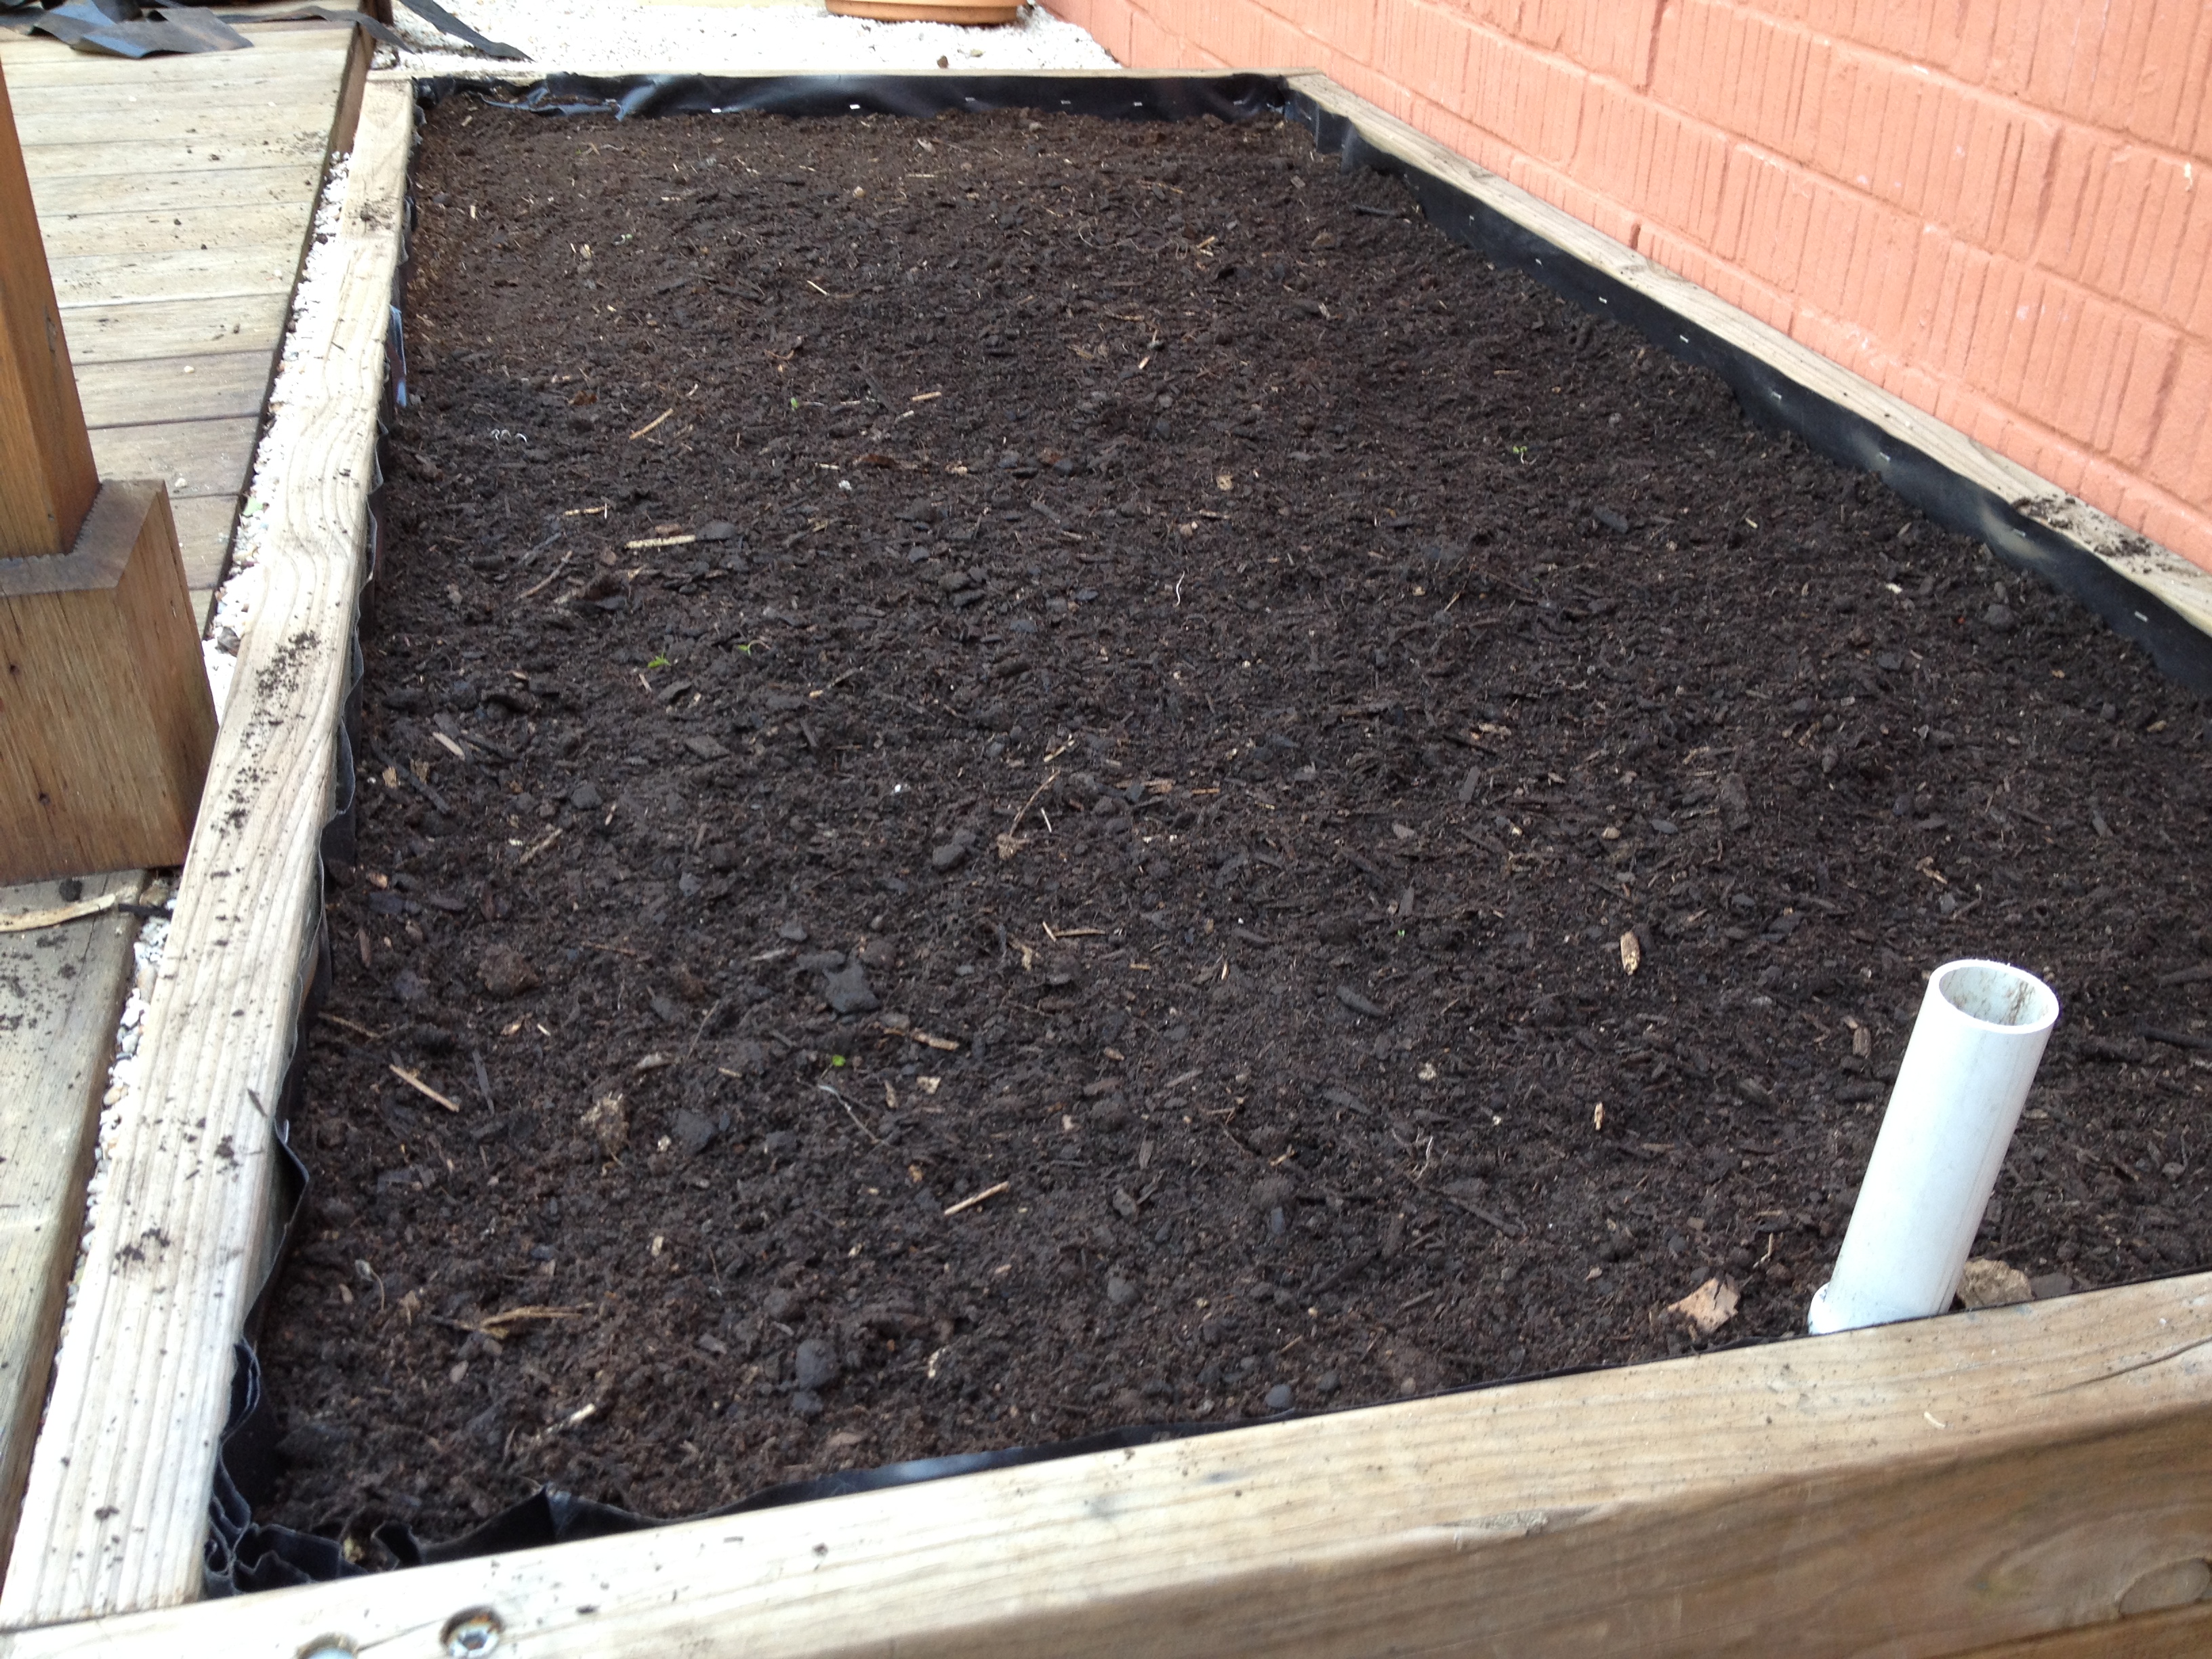
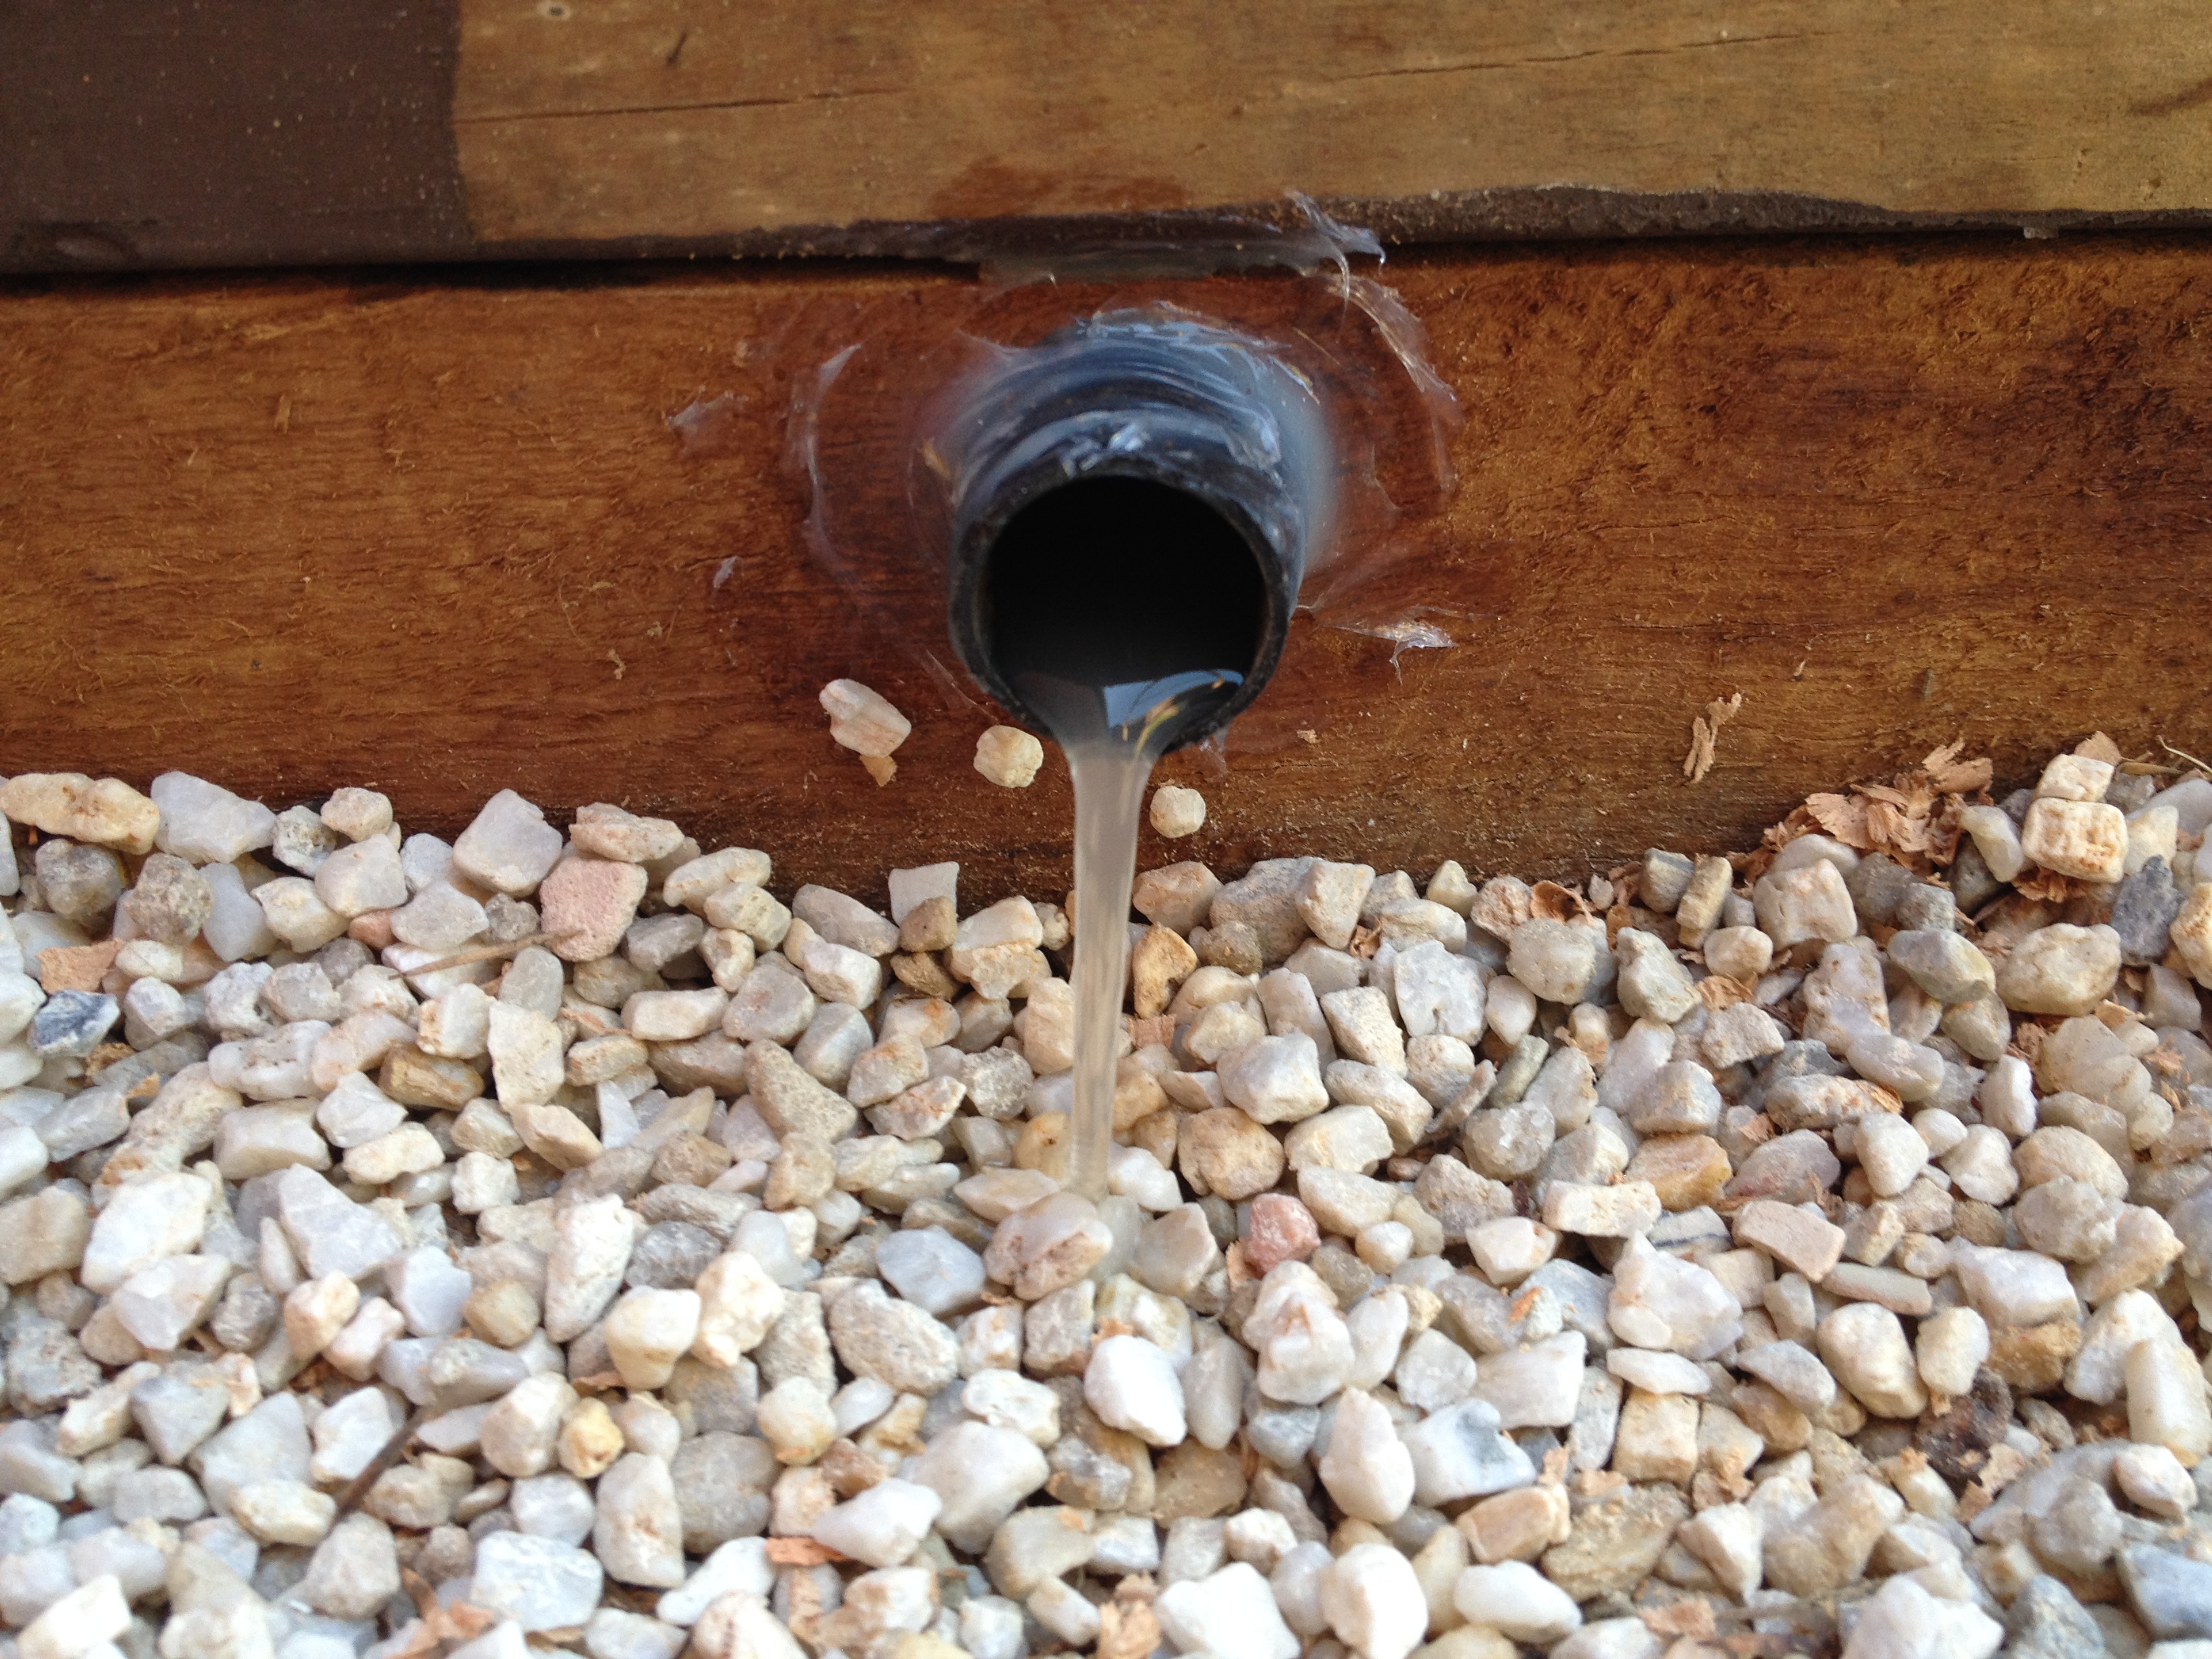
A wicking bed can be as simple as getting a plastic tub or large wooden planter and lining it with pond liner or builders plastic sheeting, then laying in a watering pipe and overflow pipe, half filling with scoria or gravel or even sand, adding a non-degradable textile layer, then filling with compost or good potting mix. I’ve even seen polystyrene boxes used as mini wicking beds, though I haven’t used these myself as they’re not recyclable.
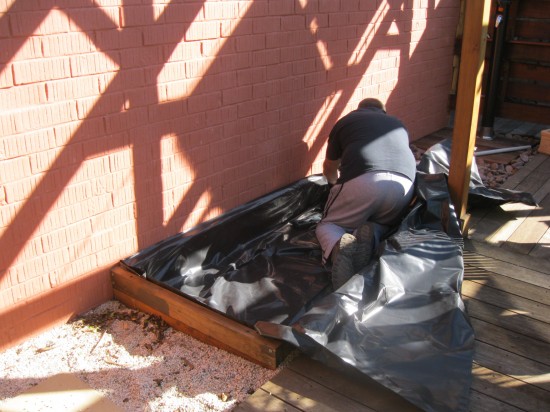
Stapling the liner to the wicking bed
You can see an example of in this post titled “Building a Wicking Bed on Concrete“. Just scale it down to container size and you get the general idea. It works really well and is shaded for half the day, so salad greens thrive in this bed because there is a continuous supply of water. Veggies planted in this bed tend to be slow when bolting to seed so you get longer cropping.
Wooden Pallets
Using wooden shipping pallets is a great way to upcycle and grow some food. I’ve seen excellent examples in small gardens of these being used for planting out herbs and salad greens.
These pallets just need to be stood vertically, have a bottom placed across each section of board and have a few drainage holes drilled, and it’s ready to plant out with good potting mix or compost.
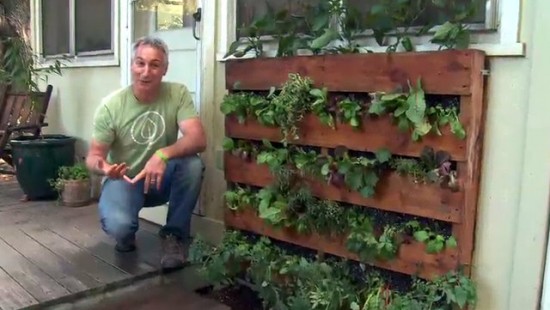
Pallet Garden for Vegetables. Source; Growing a Greener World
Here are some fantastic step-by-step instructions for a Pallet Garden from a TV show, Growing a Greener World, that I follow via the web. definitely a great idea for those who are pressed for space around their garden.
I’ve also seen wooden pallets laid down on the ground, filled with soil, and used as a raised garden bed. Just make sure that the pallet is not made of treated pine (CCA) or otherwise you risk copper and arsenic leaching into your soil.
Give it a go
So there are three methods of growing vegetables in tight spaces that are cheap to implement and easy to maintain. The only thing I have to add is that you need to ensure that the soil is kept moist otherwise your plants will struggle to draw up nutrients. Oh, and keep them close by so that you will remember to pick your produce often. Think of this type of gardening as Zone 0 in your suburban permaculture garden!
Can you think of any other ways to grow veg in tight spaces?