 I did everything as per the recipe, including all the tips I remembered from the mould cheese making course I attended, but things just didn’t go my way.
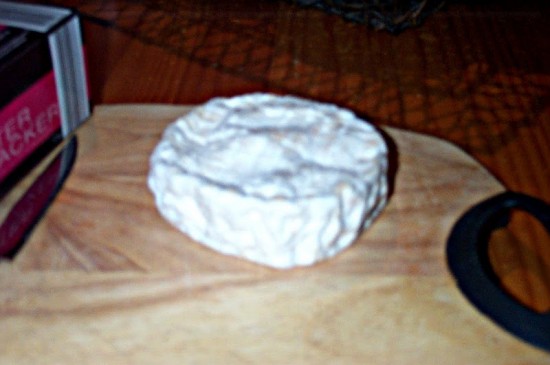
The white mould formed well on all four rounds that I made in the first batch. We cracked open one straight from the cheese cave at about the three-week mark. Although it was very runny around the inside rim, the centre was nice a firm and the nose was sweet and mild. This is what happened when I cut into it.
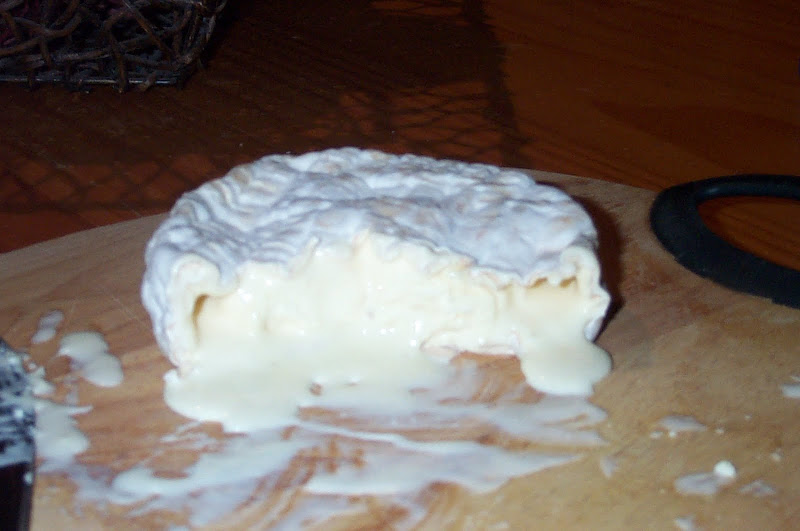
What a difference a week made. All of the centre was runny even when chilled, and the white rind was pungent and extremely strong in flavour. Kim was not a fan at all, and I could only handle the runny centre. The rind just left a lingering bitey taste in my mouth for what seemed like ages! Not very pleasant at all. Mind you, Butch and Holly thought that all their Christmas’s had come at once, because even though we didn’t like it, they wolfed it down and cleaned up the plate as well.
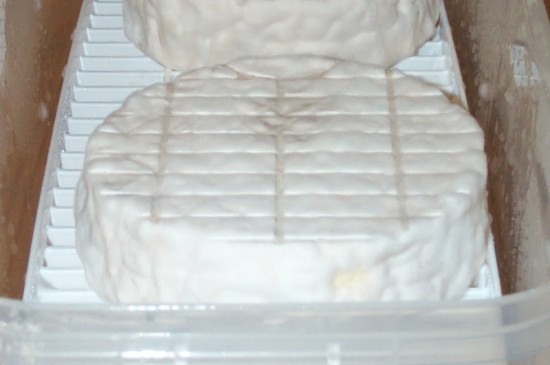
I was unsure of what to do with the other two rounds so I left them in the cheese cave for a few more days until I made a decision. Big mistake, because the cheese had made the decision for me! I opened the cheese cave on Wednesday to turn over a few wheels of cheese and oh my goodness, what a smell.
It was like the Camembert had grown legs and wanted to escape. The stench of the over ripe Camembert flew through the entire house like a screaming banshee on speed. We had to open every door and window just to get rid of the odour. I then had the sorrowful task of taking the remaining rounds of Camembert out to the wheelie bin just to get the offensive odour away from everyone. Even the dogs didn’t follow me this time!
Next, I had to remove all the other wheels of cheese from the cave and proceeded to desanitise every surface, tray and rack with lashings of white vinegar to kill any mould build up. I used a spray bottle filled with the vinegar and a clean sponge to complete the task.
Once clean, I put all the cheese back into the cave, placed them on clean sushi mats just incase they were harbouring any mould and then lit about 5 incense sticks to get rid of the vinegar and cheese smell that had replaced the cheese odour!
So the lesson in this story is to eat your Camembert young, and only use half of the milk that the Camembert recipe states and adjust all the other ingredients accordingly. Next time I will be removing the Camembert rounds from the ripening box at the 3 week make, wrapping in cheese wrap, and placing them in the normal fridge at 4°C to stop the ripening process. Hopefully that will solve the problem and produce some very edible cheese.
Well, you win some, you lose some. Not disappointed, just more determined to succeed!
I received a Camembert kit for my birthday a couple of weeks after you first posted about having made your own. About three weeks ago, I made two rounds following instructions which were slightly different to the ones you described – my instructions not only called for the mould spores to be sprayed onto the rounds after a couple days ripening in the cave, it also called for the cheese to be wrapped in greaseproof paper and then alfoil and placed in the “warmest part of the fridge” once the rounds are completely covered with mould. My cheese has been in the fridge for a couple weeks now, and I open them once a week to check. So far, they both look wonderful and are beginning to get that slightly golden “blush” to the outside (which my instructions say is a good sign). They are beginning to feel a bit “soft” when you lightly press the centre (like the flesh between your thumb and your fingers on a loosely closed fist). I’ll be cutting into the cheese at the end of the month! Hoping it all goes well! Best of luck on your next rounds! 🙂
Interesting post Gavin, you are certainly on a steep learning curve and it makes for good reading. I’m pleased to tell you that I’ve come across a local cheesemaking course! I’ll be learning to make feta, ricotta and mascarpone at the end of the month. 🙂
Congrats on the domain name. Cheers, Rose
Well, I think you’re doing okay! Just keep going on, and remember that no-one ever gets 100% success 100% of the time.
Love the detailed account of your cheese making efforts. I am a fan of Brie myself. The cheeses look the same, so I’m wondering what the difference between them are.
Not sure Sylvana. I have not made Brie as yet, but I do know that in France that the Brie wheels a very large and that camembert are small like the ones I made.
Gav
Wow, i just came across this. I have had the opposite problem – just cut into my camembert and it is rock hard – not sure what I’ve done wrong there.
Hello
I was reading your follow up on Camembert and I was laughing because the same thing just happened to me! As I can see from your previous video, we are using the same method (cheese making book from Ricky). My Camembert also looked great after 10-12 days in the aging bin. I wrapped the cheese in special paper and today just got them out of the cave! They were all gooey, brownish and smelly, with a thick crust and a runny inside. After reading and trying again I say this: let the white mold form, then tap your cheese to flatten the mold every day but leave them in the cave for another week or so, until they are mild-soft. Then, wrap in cheese paper and place in normal refrigerator to stop or slow aging and eat.