Yes, dear reader, the time has come. Everything in life has a beginning and an ending, and I believe that it’s time to wrap up The Greening of Gavin blog and podcast. All good things come to an end (to quote a very famous Star Trek series)!
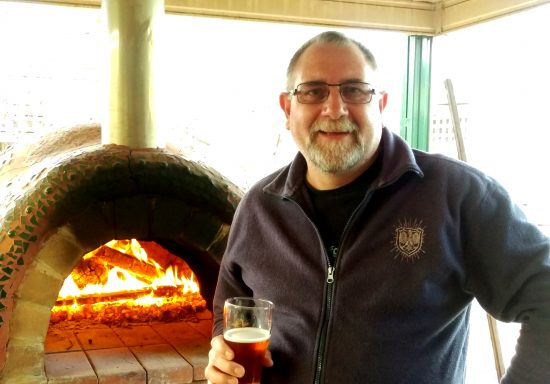
It’s with a homebrew beer in hand that I say goodbye.
All Good Things…
With no major greening projects on the horizon or further lifestyle enhancements planned, I’ve essentially run out of things to say, which after 1,870 posts and 132 podcast episodes is quite understandable.
I’m officially passing the baton to a younger generation of bloggers and influencers who may have better luck convincing the masses further to live a more sustainable lifestyle.
I know that I’ve played my part in the rebirth of the simple living revolution judging from the amount of feedback and emails I receive every day, so I feel very proud of that accomplishment. I, like you, can make a big difference in the world.
What have we achieved?
During the journey, we’ve retrofitted the house with many green features, renovated the gardens into an organic food farm, and transformed the way we think and live. All that, as well as starting a green business teaching others some simple living skills.
When I reflect back to that crazy day when my whole world was turned upside-down, I would never in a million years have thought that the blog would have come this far and how it would eventually have impacted our lifestyle for the better.
And to you, the reader. I thank you from the bottom of my heart for supporting and following my family’s journey and antics since February 2008 when I penned the very first post. It’s been a wild ride, sometimes controversial, but always interesting and fun.
So where to from here?
Well, the blog posts and podcast episodes will remain online until either the internet is destroyed or peak oil begins to impact us all. Just joking, it will still be here as a valuable resource for as long as there are bits and bytes. Check out my archive for all the posts.
Also, I will still have a strong online presence as I will be maintaining the associated Facebook page and YouTube channel for The Greening of Gavin. If anything exciting happens around here then that is where I will be posting this type of update.
Additionally, the YouTube channel, CheeseMan.tv, will continue to release a weekly cheese making video, as well as my cheese making blog and associated podcast at Little Green Cheese.
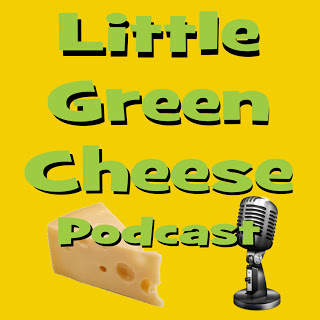
Little Green Cheese Podcast
To cap it all off, our home business, Little Green Workshops, is still growing strongly and will more than compensate for any time I gain from ending the blog and the podcast. We are still running cheese, soap, soy candle, and bath soak & scrub workshops each school term if anyone wants to learn these dying skills. You can find all the details of these courses on our workshops calendar.
Click Through to the Shop!
Adieu
So dear reader, this is it. Once again, thank you from the bottom of my heart for all the support, and I hope to see you on my other blogs and YouTube channels in the very near future.
Goodbye, my friends and keep on striving for a more sustainable world.
