After two weeks of curing, the salami looks quite good.
I was told on the course that white mould was a good sign that everything was going perfectly. I am glad that my laundry could oblige with such an abundance!
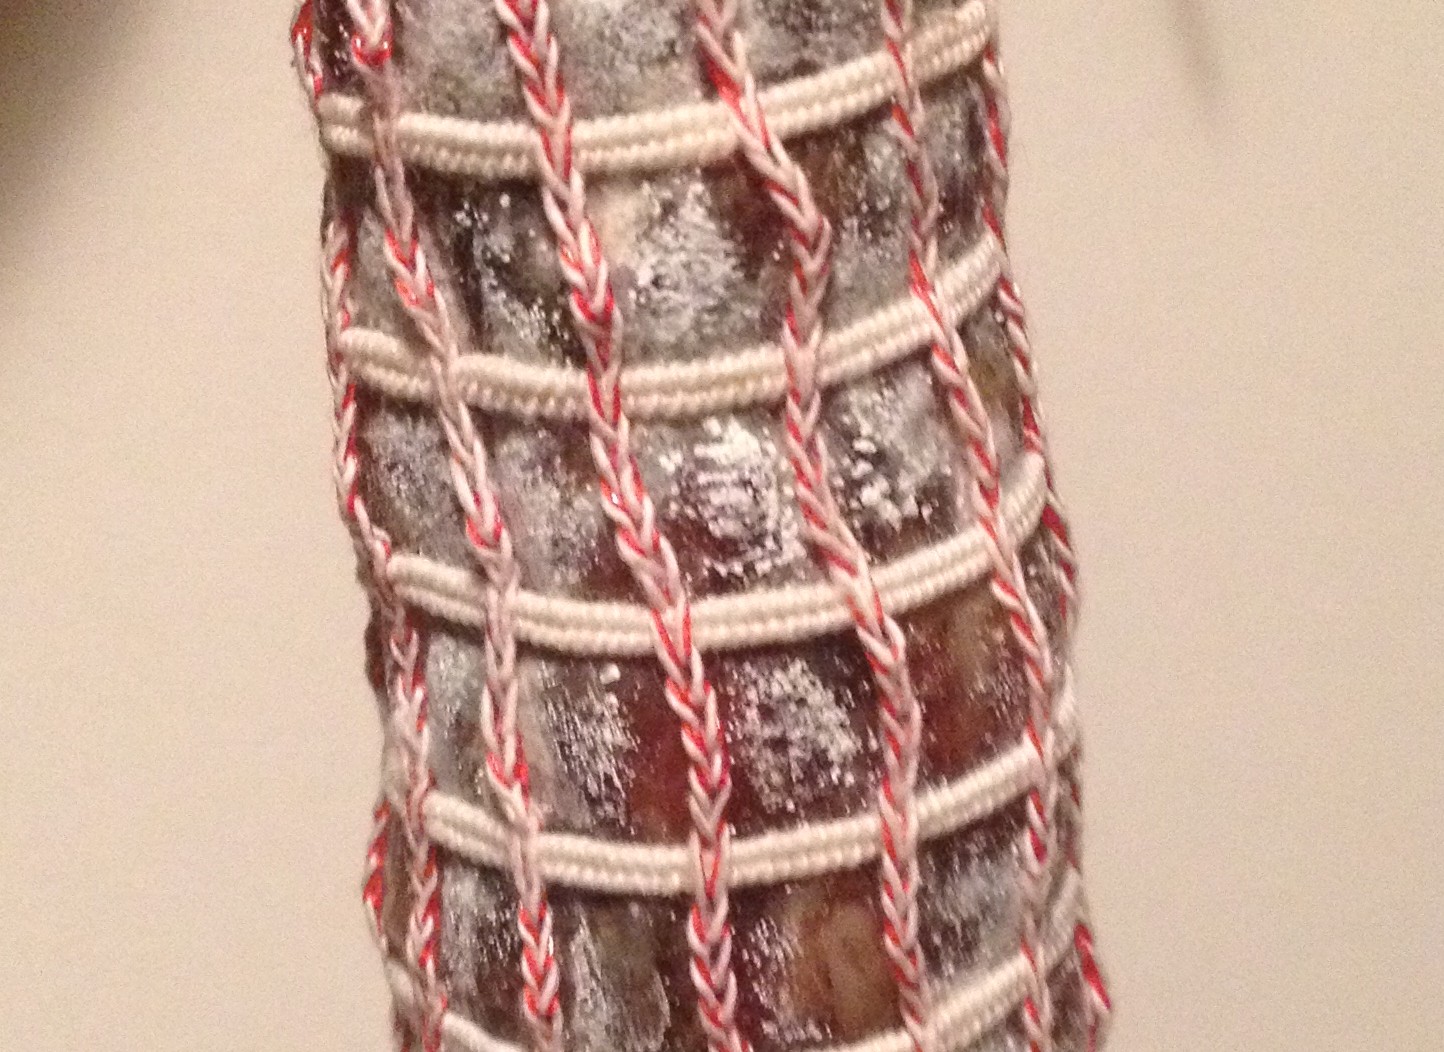
Salami after 2 weeks curing
As you can see, it is very white in places. It smells unlike you would expect, a little bit like old socks during the first week, but now it is more mellow like traditional salami I remember buying when visiting Rome way back in the 80’s.
At this rate the entire salami will be covered in white mould by the end of the curing period, but as it is losing moisture, it may not grow any further. I will then wipe it off after removing the stocking.
Without weighing, it feels like it has lost about a third of its weight. This I am told is another good sign that all is going well.

Salami curing in laundry
With only two weeks to go, I am getting very excited. I can’t wait to cut it open and taste it.
I was also told on the course that after the four weeks, it was best to remove the stocking and vacuum pack the salami and keep it in the refrigerator. It will last for a few months.
In preparation for success, I purchased this sausage maker second-hand for $30 from my friend Stacey (who appeared in podcast episode 60). It was given to her by a friend and she just never got around to using it.

Sausage Maker
It still has all the bits, and looks like it will be alright for making small batches. It also has the sausage filling attachment as well as the mincer.
So, over the weekend, I am hoping to make some more salami using the knowledge I have gained so far. I will also be popping down to the library to see if I can find a book to help me out with different types of cured meats.
I will keep you all abreast of further developments!