Soap making is so much fun, even for a bloke like me. So once you’ve mastered the basic chemistry behind combining fatty acids with an alkali and water, how do you take soap making to the next level?

Single colour soap
Well I truly believe that like anything in life, you have to practice.
Practice regularly, until you become proficient at it.
And that is exactly what Kim and I do. We practice making soap, including many of the techniques that we strive to teach at our basic and advanced soap making workshops.
Why just last weekend we made 4 kg of soap in four batches, trying our hand at natural clays and pigments, new layering techniques, and top decoration.
Before you attempt cold process soap making, I highly recommend that you watch first this safety video titled Care with Lye.
Now that safety is taken care of, here are a few of our videos that we’ve made during our soap making sessions here at home. We make them mainly to keep a record of each technique, but also for our reference if we make a particularly amazing looking soap so we can replicate it again.
Basic Layering
Layering is quite easy. Firstly bring your soap batter to a medium trace, then split it into two and colour each parts separately. Pour the first half into the mould and allow 10 minutes for it to go firm, then pour in the second layer on top and create a few peaks on top.
Here is an example of basic layering with our Lemon Cream Pie soap.
Pretty easy, but doesn’t it look amazing.
Advanced Layering
Layering three or more colours can be quite daunting at first, but once you get the hang of it, it is a breeze. Just make sure you only bring your soap batter to a light trace which is still quite runny. Then split into your desired colours, mix well, and drizzle back and forth in your soap mould until you use up all your batter.
Here is an example of more advanced layering with our Juicy Clementine soap.
Using Embeds
Embeds are object, usually previously made soap, that you put into your soap batter to create a dramatic effect. We like to call it chunk soap because of the large chunks of not quite right older bars that we place into some of our batches.

Chunk Soap
And another method we use is called confetti soap. We throw in any old soap shavings we’ve been saving and create quite a nice effect.
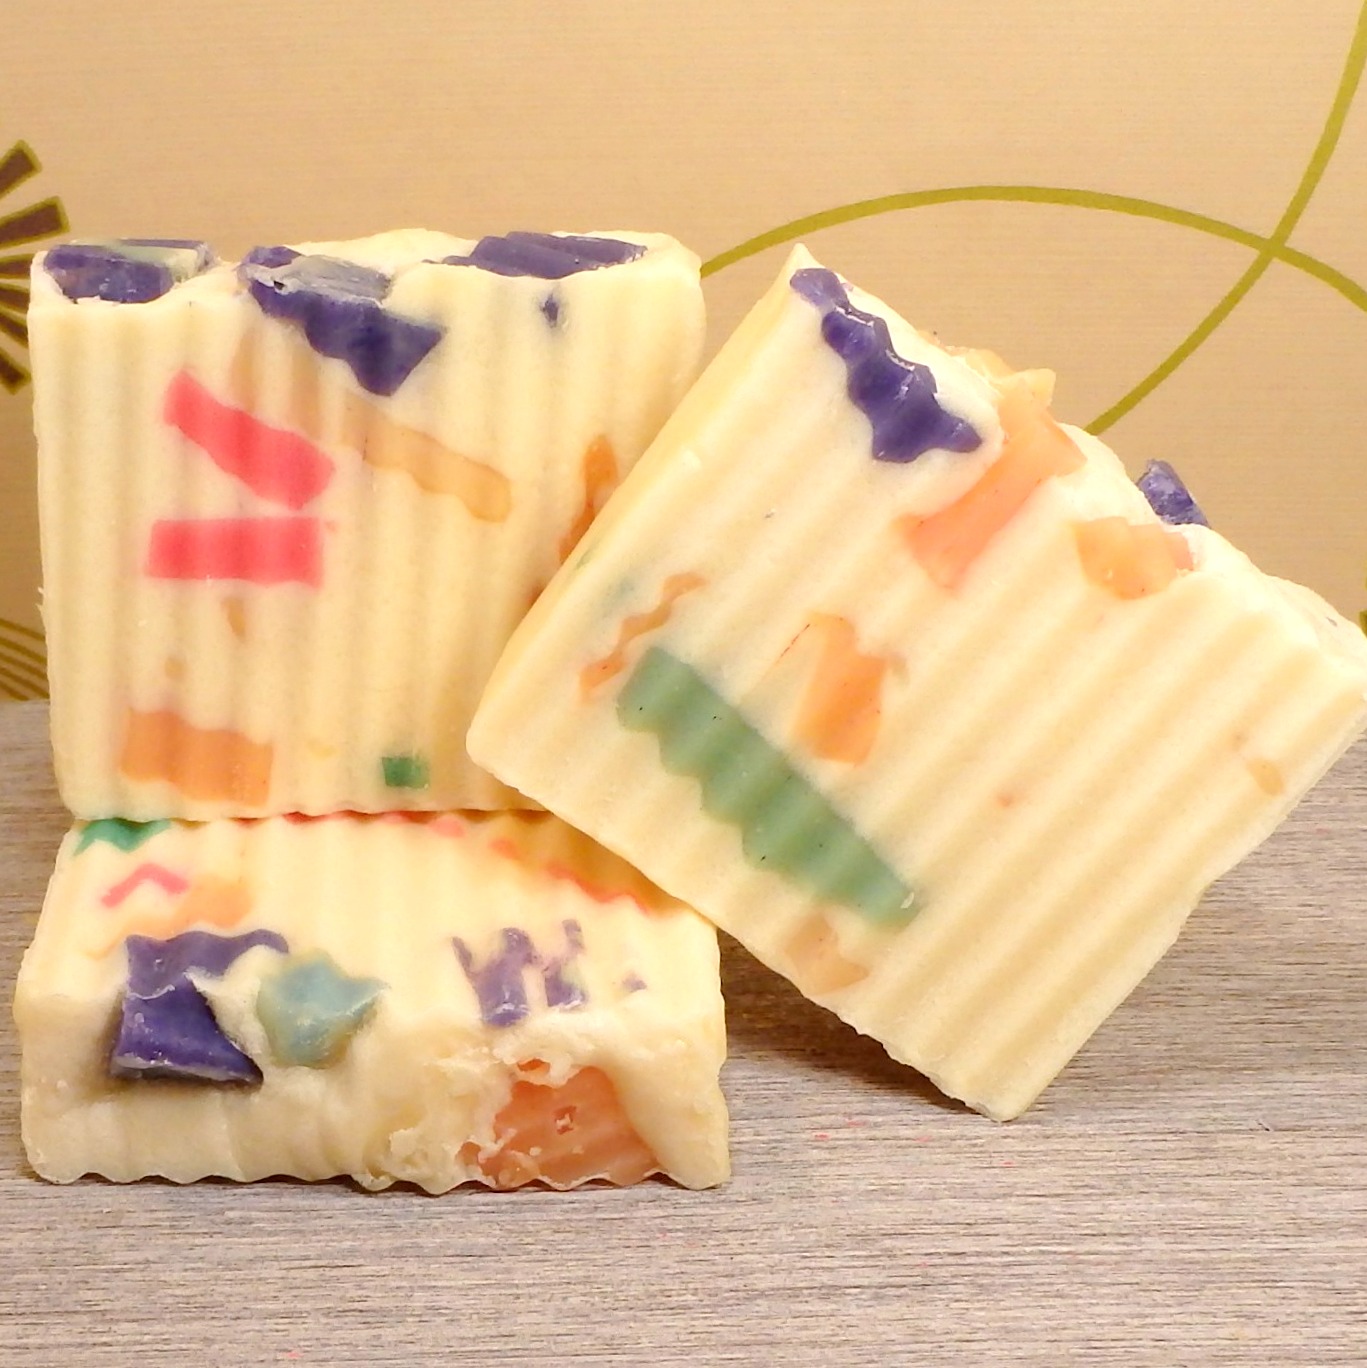
Confetti Soap
As you can see, the patterns are quite random, and no bar is exactly the same.
Natural Colours
We have been experimenting with Australian clays to colour our soap. We haven’t quite perfected it yet because the final product tends to be very dark.
Here are a couple of examples. This one is using natural ochre and clays to create a layering technique.

Ochre Layering
It’s not quite there yet and turned out quite dark in the final bar. We may need to add a tiny amount of TiO2 to each clay to lighten it.

Ochre layering next day
I think that we will stick to a single colour in the next experiment because we both like the red and green colours the clay produces. We also made another bar that has an amazing green clay in it that also features some plunging effects. It has a deep olive tone which I really like.
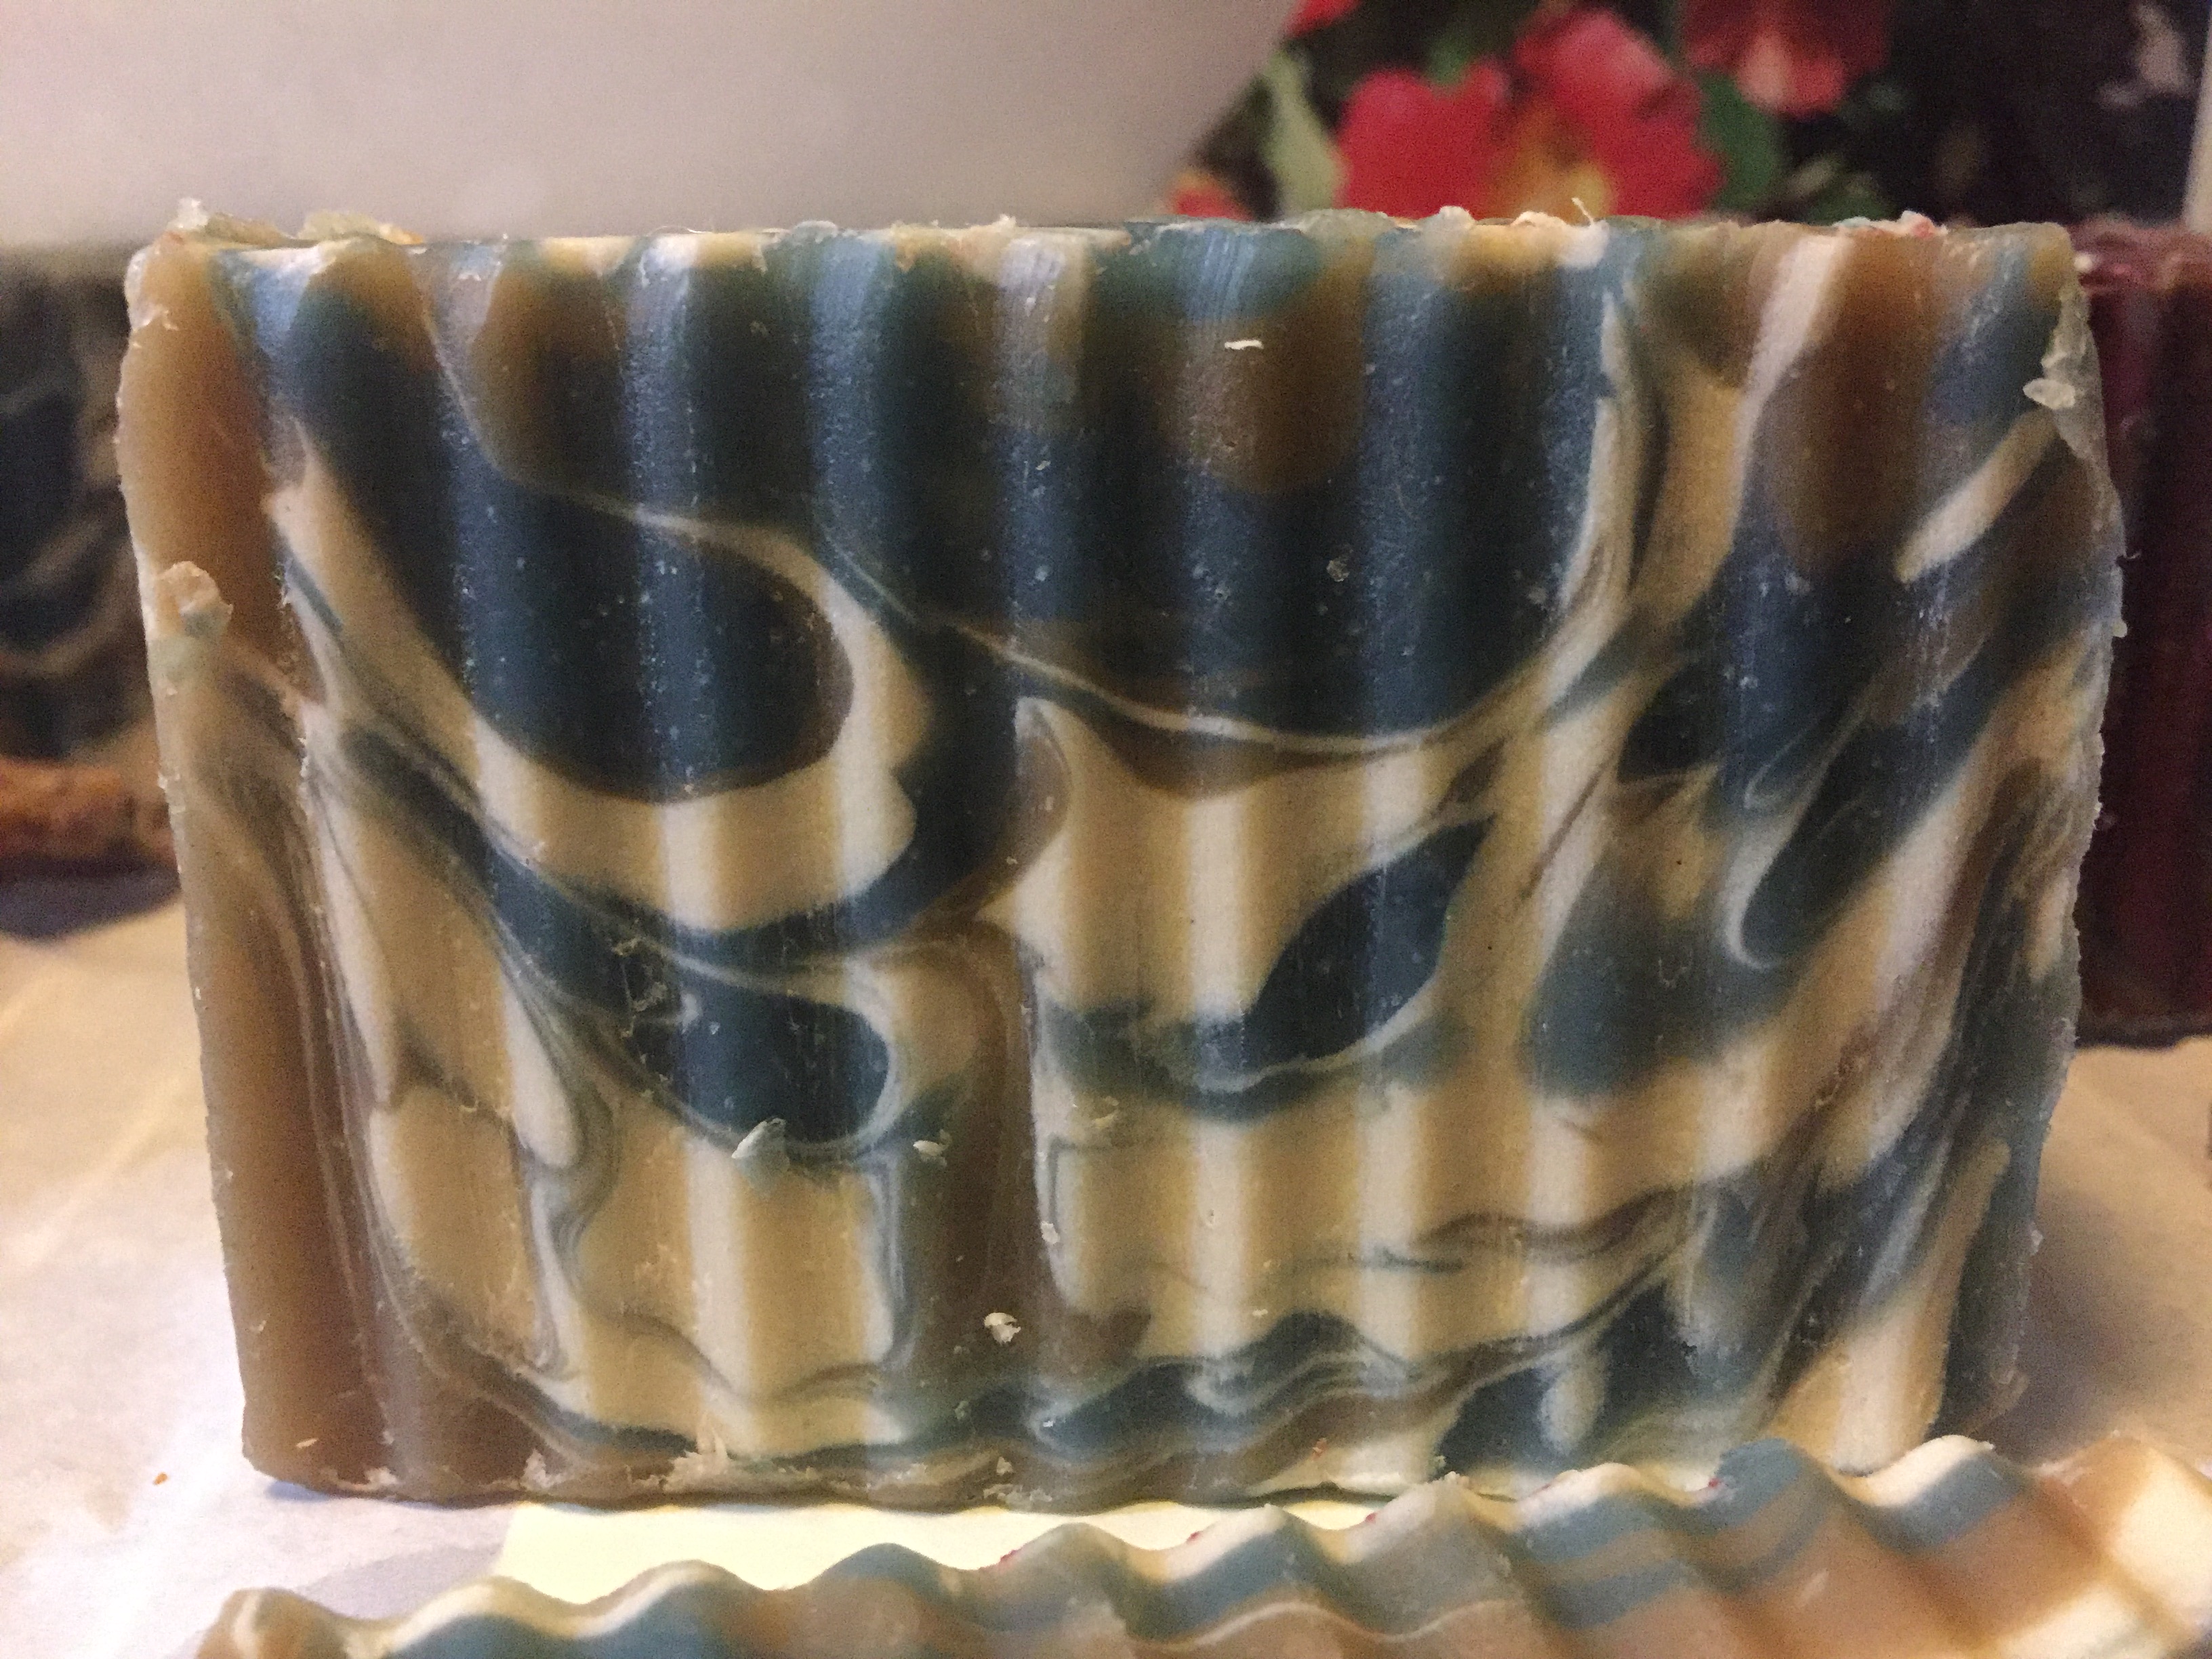
Soap with green clay
Soap Making to the Next Level
These are just some of the ways of taking your soap making to the next level. We learnt all these techniques through experimentation and practice. That’s what it takes, lots of practice. There are no overnight soap making gurus, which is what we tell all our students who attend our Basic and Advanced soap making courses.
One thing I do know for sure is that come the zombie apocalypse, our family will be extremely clean from all the soap we have stockpiled 😉
So how have you taken your soap making to the next level. Do you keep it all natural, or do you go crazy with colour?
Great tips, thanks Gavin! I prefer to use natural colours, so I’m very interested in your Australian clays. We have red clay on our property and I was thinking of using that to reduce my “soap miles” 🙂 I have some bentonite that I use at the moment which gives the soap a light pink colour.
Hi Liz, is bentonite used in shaving bars?
The confetti bar with old soap shavings of different colors looks beautiful. Will this be a problem during cutting? I mean, when we cut the soap loaf, wouldn’t the soap shavings be harder than the soap loaf itself, and as a result move down with the blade?
WoW Amazing!
Thanks for this great Info. I definitely have to give it a go now!
Mine Came out Perfect! Love the way it looks 🙂