Inside the box was a 5 litre demijohn, a bag of hoses, a bottle brush, and an airlock, and a calico bag.
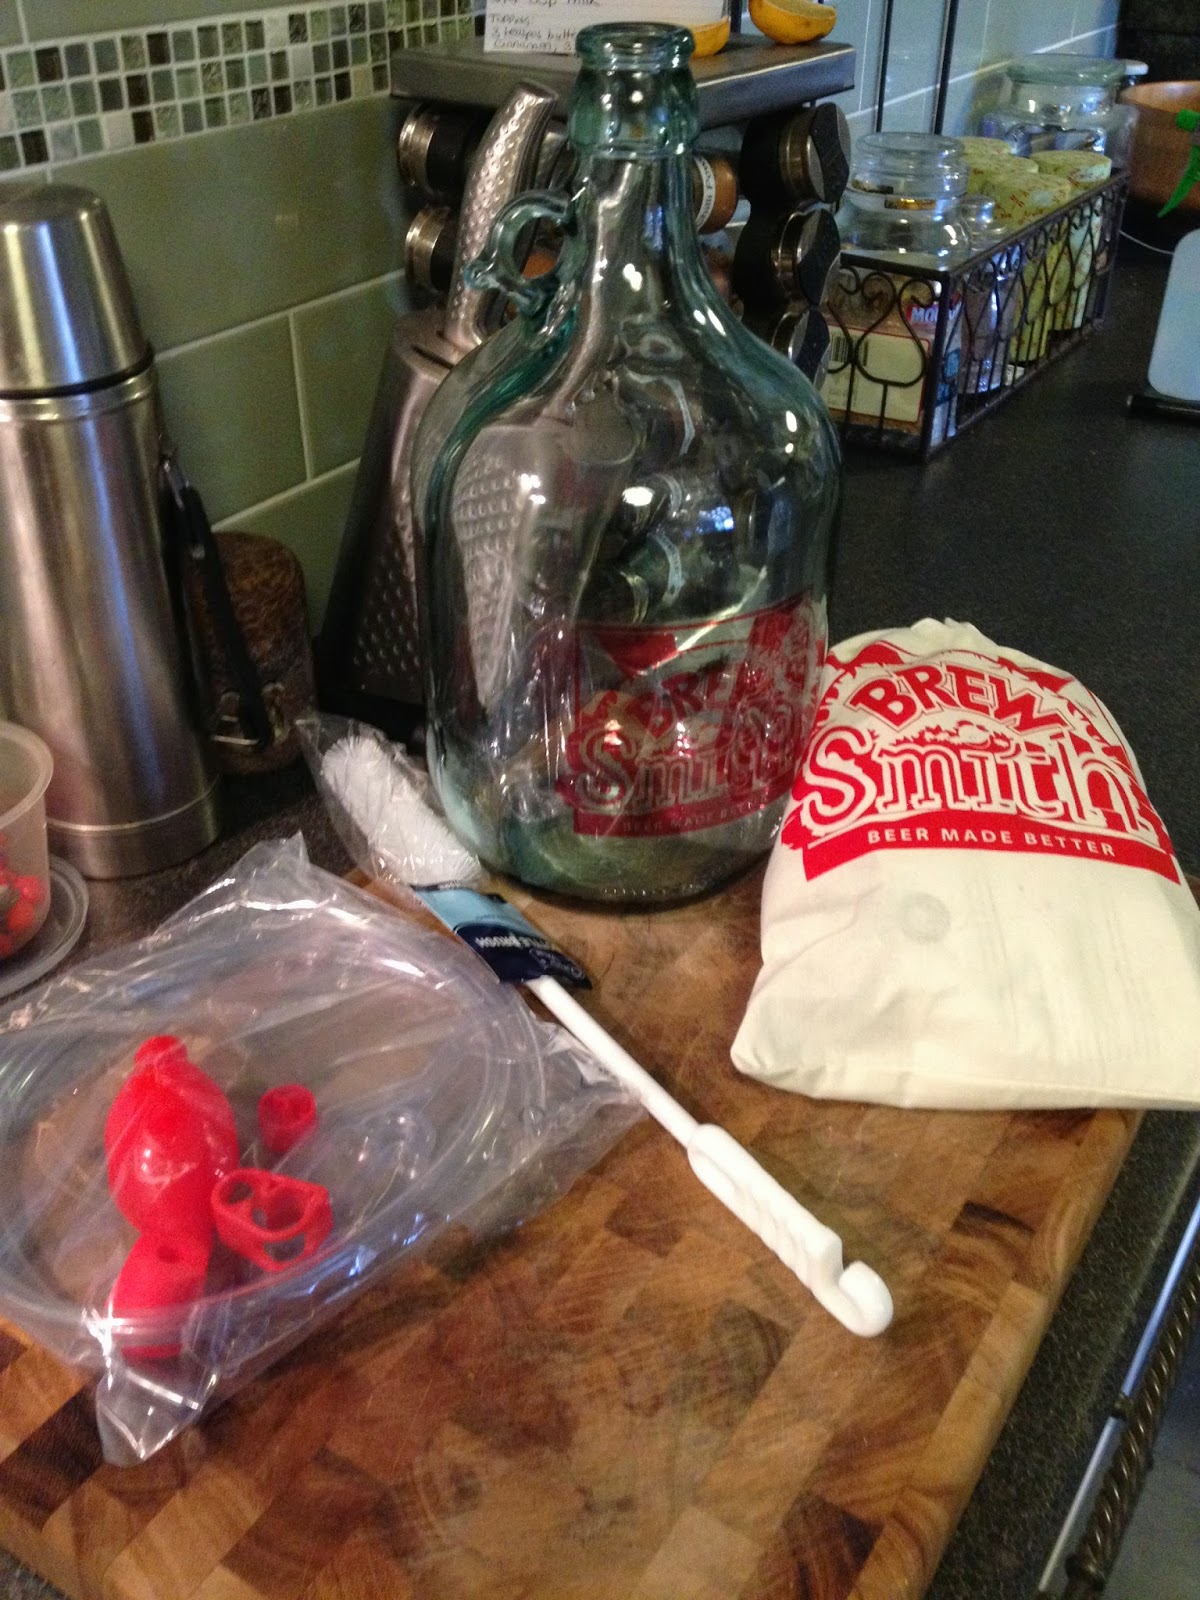
Within the calico bag were a bag of light malt, sanitizer, malt grains, detailed instructions, and another bag of ingredients.
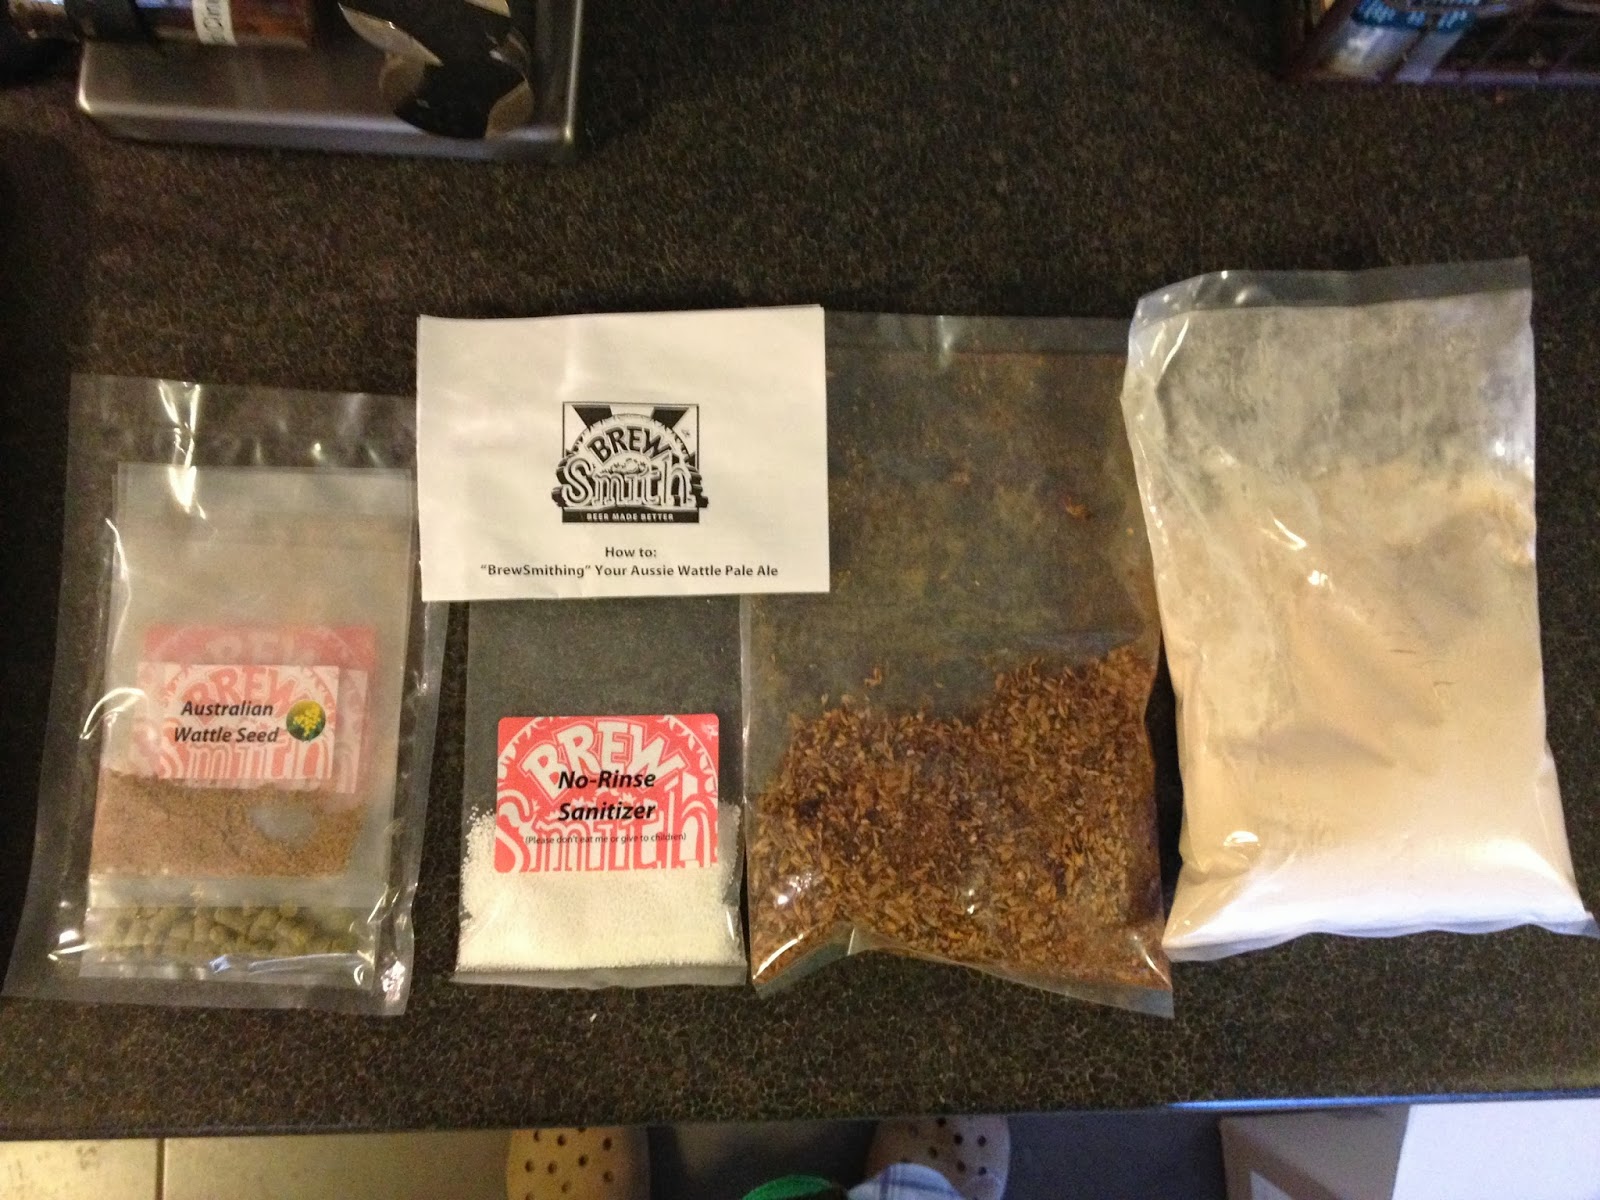
Within the bag of ingredients were Wattle seeds, yeast, and three bags of hops pellets. One for bitterness and two for flavour.

So the big difference with this kit and an extract can type kit is that you have to steep the grains and add the hops during the process. It takes a bit longer, however it was very interesting performing the entire process myself. All the utensils were readily available in my kitchen. Things like a strainer, two pots, a stirring spoon, and funnel.

So let me step you through the basic process (for a more detailed process, check out the videos on the Brew Smith site). Firstly you add the grains and wattle seeds to some water which is about 70C. These steep while you prepare the other ingredients.
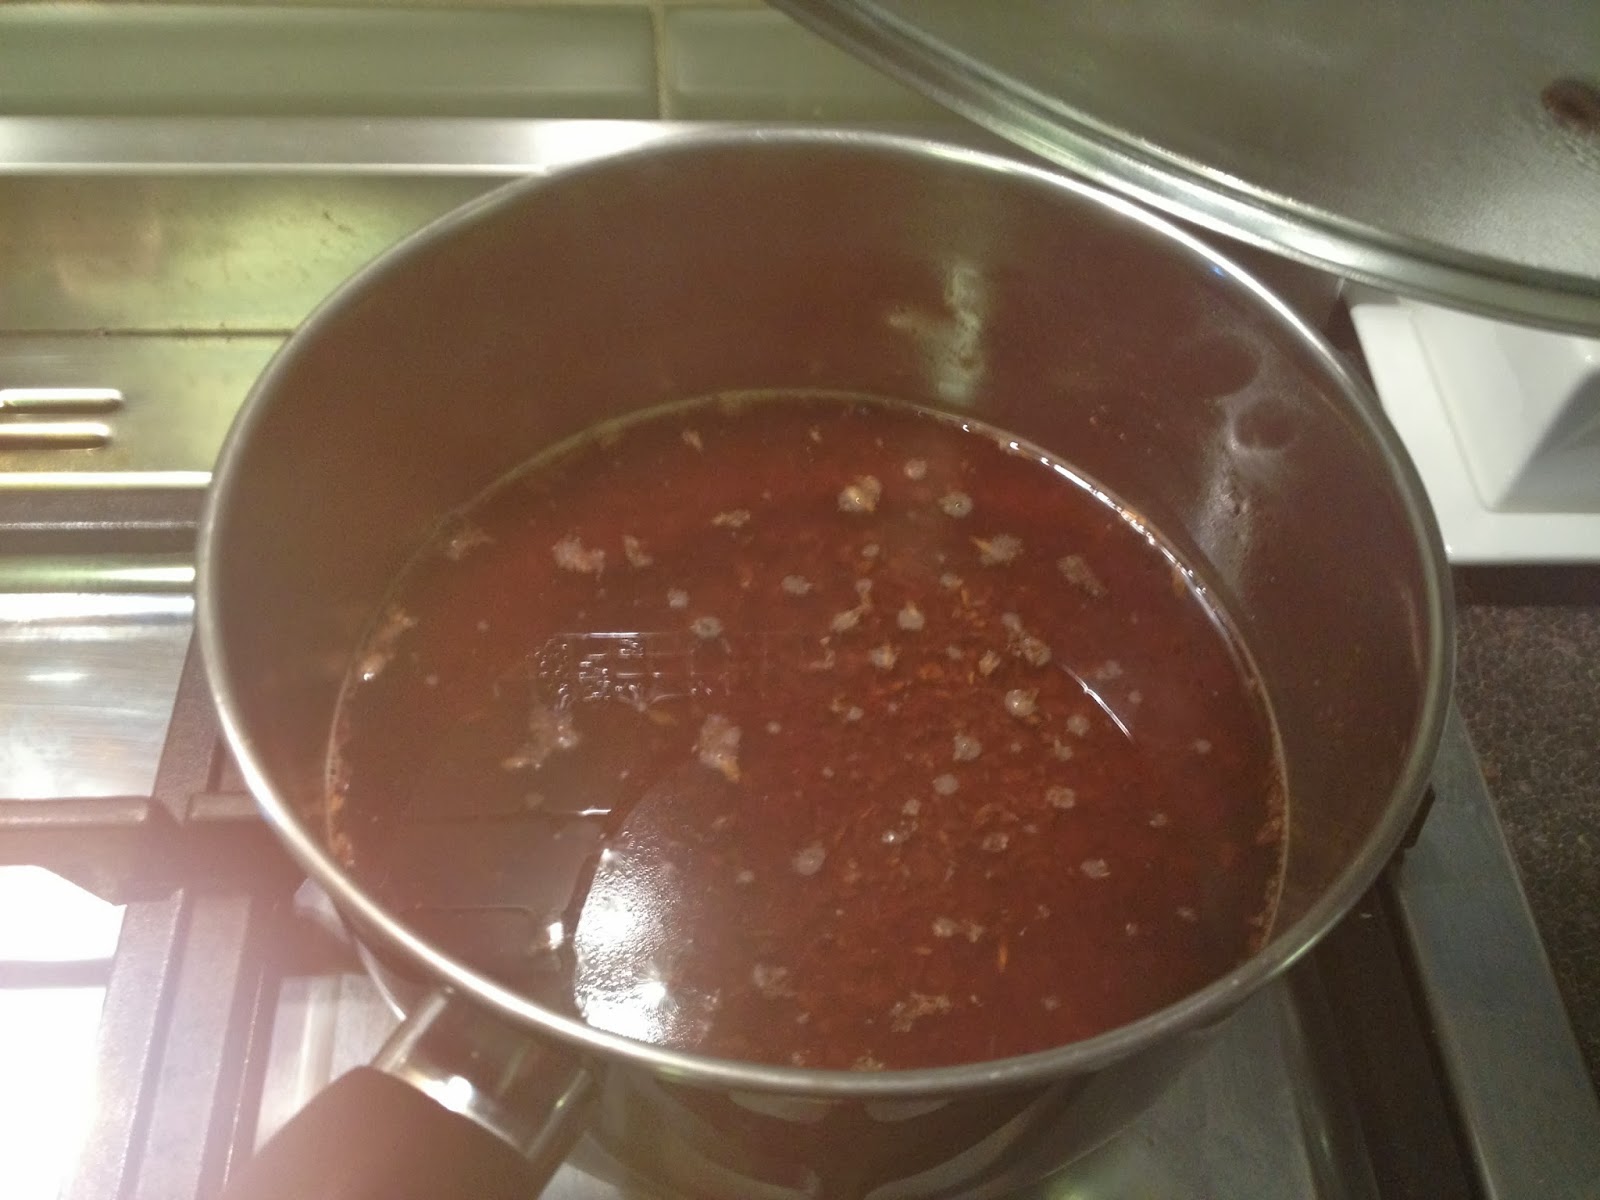
Then in a large stockpot add water, bring to the boil and add the first bag of hops (labelled add me first) and the malt. I then lowered the heat to medium and then during the process added the second bag of hops.
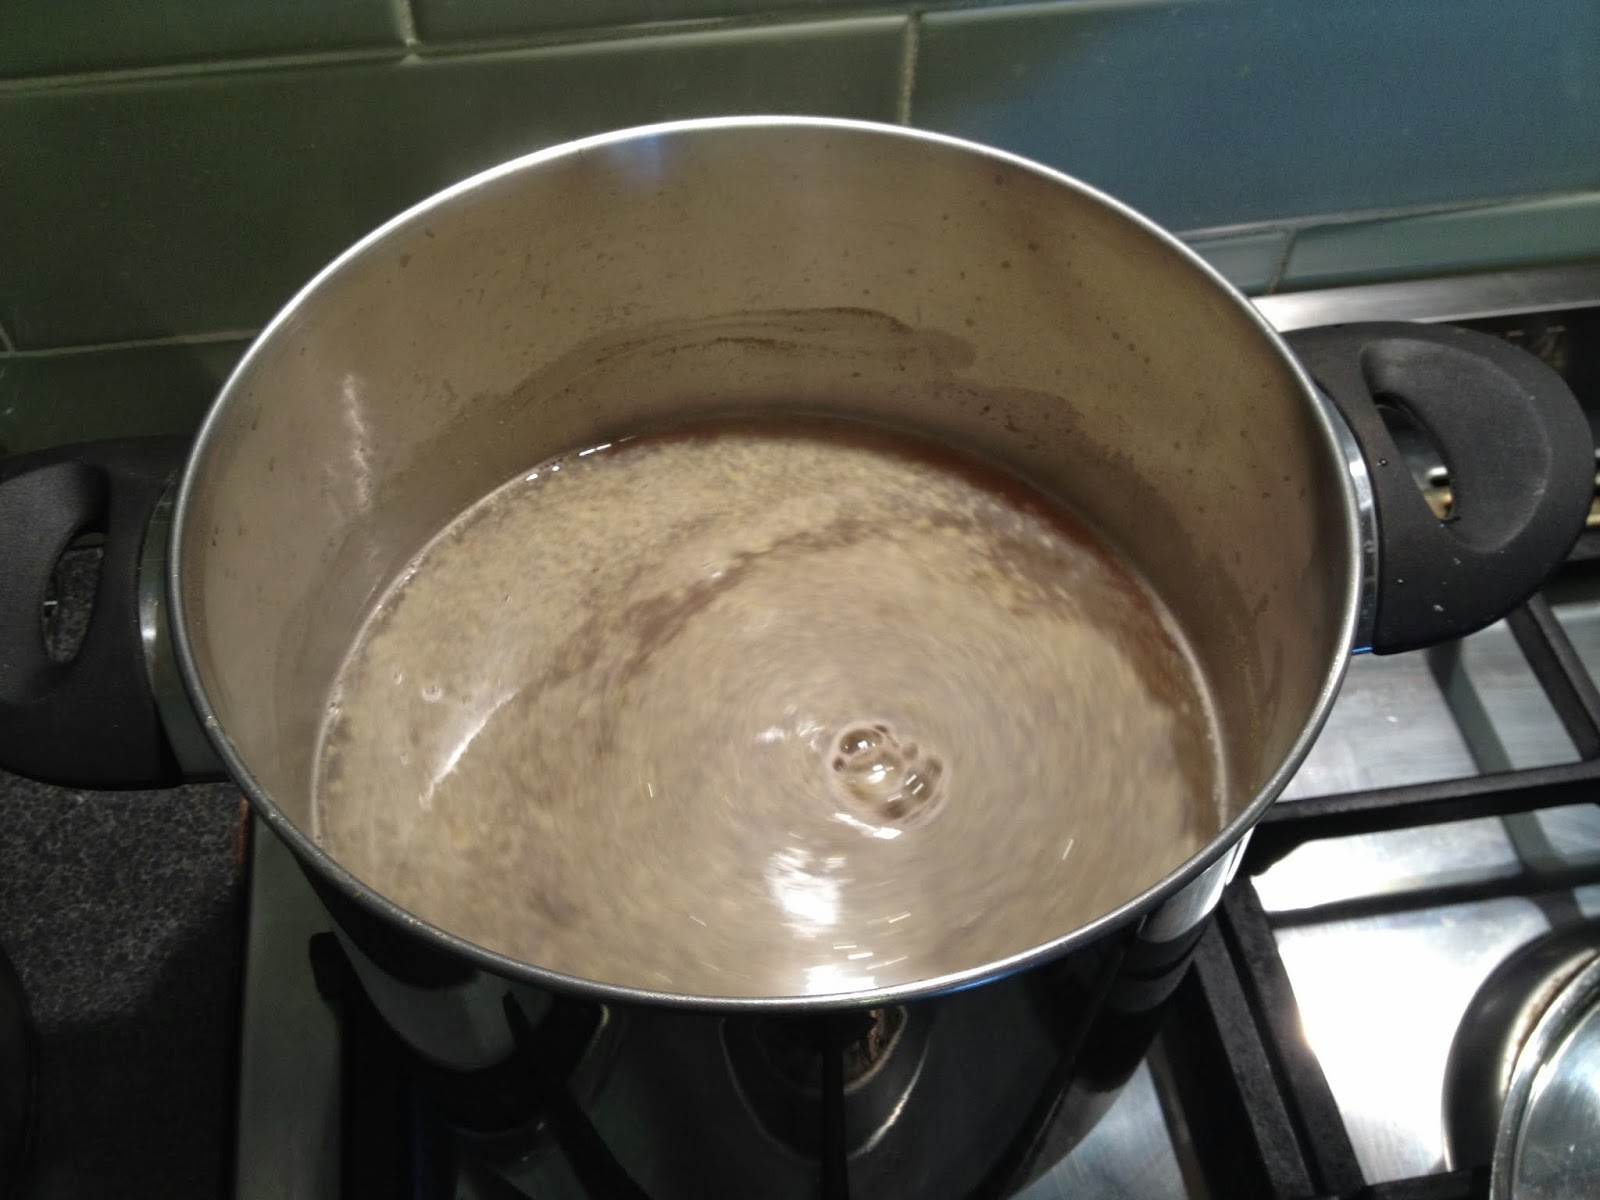
Once about 45 minutes of boiling is completed, you add the strained liquid from the grains to the malt and hops liquid (wort) and the final finishing bag of hops. Stir well. Then cool it all down in the sink. The sink is half filled with cold water to get the wort down below 30C.

Whilst waiting for it to cool, you sanitize all the brewing equipment, which is quite an easy process and essential in any fermentation process. It kills any wild yeasts that may infect the brew.
One comment I have to add in was there is much more packaging with this form of brewing. I figured that it was plastic type 4, which can be recycled, and I placed it in our plastic recycling bag to be deposited when next I visited the supermarket.

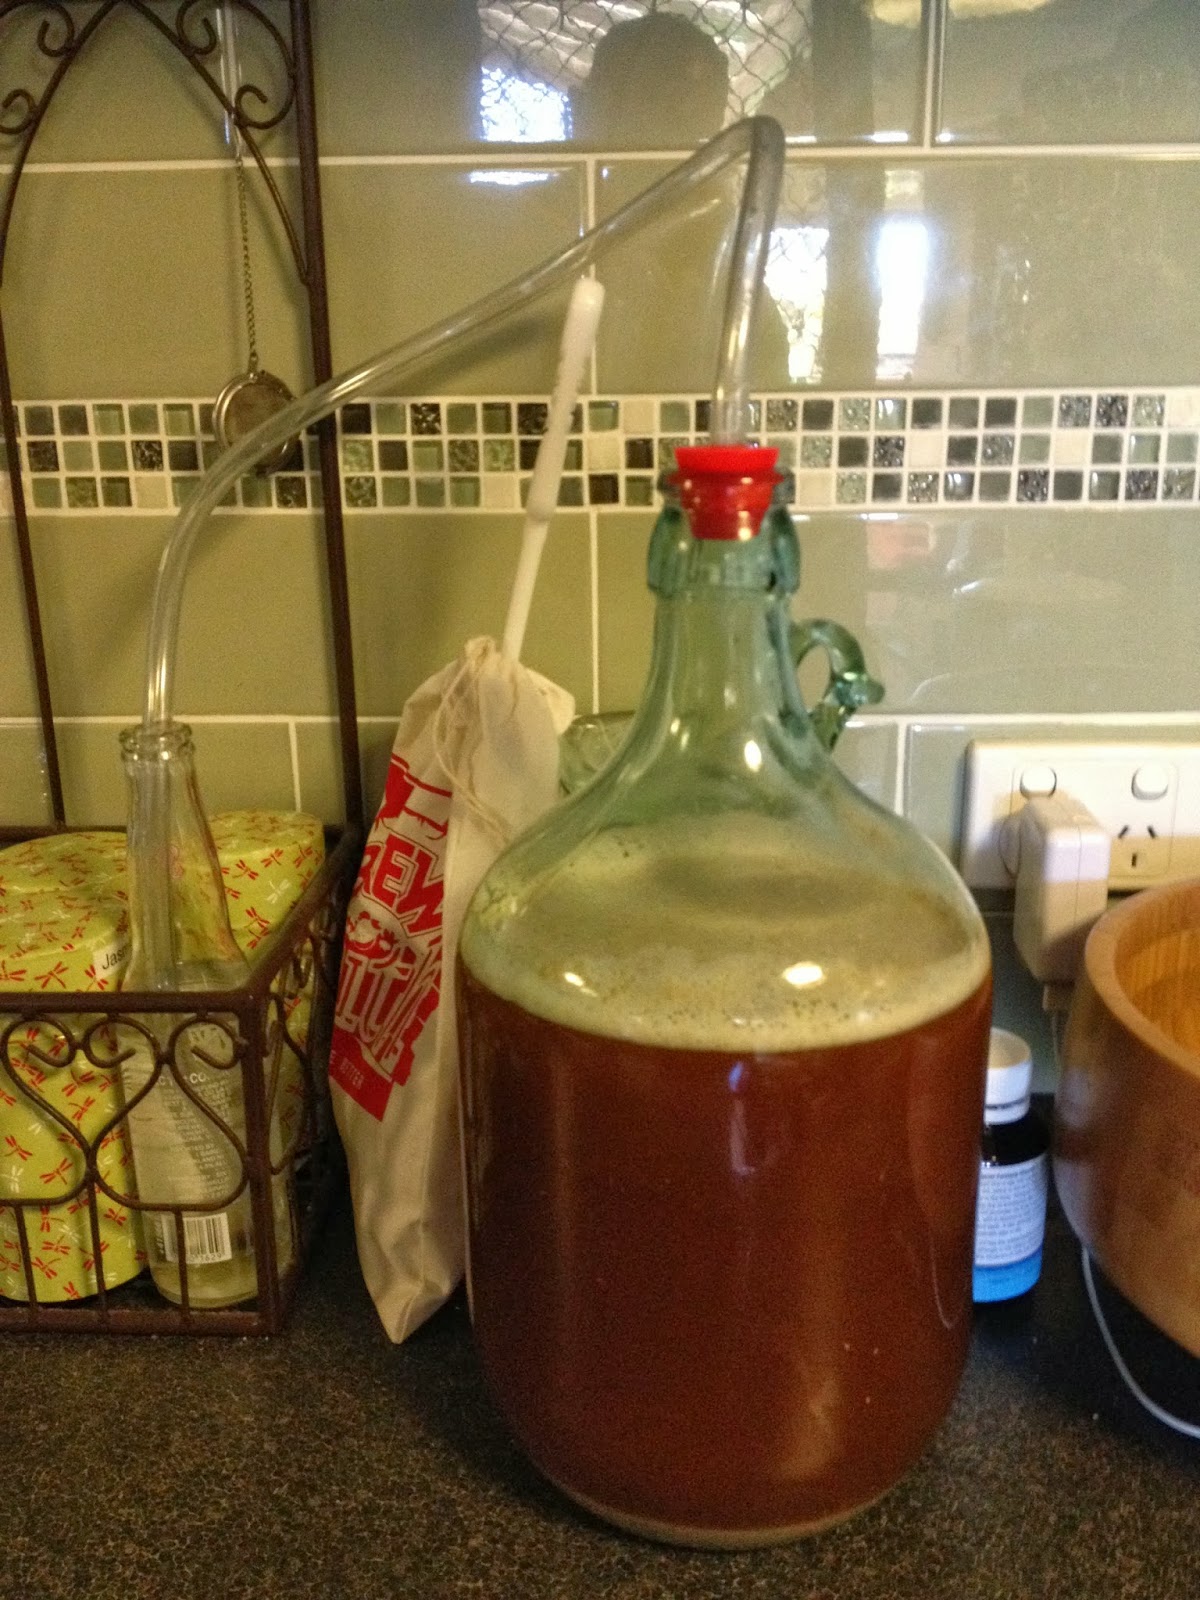
Once the wort has been cooled for about 30 minutes, you add the wort to the demijohn, add the yeast sachet, top up with water and shake the heck out of it. I found that you have to be careful not to drop it as it is quite heavy. Push the long hose into the bung, and place the bung in the demijohn and the other end in a bottle filled with sanitizer solution. It bubbles away like this for a couple of days, then you add the normal airlock.
One final observation which would be a nice touch, would be to add the full description of each ingredient on the bags and what role it has in the process. This extra information would be the icing on the cake.
So there you have it. This is the stage I am up to right now. The beer has been brewing for two days, with lots of CO2 being generated by the yeast. I will fit the airlock tonight, and let it completely brew out.
Once I have bottled the beer (in my own saved bottles), I will be sending back the clean demijohn and other equipment to BrewSmith. I decided that the only gift I would accept would be the beer itself (which I made).
After the in-bottle fermentation is completed I will write up a taste test. It should make up about thirteen 330ml bottles. After the initial investment of the kit, refills are $20 or $1.50 per stubbie. Quite economical compared to commercial beer which is about double the price for the same volume.
If you need any further information, don’t hesitate to drop by the BrewSmith site. There are also contact details if you have a question not listed in their FAQ.
I think that this type of brewing is called a mini-mash, but I may be mistaken. The process was easy to follow, and I believe that if you can follow a normal recipe then you can brew beer. I am looking forward to the taste test in a few weeks time!
Have any of you made beer from scratch using a similar method?
Ooo this sounds interesting! I look forward to hearing how it tastes. Martin might find himself the recipient of a kit for Christmas (as much as I despise the whole shopping thing, I have no other justification for buying a kit until August next year and a beer kit is much desired).
Hi Jessie. It was so simple to make. Give it a few weeks until I let you know what it tastes like. I will bring a sample around!
Gav x
We are brewing our own beer for the first time right now. We are brewing a cream ale from a kit. We have transferred to the secondary fermenter and the hydrometer reading seems right but there are virtually no bubbles. We have it in our basement where the temperature is in the high 50’s. Any idea why its not fermenting any more and/or tips on what to do about it?
Hi Gavin,
I brew beer ‘old school’, meaning I use malts that I grind with a mill.
I breed my own yeast. It’s not that difficult.
It’s kind of different brewing.
But the taste… Halleluja!
John
Here is a picture from beer and cheese I’ve made :
http://www.vlaamshobbybrouwforum.be/forum/viewtopic.php?f=33&t=817&start=100#p23021
[img]http://i47.tinypic.com/316niu9.jpg[/img]
Hi John
My husband is very interested in how you breed your own yeast.
He bakes with a sourdough culture that is about two years old but has been unsuccessful in creating a good brewing culture from this.
Do you have any info that could help?
Never did I think I would want to give cheese making or beer brewing a shot but your blog has lead to fascination.
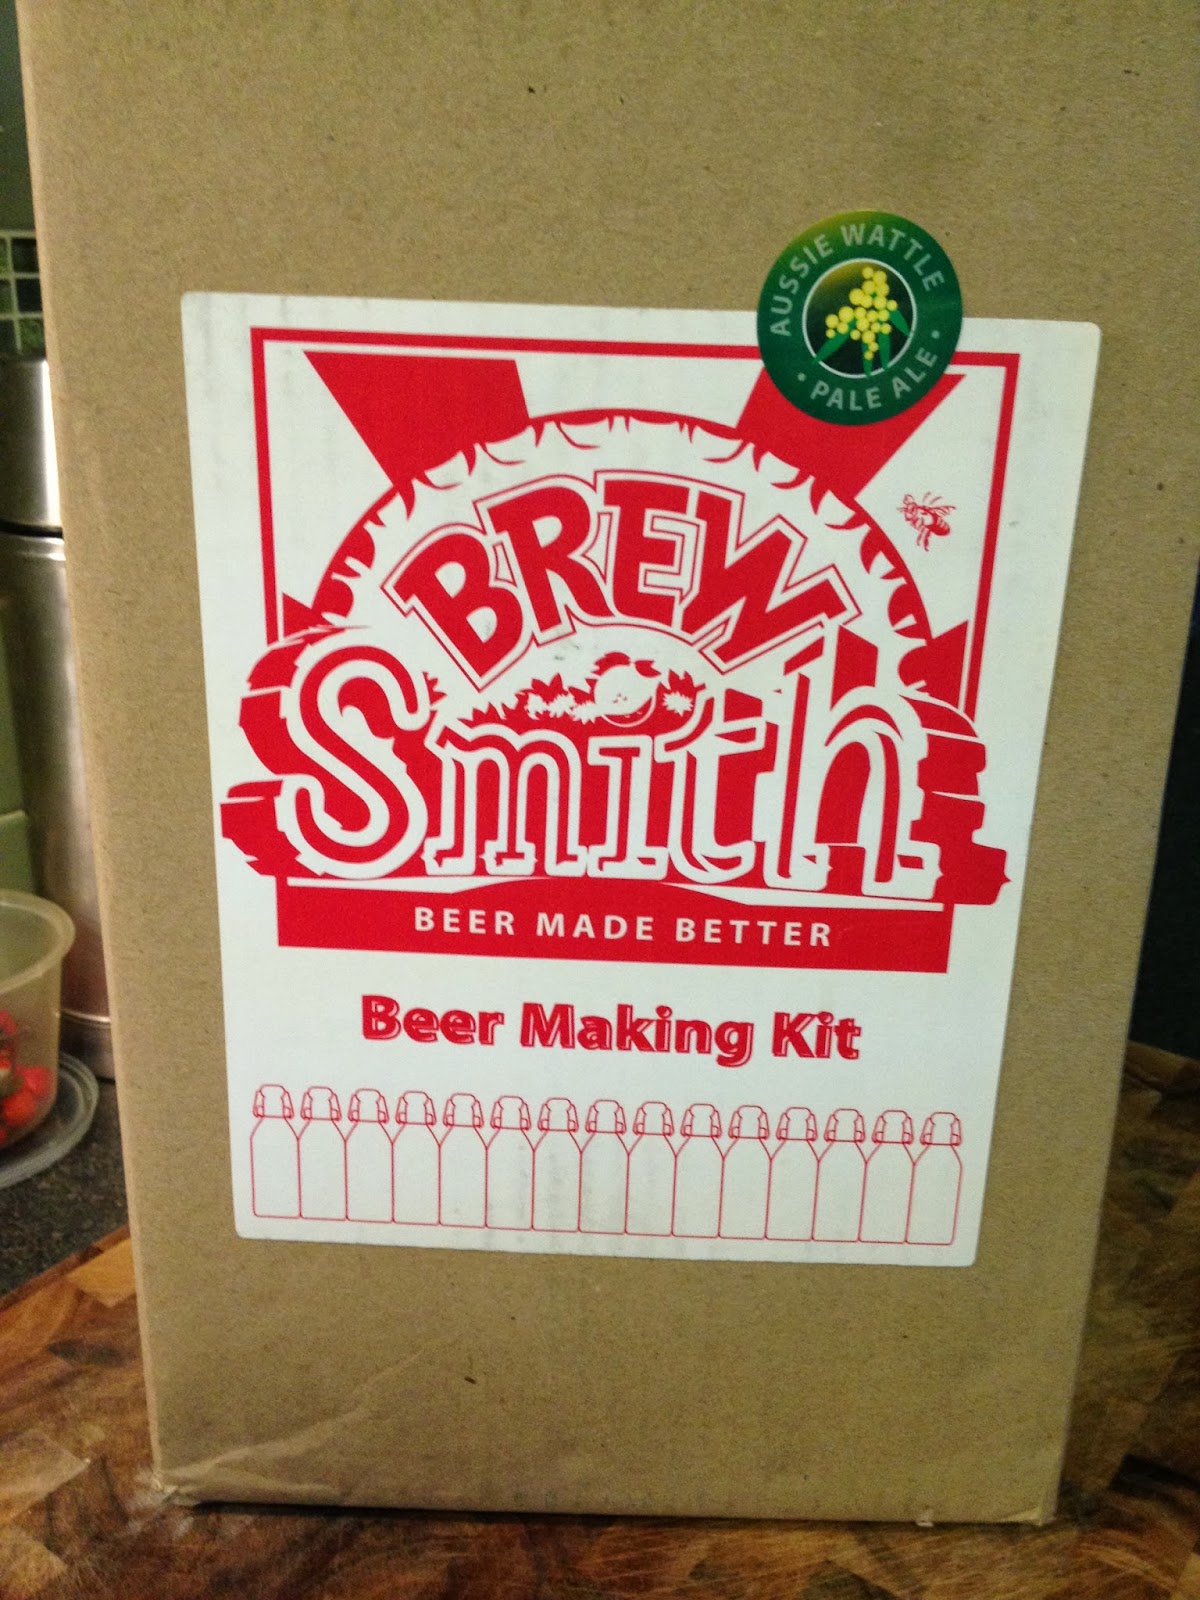
I love Brew Smith’s branding.
Sounds interesting. I wonder does this company have a gluten free kit?