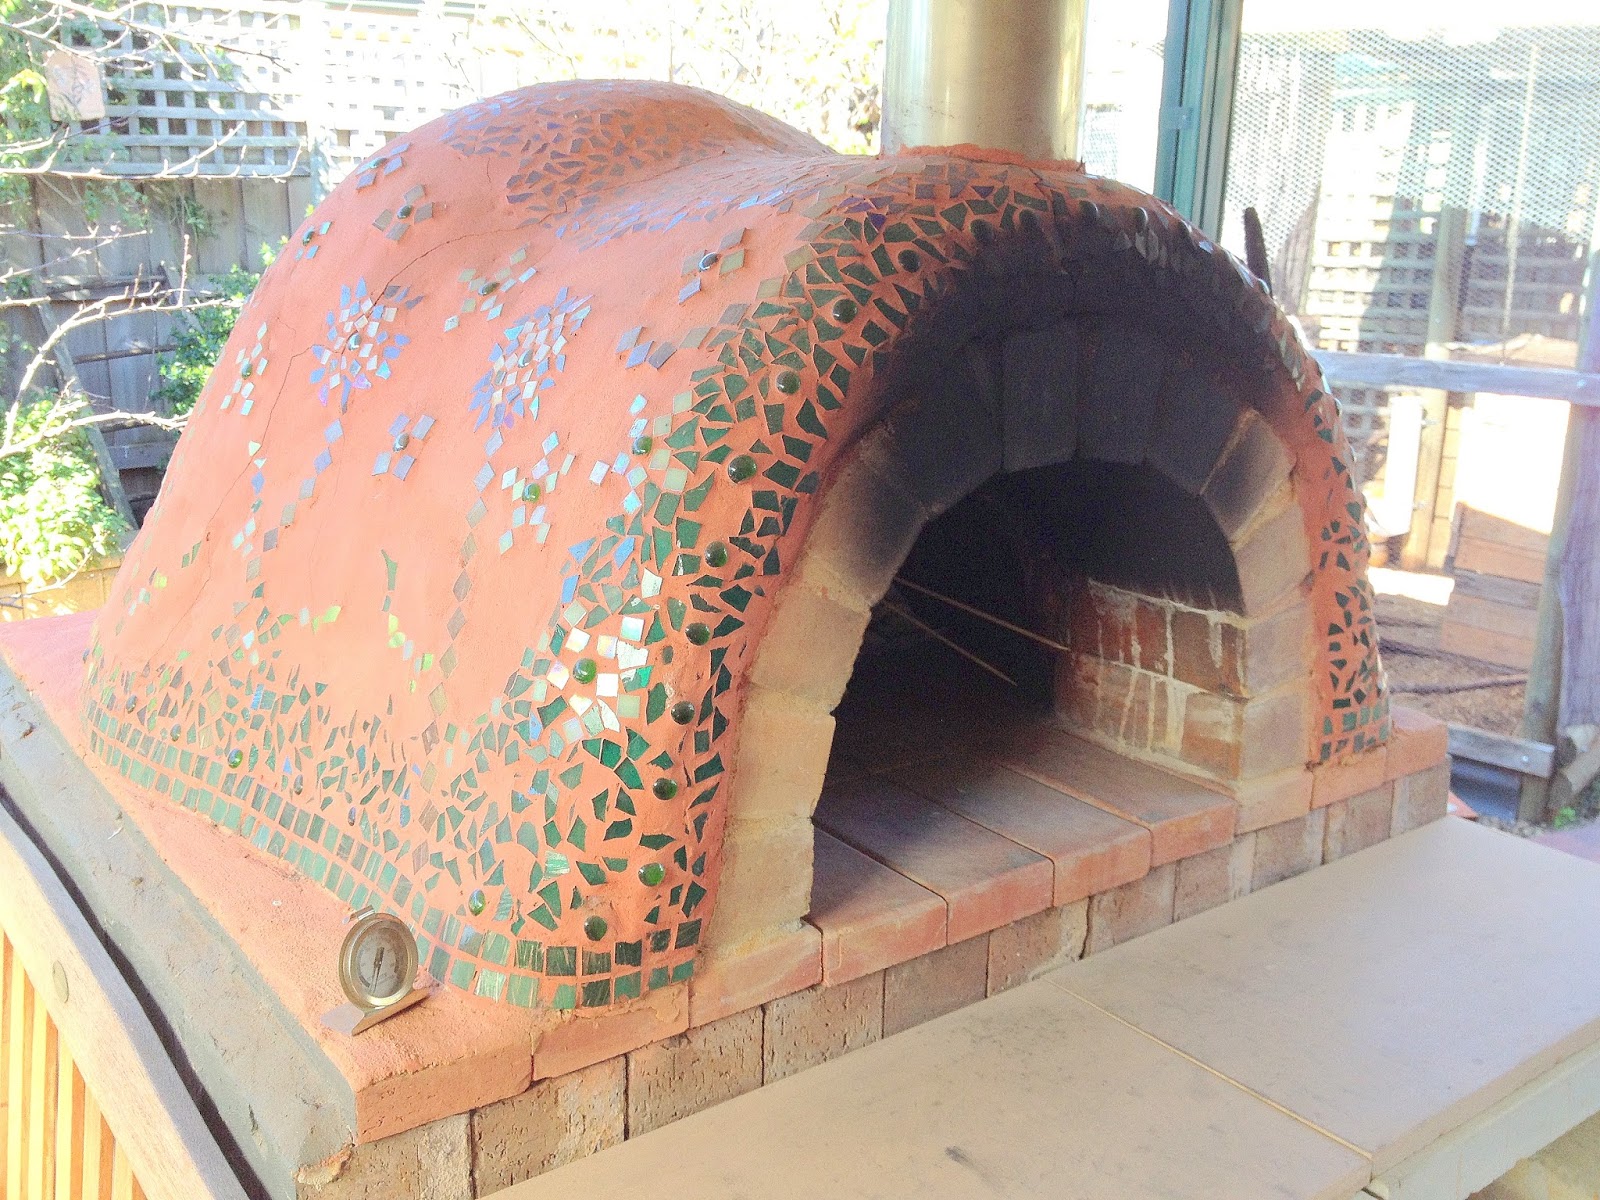
I love cooking in our backyard clay oven. It is one of life’s simple little pleasures.
However, without proper preparation, your cooking experience may not be as good as it could be. I learnt via experience that there are a few things you can do to guarantee success.
1. Starting the fire.
Make sure your oven is clean inside, removing any remaining wood ash from the previous firing. I make a little tee-pee out of newspaper and light wood (pine or eucalyptus twigs). Once it has caught (usually on the first match) and is burning well, add on larger sized bits of wood until the fire is well established.

2. Maintaining the fire
It takes a long time to fully saturate a clay oven. Our oven is ready after 3 hours of moderate flame.
Once the fire is established, you need to start adding denser wood to keep it burning at a consistent heat. I use old red gum or seasoned logs that I have trimmed off trees around the yard. Anything that will burn slowly. As you add on the larger logs, slowly begin to push the fire to the back of the oven. In this way the flames and heat travel over the entire surface of the oven from back to front and exits via the flue. It ensures even heating of the interior walls.
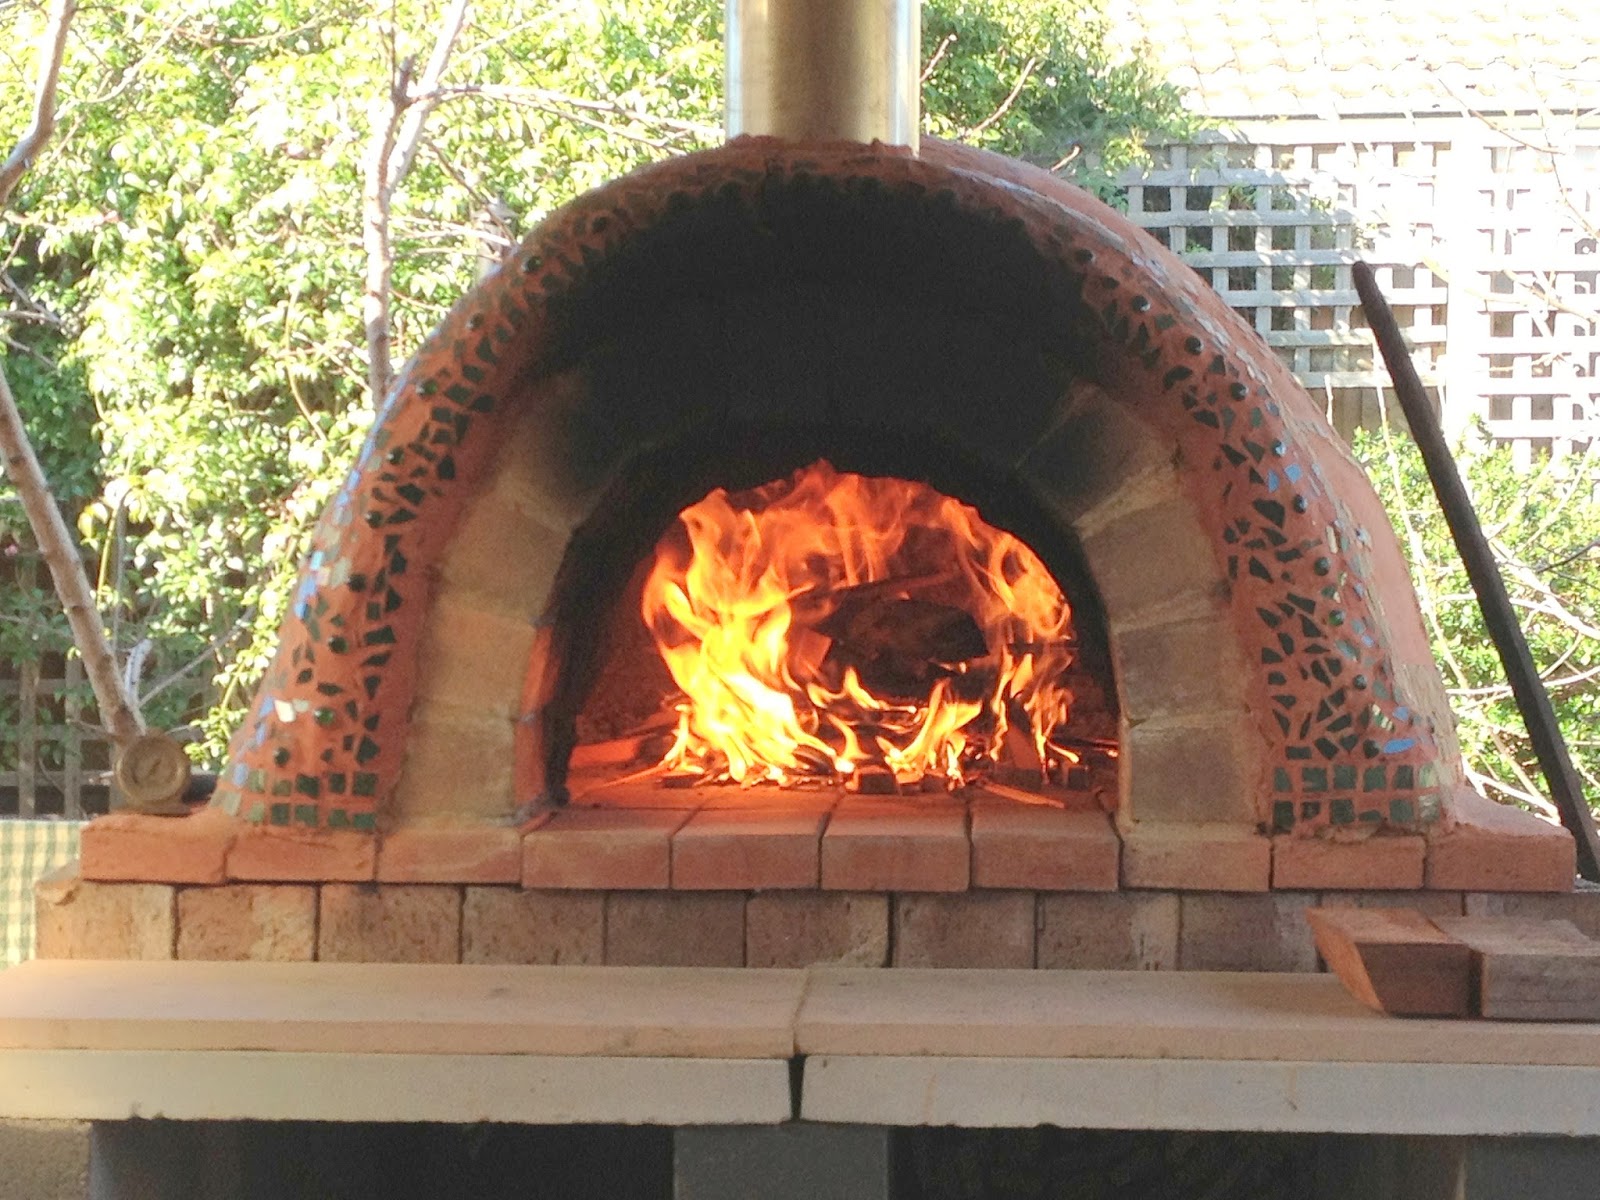
The fire should not be roaring at any stage. There should be no flames shooting out the front. This is just a waste of fuel as you are trying to heat the inside, not the outside! Keep it moderate and consistent. Slow and steady wins the race. Think of it as a great time to relax and kick back as you maintain the fire. Enjoy a home brew beer or two.
3. Preparing for cooking
You can tell when the oven is ready when the soot on the walls has been burnt away and is glowing white. This usually occurs at the 3 hour mark.
Let the fire die down for about 15 minutes, then spread the very hot coals over the base of the oven floor. This helps heat up the cooking surface. After another 15 minutes your oven is ready to cook in. All you have to do now is divide the coals in half and push them to each side of the oven walls, leaving a clear channel through the centre. Then take a scuffle (a wet rag on a hardwood stick) and lightly mop the oven floor to remove any ash.
Don’t forget to have all of your cooking utensils readily at hand. I have a peel (big flat shovel), leather gloves to avoid burns, round pizza trays (for guest that forget them, a table with the uncooked food close by, and a wooden chopping board and a pizza cutter. If we are cooking bread or calzone, then we have those ready as well. The reason that you should have this all at hand because the cooking process is very quick, unlike the heating process. A pizza will cook in 3 minutes flat. Now that is quick cooking.
To brown the bottom of the pizza, I remove it from the tray, then place it straight on the oven floor for about another 20 seconds. Then slide it out of the oven using the peel, and onto the chopping board to be cut into slices and into the bellies of the ravenous guests. If you are planning to cook food other than pizza, you need to let the oven cool for at least 30 minutes after all your pizza is cooked so that it won’t burn to a crisp.

Summary
Good preparation is essential for successful cooking in your backyard clay oven. If you get the basics right up front, your evening will flow with ease and your food will be the talk of the town!
If you want to learn how to build your very own backyard clay oven, you can check out my clay oven page. It has a very cool video taken during construction, that will help you to visualise the techniques described in my eBook. I hope you take the time to make an oven, as it certainly has become well used at our place, and is great fun to cook with.
i want one of these! but tell me, living in a city- how do the neighbours feel about the smoke?
Good question. There is only a little smoke at the start (first 5 minutes), then after that it is a very clean burn.
My neighbours have yet to complain, and I have seen far worse smoke spewing from wood heaters around here.
Gav
I am impressed Gavin. Looks like a magnificent oven, and you know how to get the best out of it. Shame I’m up here in Queensland – wouldn’t mind a slice of that pizza.
Thanks Jean. I would definitely share a slice if you were in town!
Gav x
Thank you so much. I have a oven just about the same size as yours but with a door. For other baking besides pizza, would you recommend cooking with it closed and vents open? I have been having a hard time keeping the fire low. You answered my question. Thank you again.