I have been hard at work this weekend around the yard, building more green projects.
I really enjoy DIY building work, especially if it helps put food on the table and keeps our little feathered girls happy! So over the last 4 weekends, Kim, Ben and I have been building what we are calling “Cluckingham Palace” for the big chooks. If you remember a while ago, one of the little bantams got picked on so much by the bigger hens that she got sick and passed away. I had to separate them, so the little hens got the under-cover run with new house made from shipping pallets, and the large hen were put into the big house but had no undercover area to shelter from the rain and to dust bath in.
Well after saving a few hundred dollars for materials, and collecting a few scrounged items like corrugated colourbond, and a flyscreen door, we are well on the way to finishing the extension. Here are a few hundred photos we took during construction and basic explanations of how we built it.
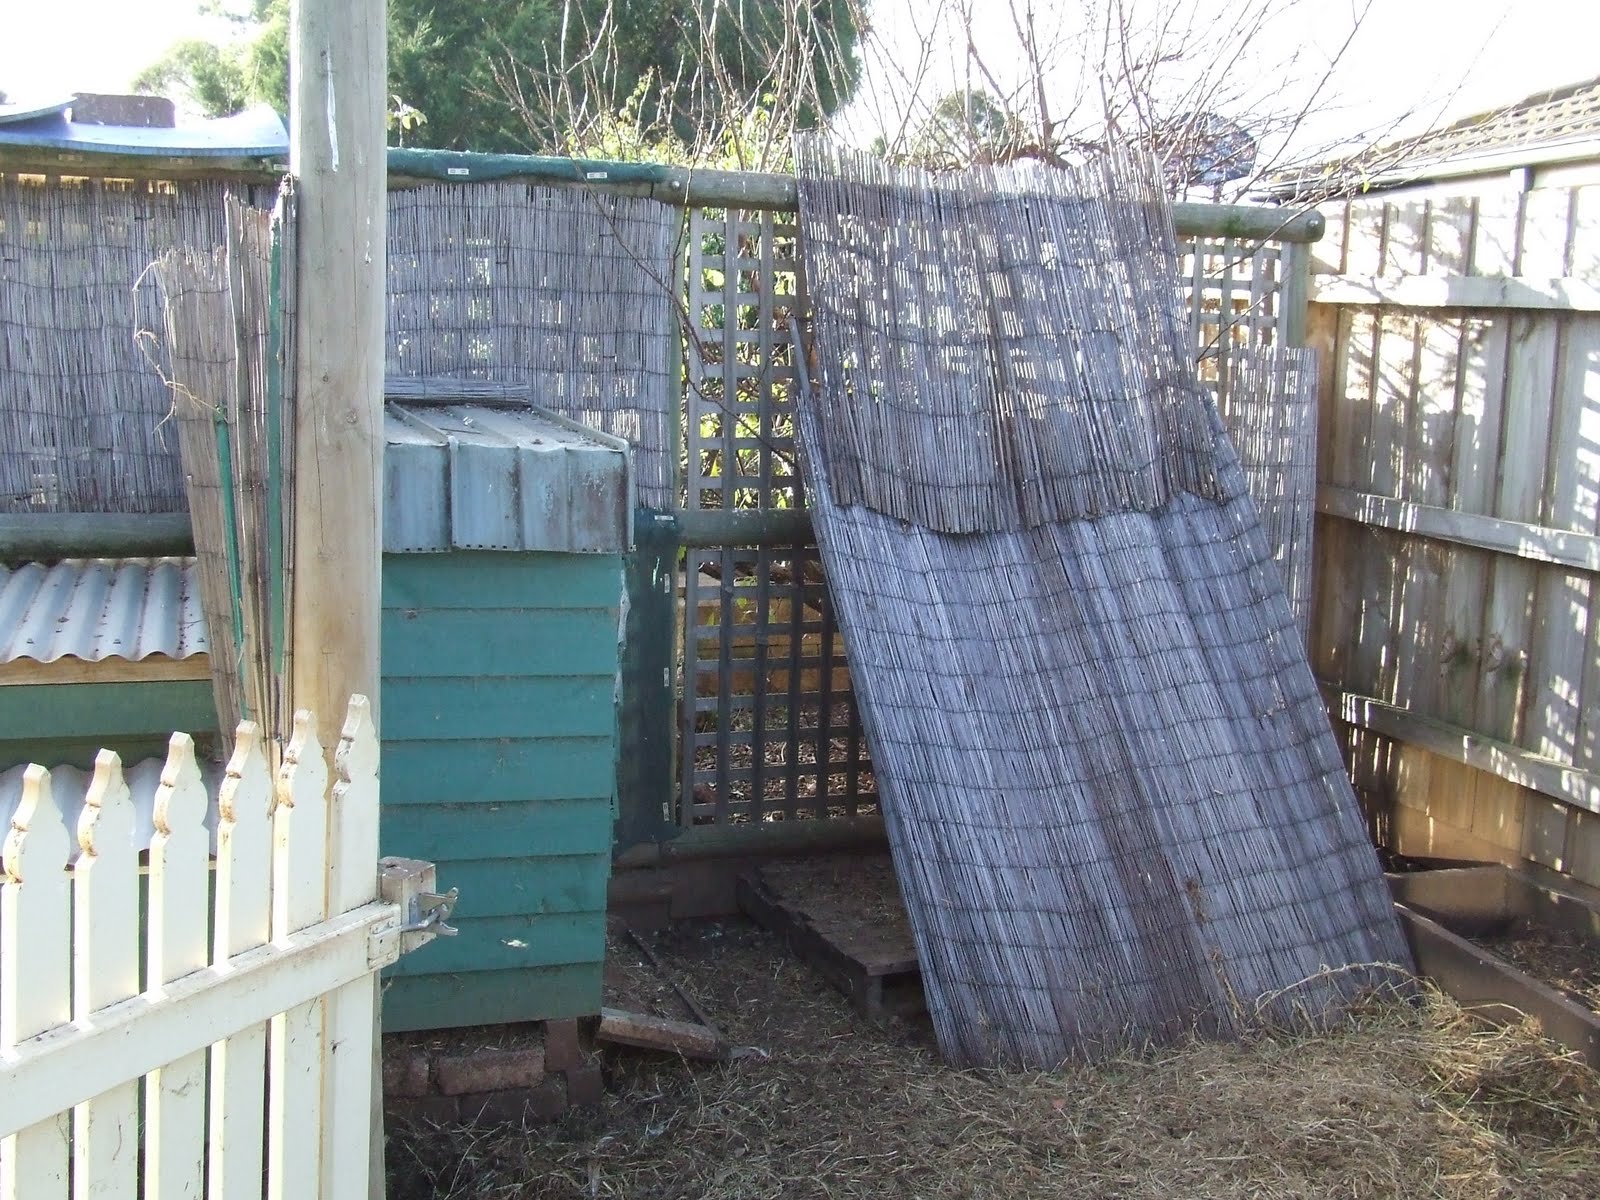 |
| Before the construction began. |
We had constructed a small lean to with a platform so that the chooks kept dry during the recent rains. Even though it worked okay and kept them dry, however with seven hens huddled under there with the breeze whipping through, there had to be a better way. So, we came up with a design, and on the 26th June we got motivated and got stuck into it.

Holly and Teddy decided to practice for their circus act on our newly purchased wood. Here is Holly on the balancing beam!

Once I took away the lean-to, we moved the pallet and their original dust bath box.

I started measuring where the holes for the upright posts were going to go before I dug them out with the auger.

We moved the chooks out of the yard for the day, and they got to roam around behind the shed to help clean up the weeds for me.
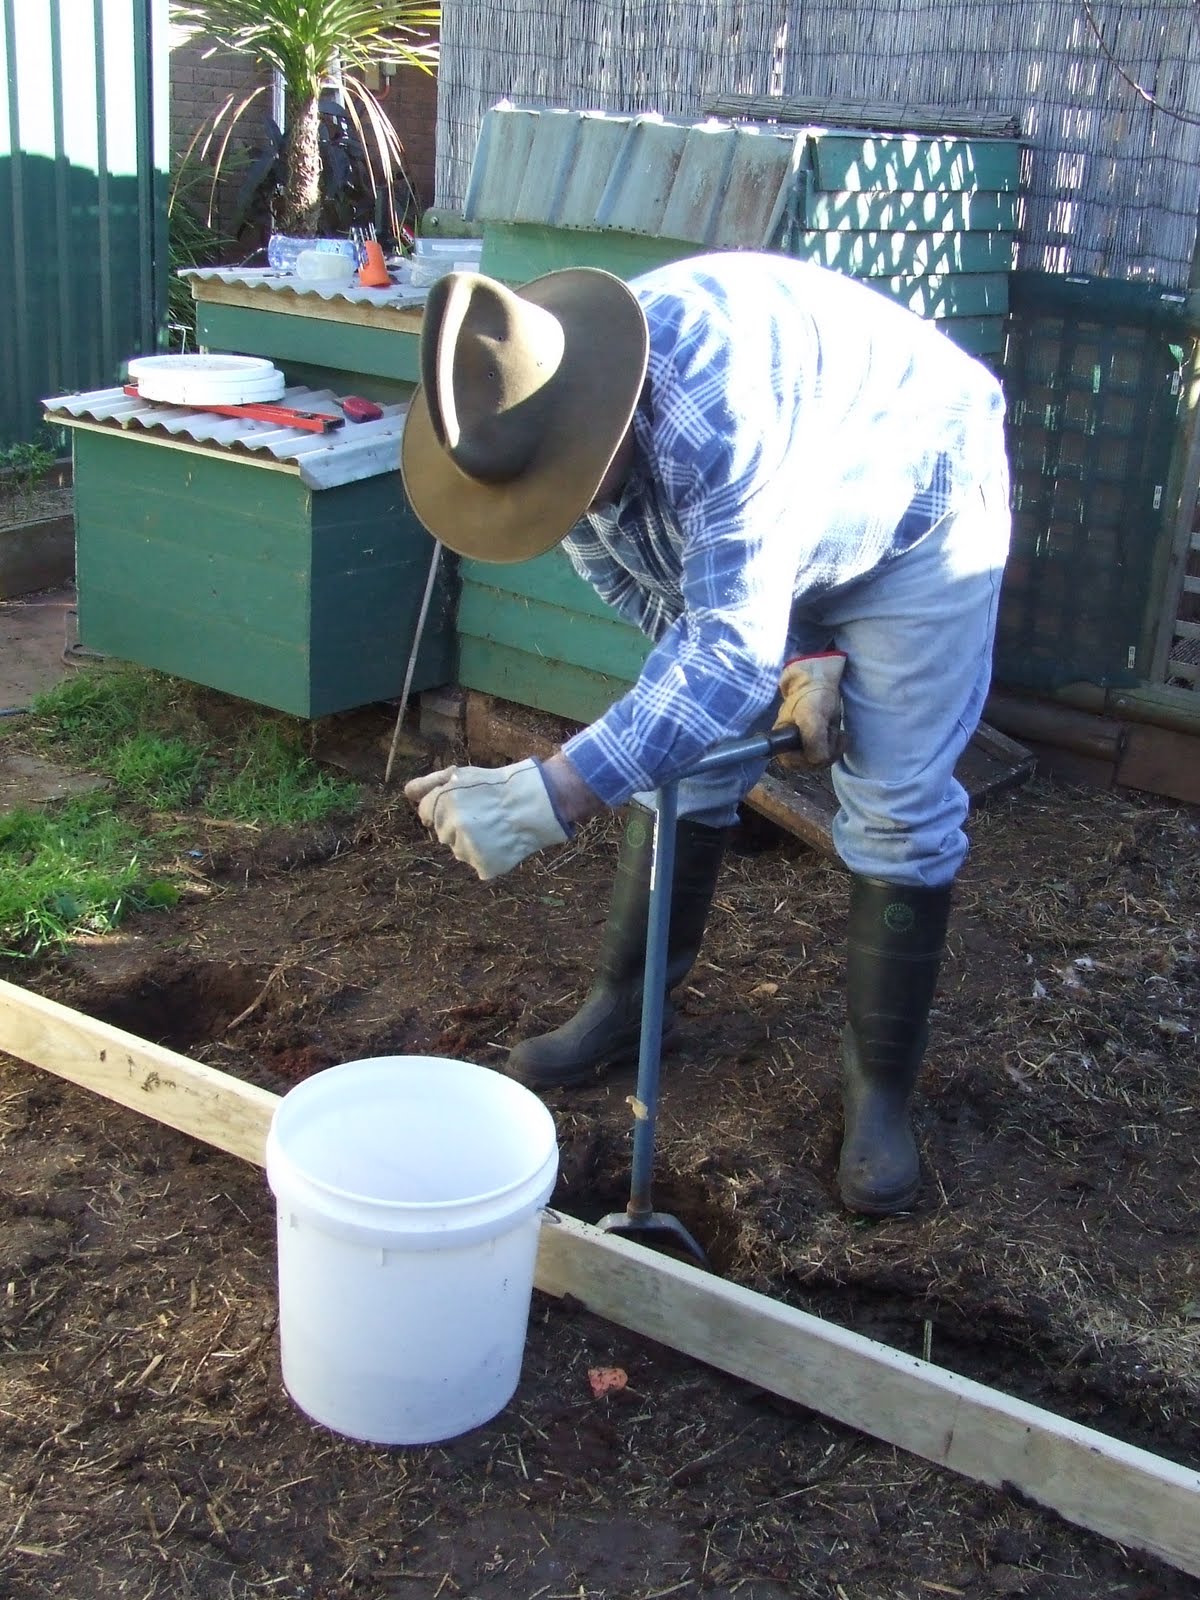
The second hole. Note the bucket.

The bucket and 7 others like them are now full of clay for a special project that we are starting next week!

Teddy is still trying to perfect his circus act!

All the holes are now dug down to a depth of about 50cm. They will be filled shortly.

Teddy is playing foreman, and making sure that I measure everything twice before cutting!

Four new poles of H4 structural pine all in a row. They are even straight and level.
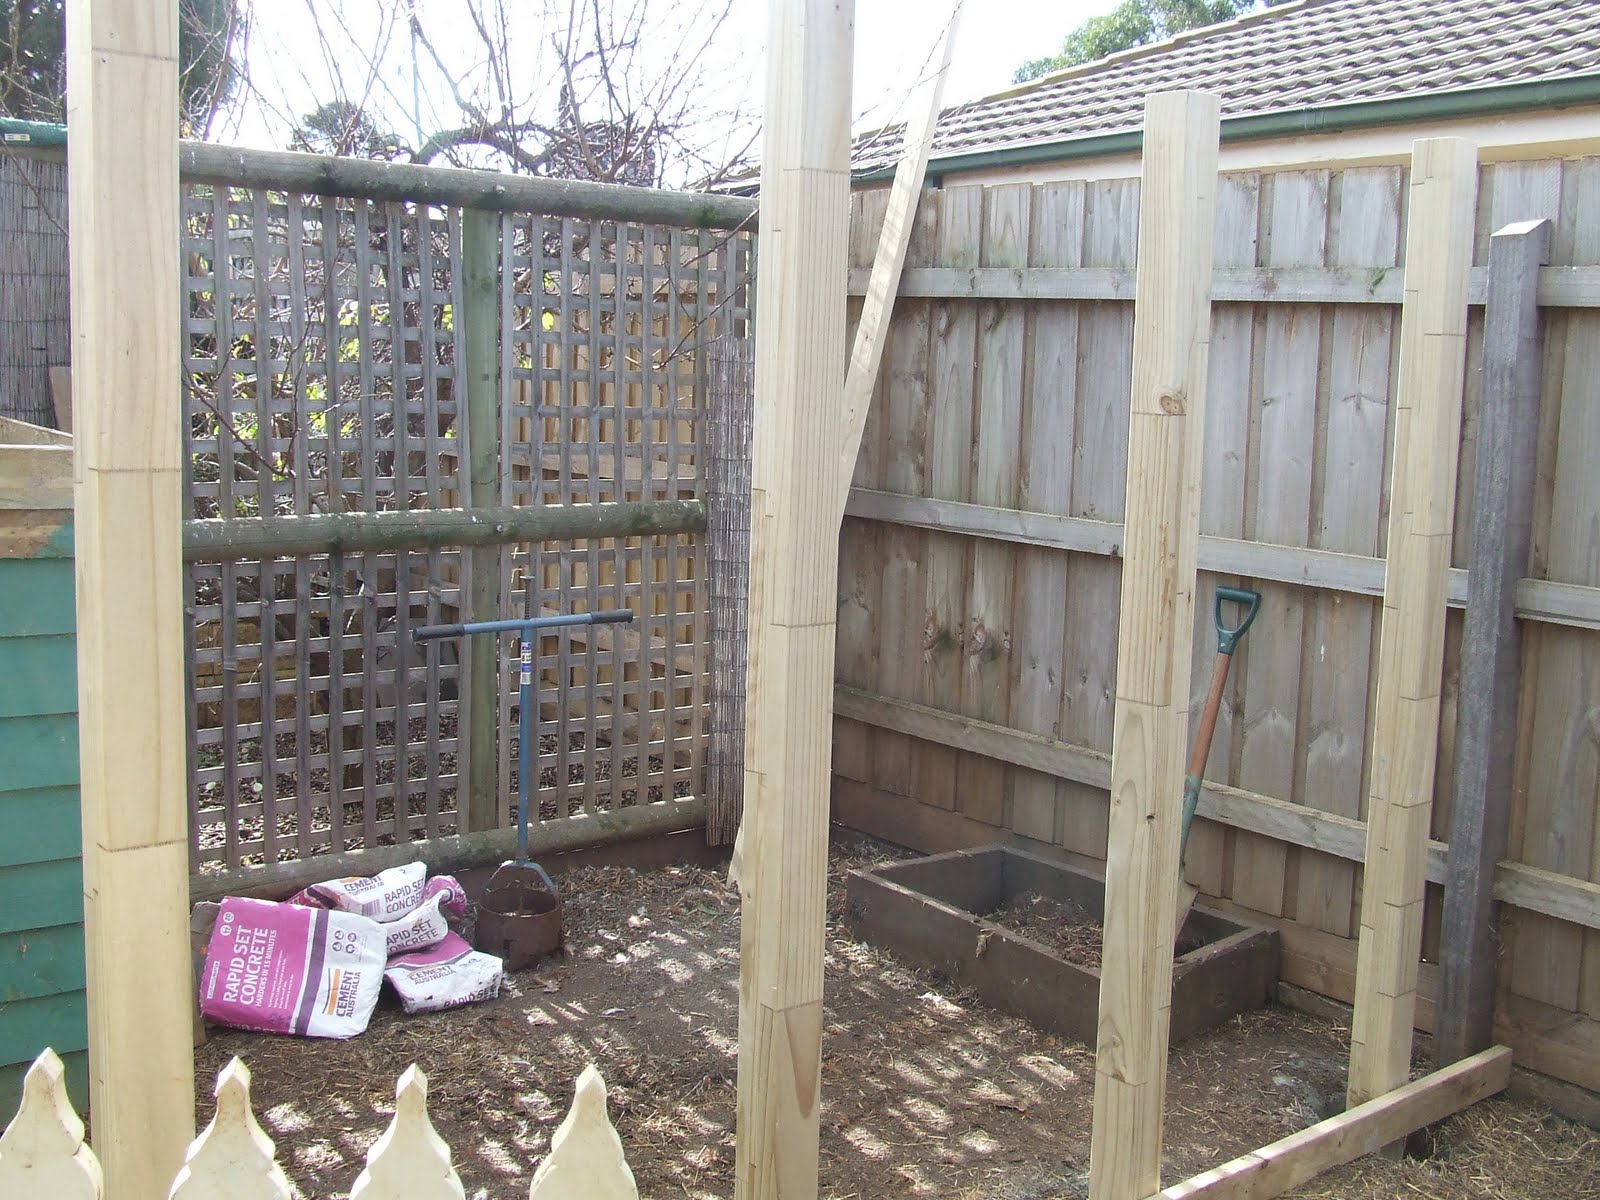
I had to use quick set concrete to fix them in the ground. I bolted on the bottom support/kick board onto each pole after the cement had dried.

Ben was Mr nut, washer and bolt boy for the day. He even had a ring spanner so that he could tighten up all the nuts for me. He did a great joy as the assistant and had fun helping me out.

We managed to get the next beam up on the side. Everything is level so far and here I am measuring up the next section.

Another view. Measure twice and cut once. This way, you usually don’t come up short with your wood.

Ben’s head is hurting, not because I dropped something on it, but because I keep asking him to remember lots of measurements!

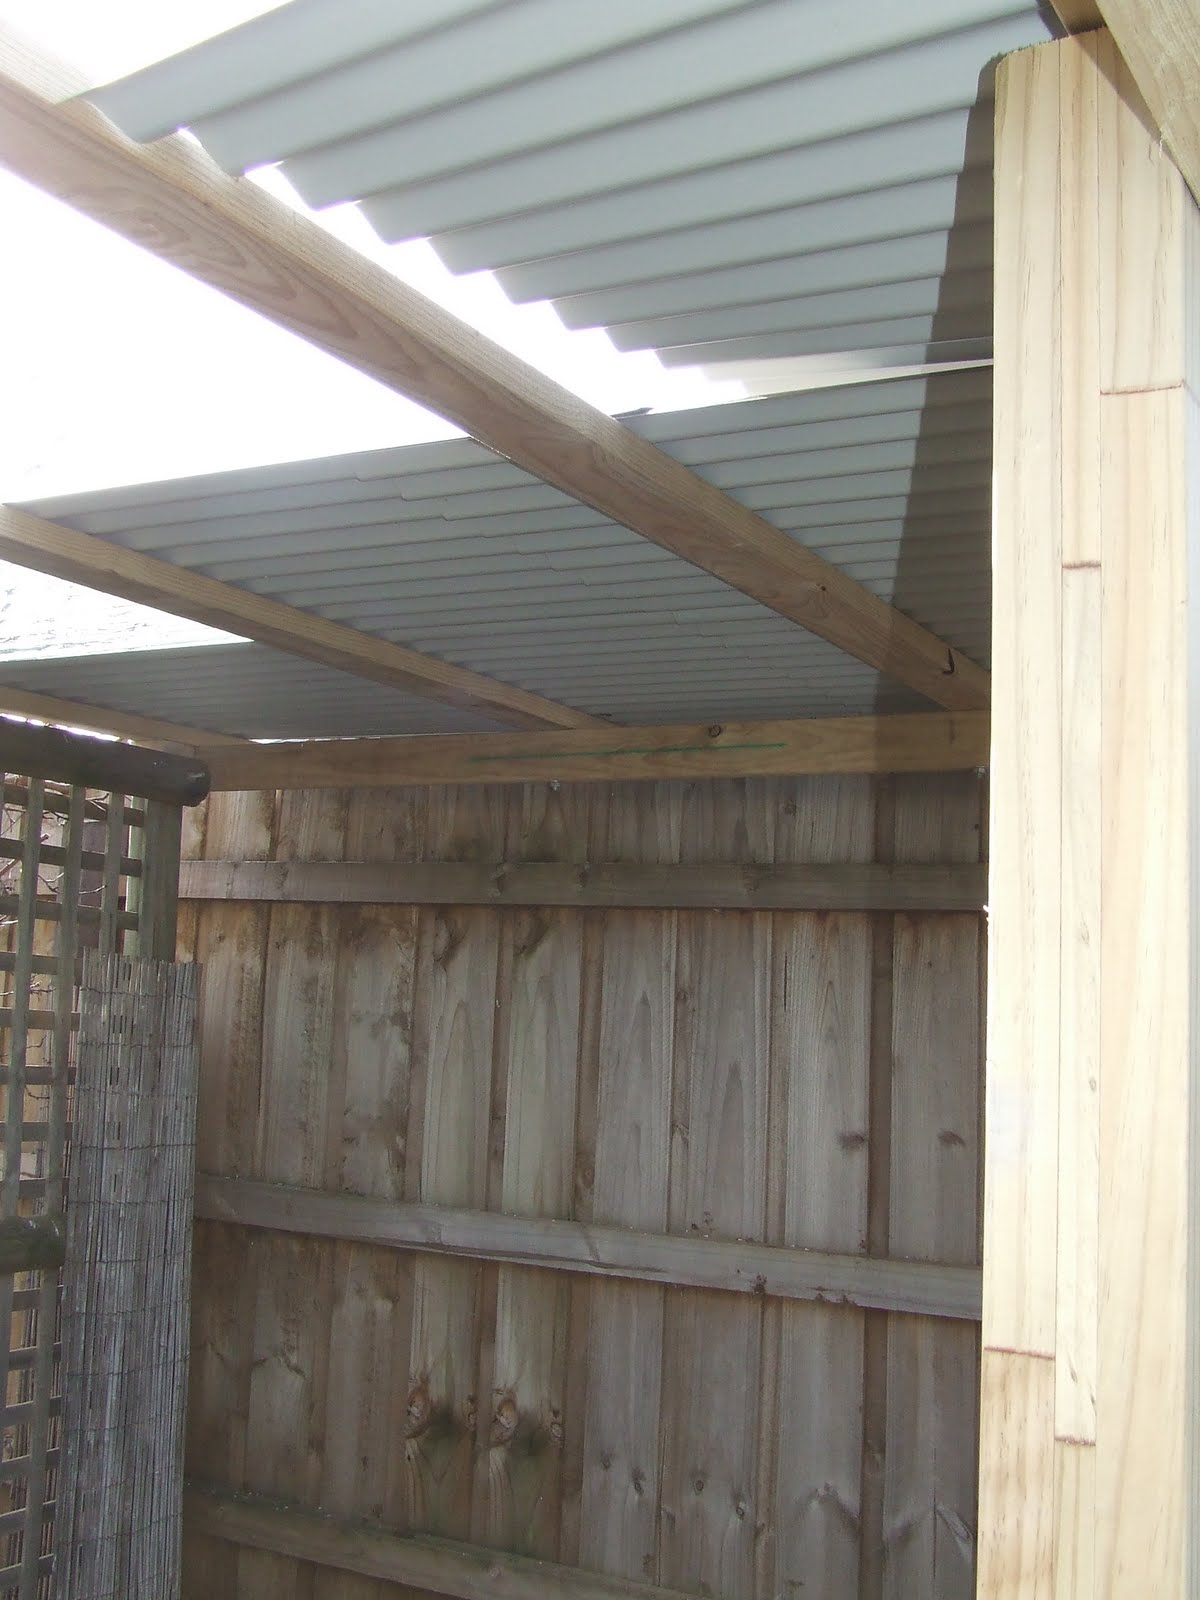
So on the 2nd of July, we started on the roof. Our builder friend Ray (who is helping construct a gazebo and arbor for grape vines in the pool area, had some 1 metre offcuts of corrugated colour bond roof sheeting left over from another job. He gave me 11 sheets of metal and 2 sheets of polycarbonate. So we put them to good use.

Like my tool belt? Here I am just testing how it is all going to go together. I find during construction, that if I do a dry run with a few pieces, I get a better idea of how it is all going to go together. I checked to make sure that the overlap was right and that when I drilled through a roofing screw that both pieces would be fastened correctly.

One final check, and it was up on the ladder.

I used galvanised roofing screws with a rubber washers that is designed for this sort of thing. Everything went quite smoothly with Kim passing me the sheets of colourbond. We ended up with one sheet spare.

While I was up there Teddy decided to sit on some of my garlic plants. Kim quickly shooed him off and we had to put in some little bamboo stakes to deter this sort of behaviour. It seems to have worked as the garlic is growing back strong.
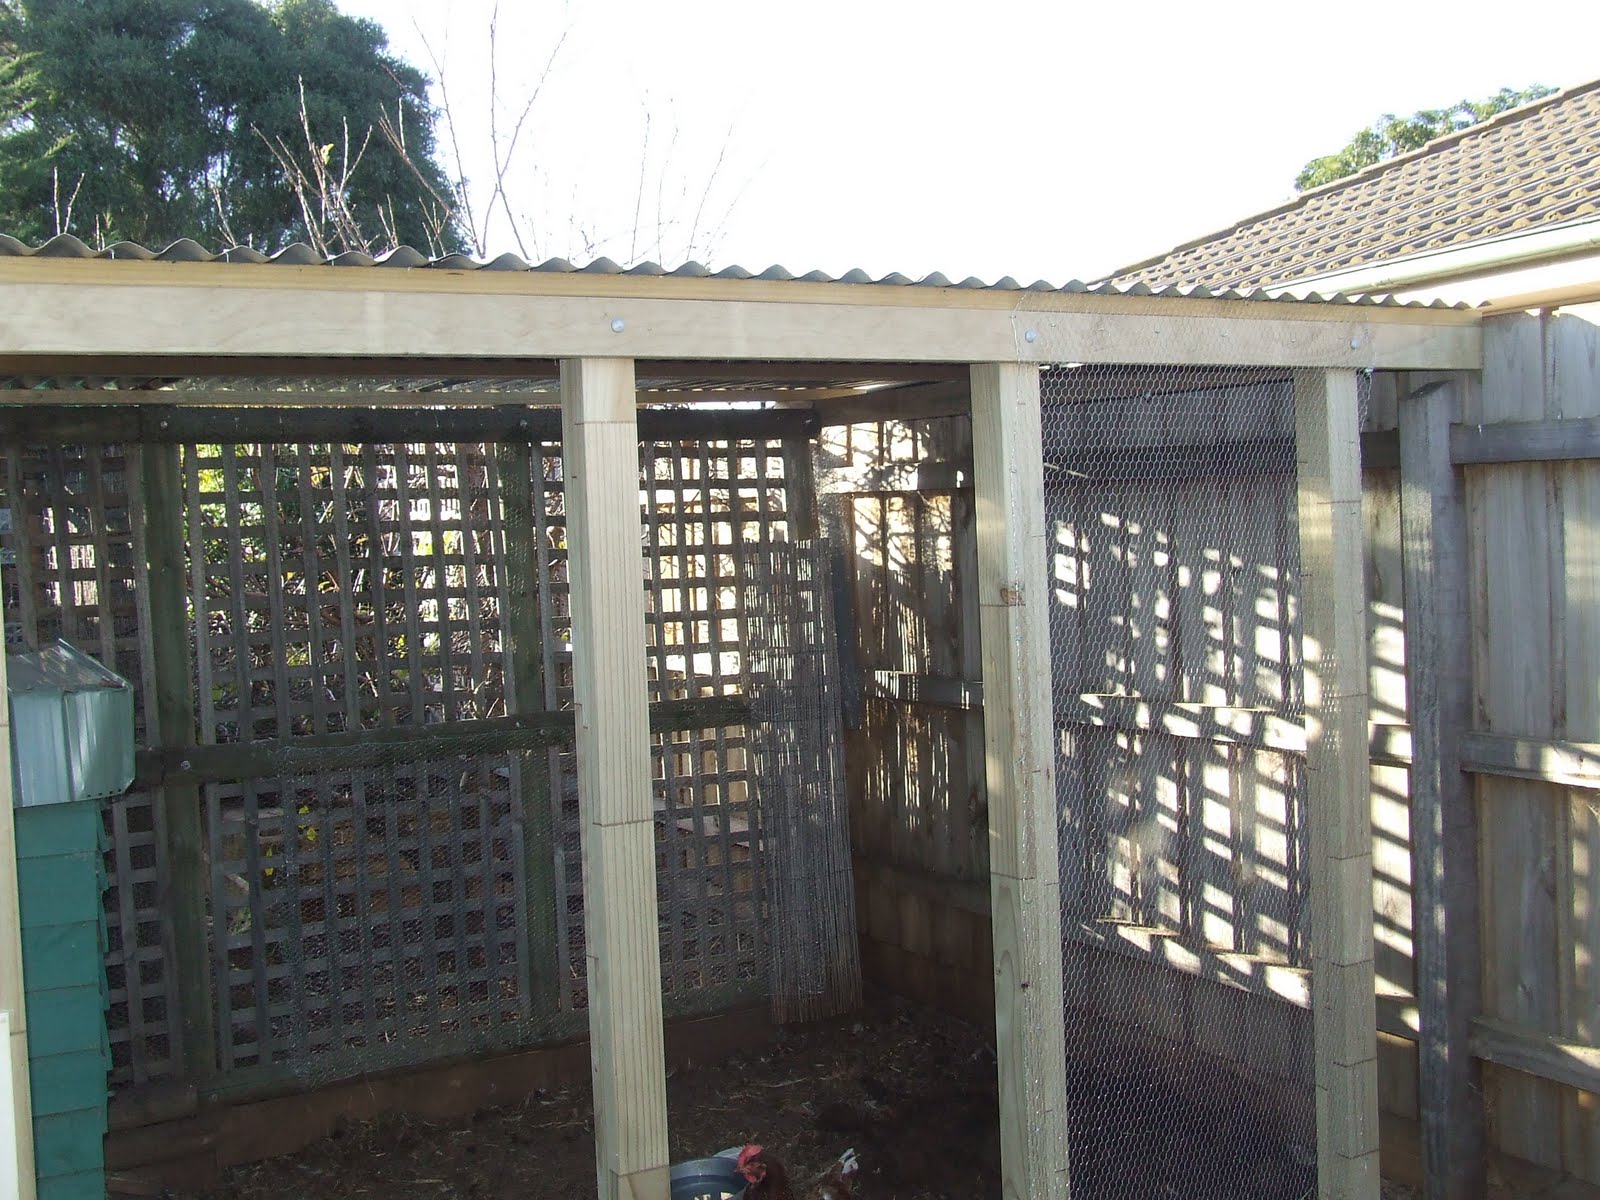
So after about an hour or two, the roof was on and waterproof. We tested it with a watering can, and the 5 degree drop that I built into the frame worked a charm. The top beam will have a gutter attached next week, and then I will hook up the water barrel and pipe in the chicken nipples.

I started to put some chicken wire up on the back wall, and the front.

Here is a length that I put on the side near their nesting box.

The chickens are quite content and happy with what I achieved on that weekend.

I had to stop before completing all the wire, as I just got too tired. I must have been coming down with something. In fact, the very next day I had gastro and took the day off from work. What a pain.
After the rest of the week back at work, I started coming down with a sore throat, which turned into a head cold, which turned into a chest infection. I spend an entire weekend and Monday through to Wednesday in bed dosing up on anti-biotics to get well again. All better now, and full of beans!

Anyway, today, among other things, I built this little garden bed, which is serving as a new dust bath. It is made from Ammoniacal Copper Quaternary (ACQ) treated pine which does not contain Arsenic. It is safe for the chooks and for garden beds in general. I was gifted this bed after giving a free workshop at Bunnings Warehouse the week before my operation. It was easy to construct, and I filled it with all of the dirt and sand that formally resided in the undercover wicking bed (for reasons that will become clear next weekend!). I also added a bucket of wood ash from my neighbours combustion heater. This will help deter mites as the chooks dust bath.

You may have notice from earlier pictures that one of the gaps between the posts is bigger than the others. This was on purpose as I sized it for a standard door.
When I was putting on the roof, I couldn’t help notice that our other neighbours had a screen door that looked like they were going to throw away. I asked if I could have it (if you don’t ask, you don’t get), and picked it up this afternoon. I had to dig down a little because one think I didn’t account for was the height of the door! You should have seen me trying to dig down with all the chooks at my feet picking at the worms. I nearly took a few heads and chook feet off with the spade, but was oh so careful.

Here is a better photo of the door, and dust bath. All of this took about two hours to complete the door, and the new dust bath completely filled.

So at the end of the day, I still haven’t finished, but am hoping to get it all completed next weekend as well as starting my next big project! All in all, a good few weekends worth of construction, with one more day or so to finish it all off.
Then I can feel rest assured that they have cover and a water supply, as well as a healthy day spa to dust bath in all day long! Do you think they are happy with our efforts?
Looks great Gavin. Lucky chooks.
Love the name and the neat construction!
Well, that was good fun. I have no chooks…yet… but enjoy reading about them and their homemade palaces. Thanks for sharing.
wow that is an excellent looking chicken house.
I hope you are building a clay oven. I saw one built on the tv once. I think it was the tv programme ‘its not easy being green’. I maybe wrong.
I love this type of things! I also do many things my selfe. It gives me a lot of satisfaction rather than cost. Good luck!